![]()
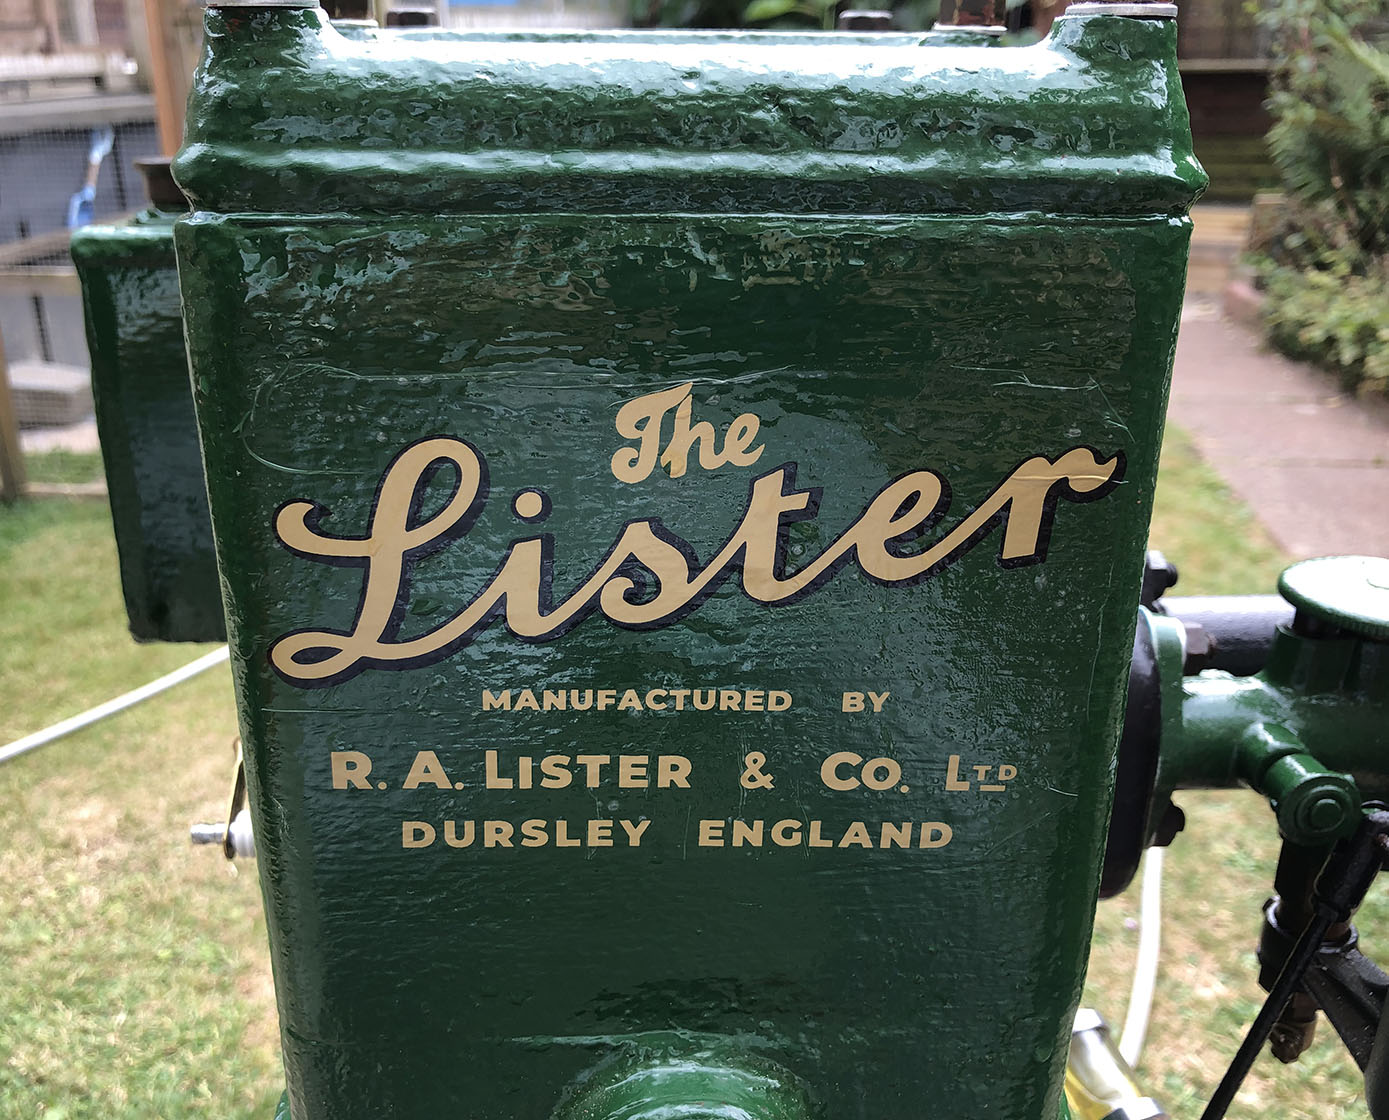
Generating Electricity with the Lister D here
Contact email: [email protected]
12/12/20
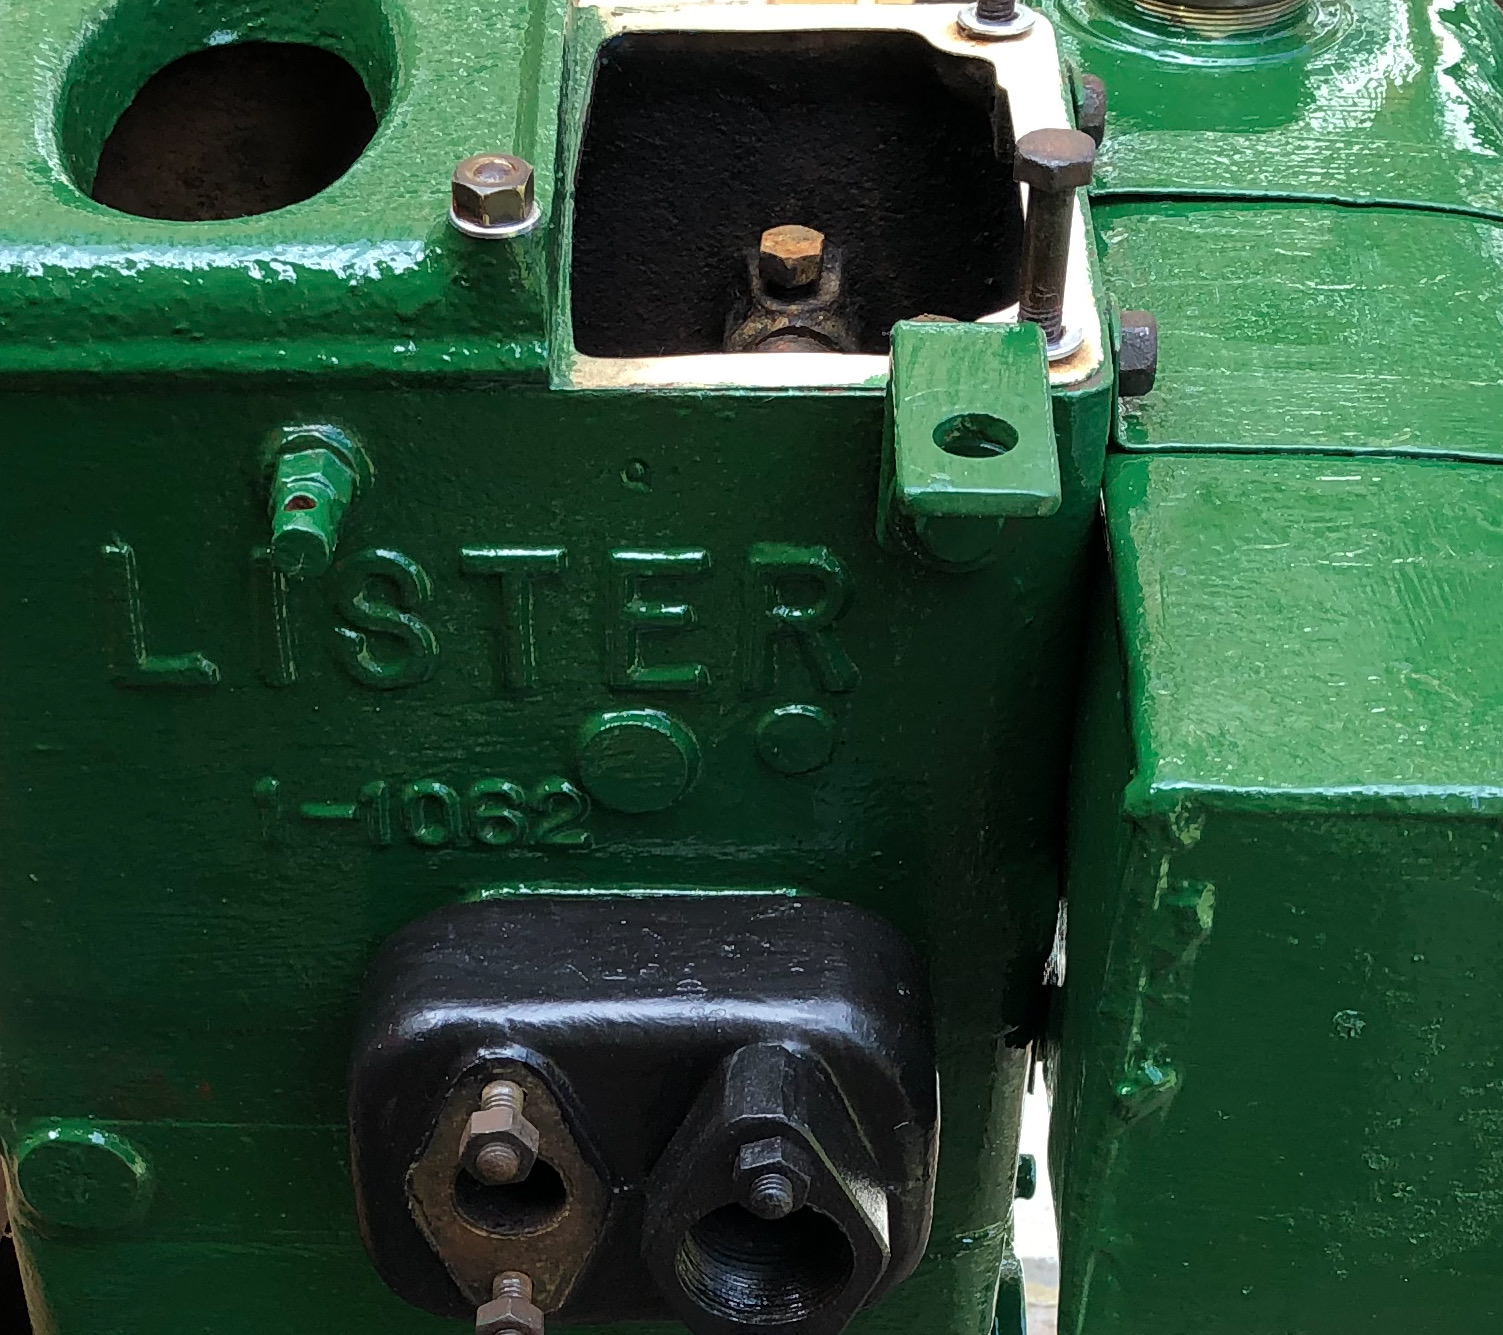
It’s arrived! I’m now the proud owner of a Lister type D Stationary Engine. The engine was manufactured in September 1938. It was designed to run on petrol or paraffin but, according to the previous owner, it will run happily all day long on stale petrol. The paraffin modification incudes, amongst other things, fitting a vaporiser block which brings the inlet and exhaust manifolds away from the engine by a couple of inches and vapourises the fuel using heat from the exhaust. However, there’s no three way tap or extra fuel tank. Paraffin cost more per litre than petrol!
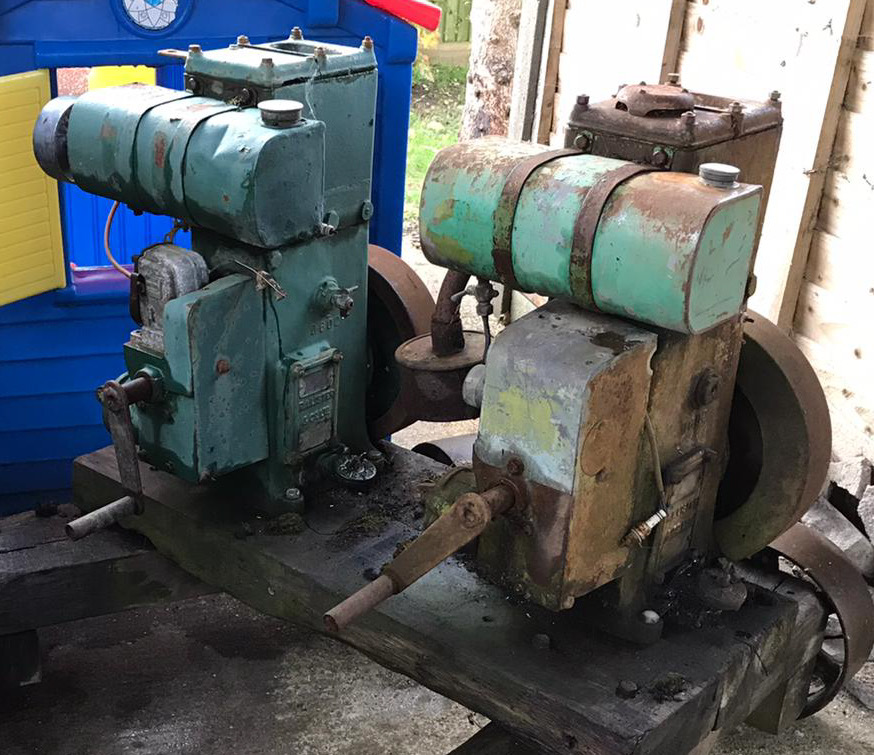
The photo below shows two very rusty Lister D engines as acquired by my brother-in-law. I had the one on the left, he had the one on the right. Mine runs anti-clockwise, his runs clockwise.
Engine history.
Apparently, my engine was supplied new to Beeney Bros of Hailsham on 8th September 1938. I hope to do some research and discover what sort of business this company was involved in. Hailsham is only 30 miles away from me, as the crow flies. The town is surrounded by countryside so the engine might well have been used on a farm.
My engine.
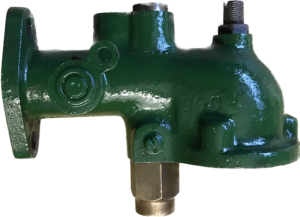
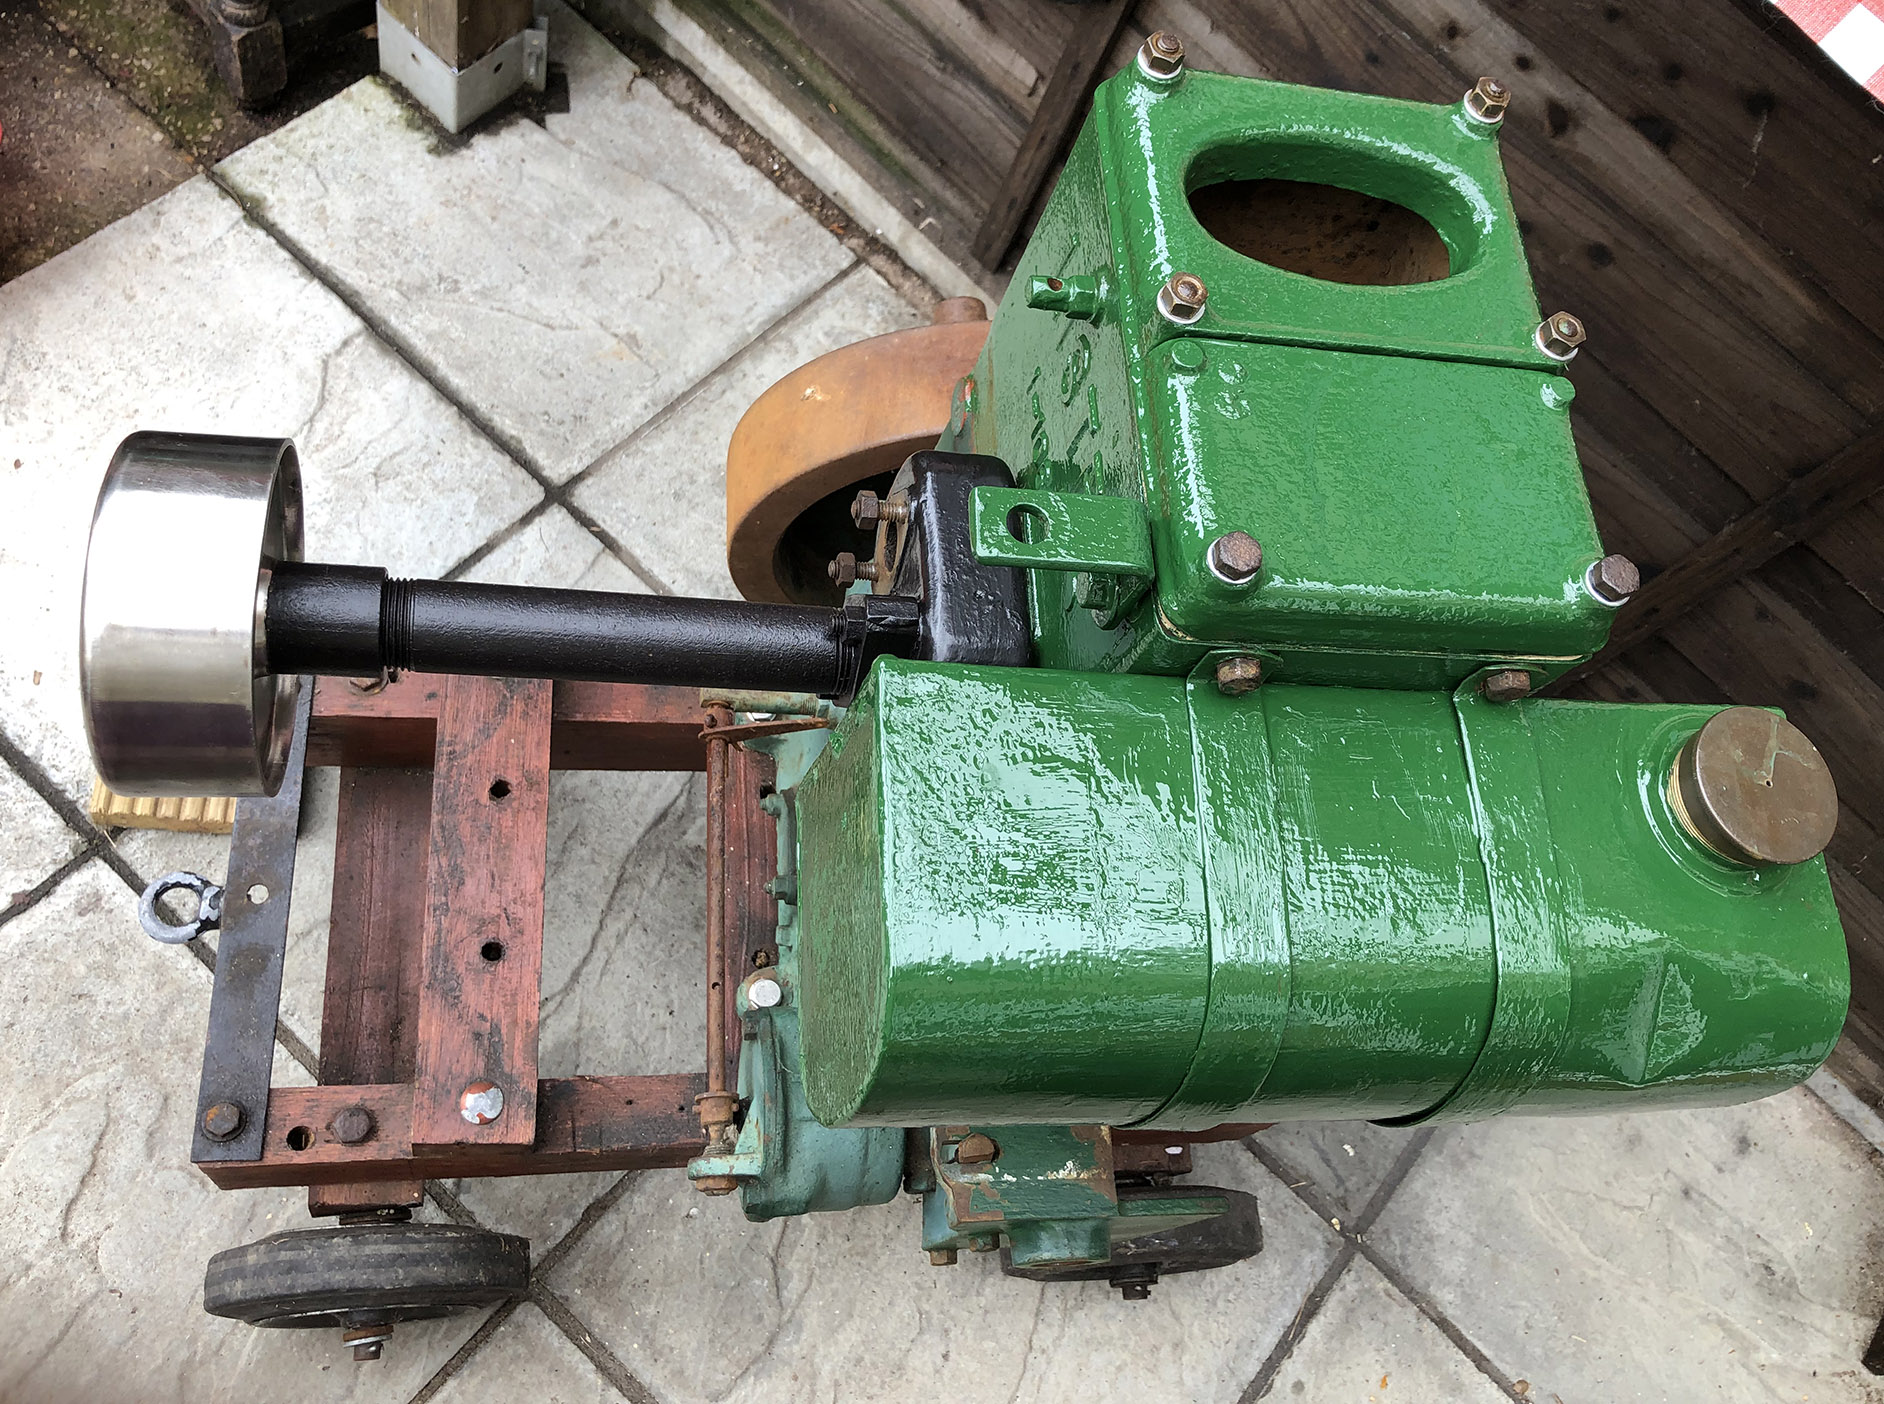
Lister type D stationary engine
Year of manufacture 1938
Reverse running
Serial No: 145725
Spec: 23D2HR
Capacity: 348cc
HP: 2
RPM: 1000
Flywheel: 12 inch
Spark plug gap 20,000
Magneto points gap 12,000
Tappet clearance 10,000 +
Fuel tank capacity: 1 gallon
Hopper capacity: 6 pints
Sump capacity: 2 pints
Please note, the plug, points and tappet figures stated above are from various sources. I believe they are about right. Please correct me if they are wrong.
There is a video of the engine running at the bottom of this page.
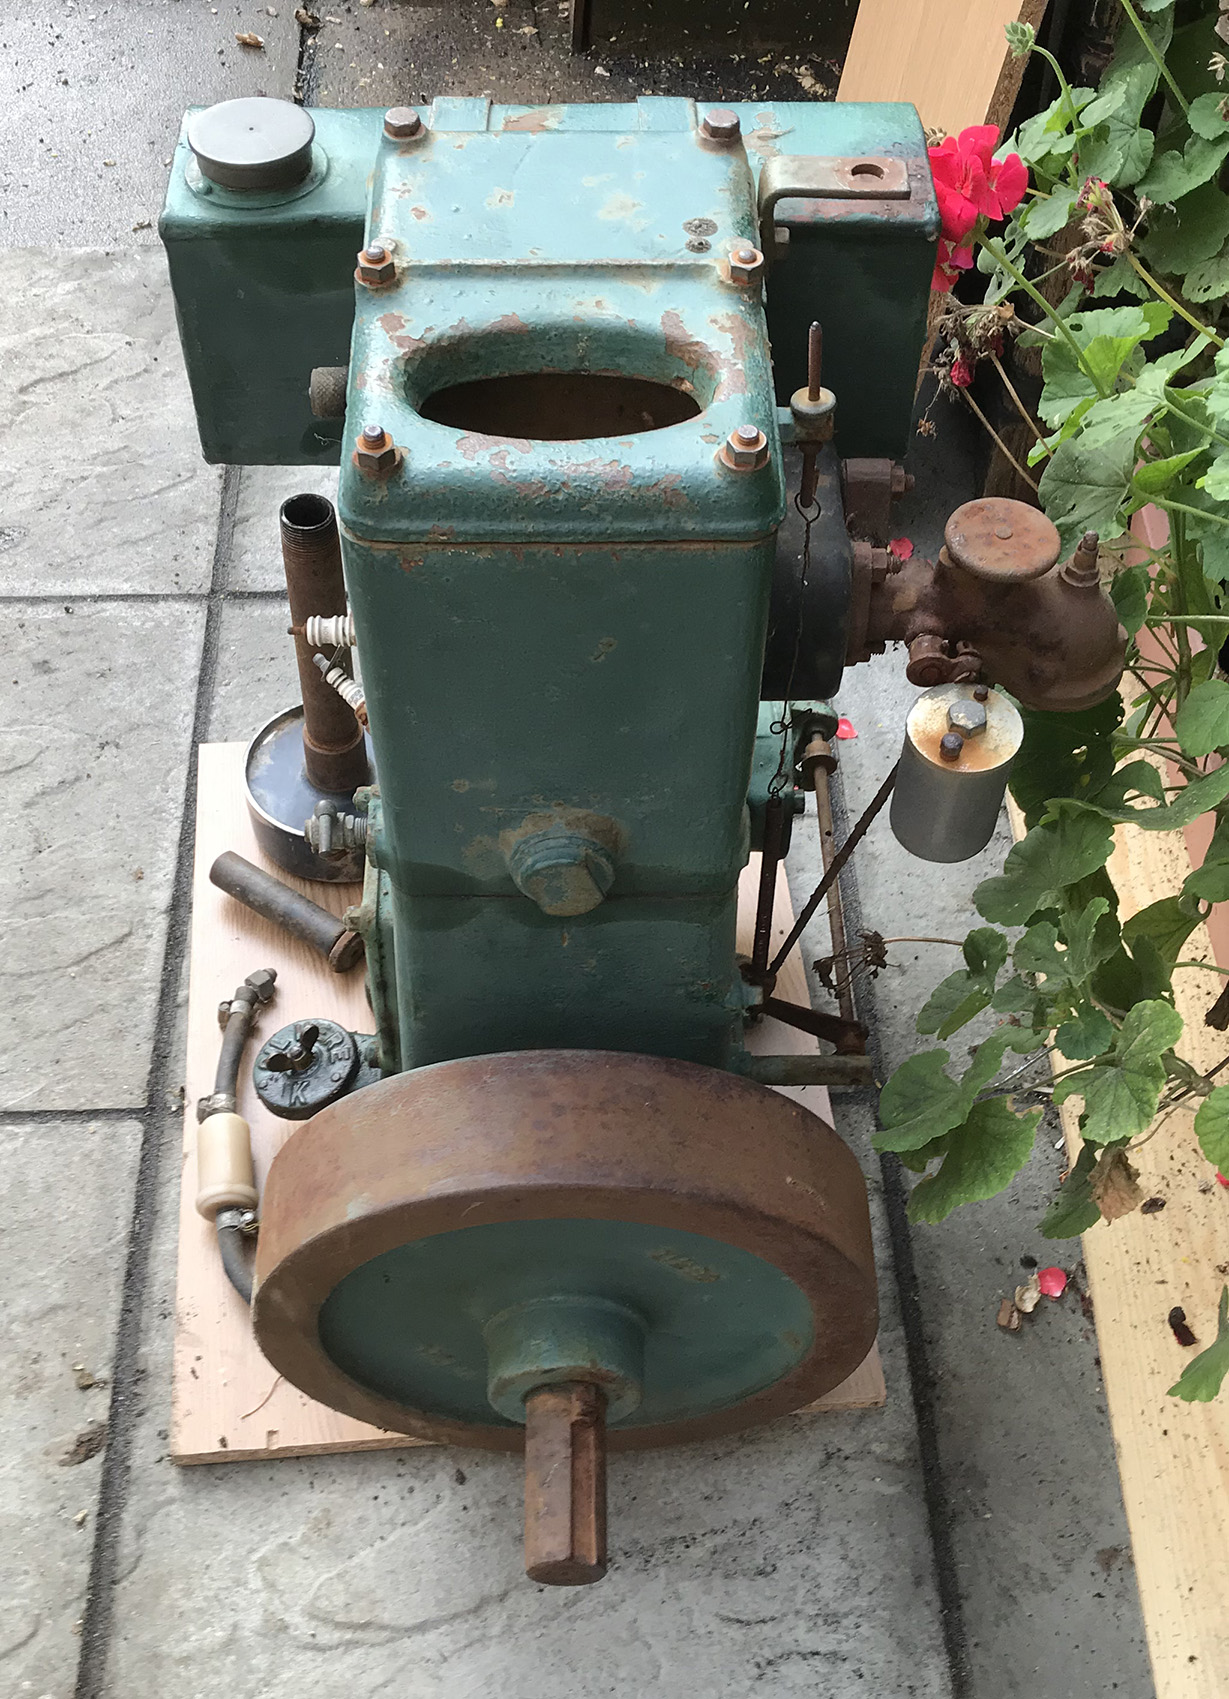
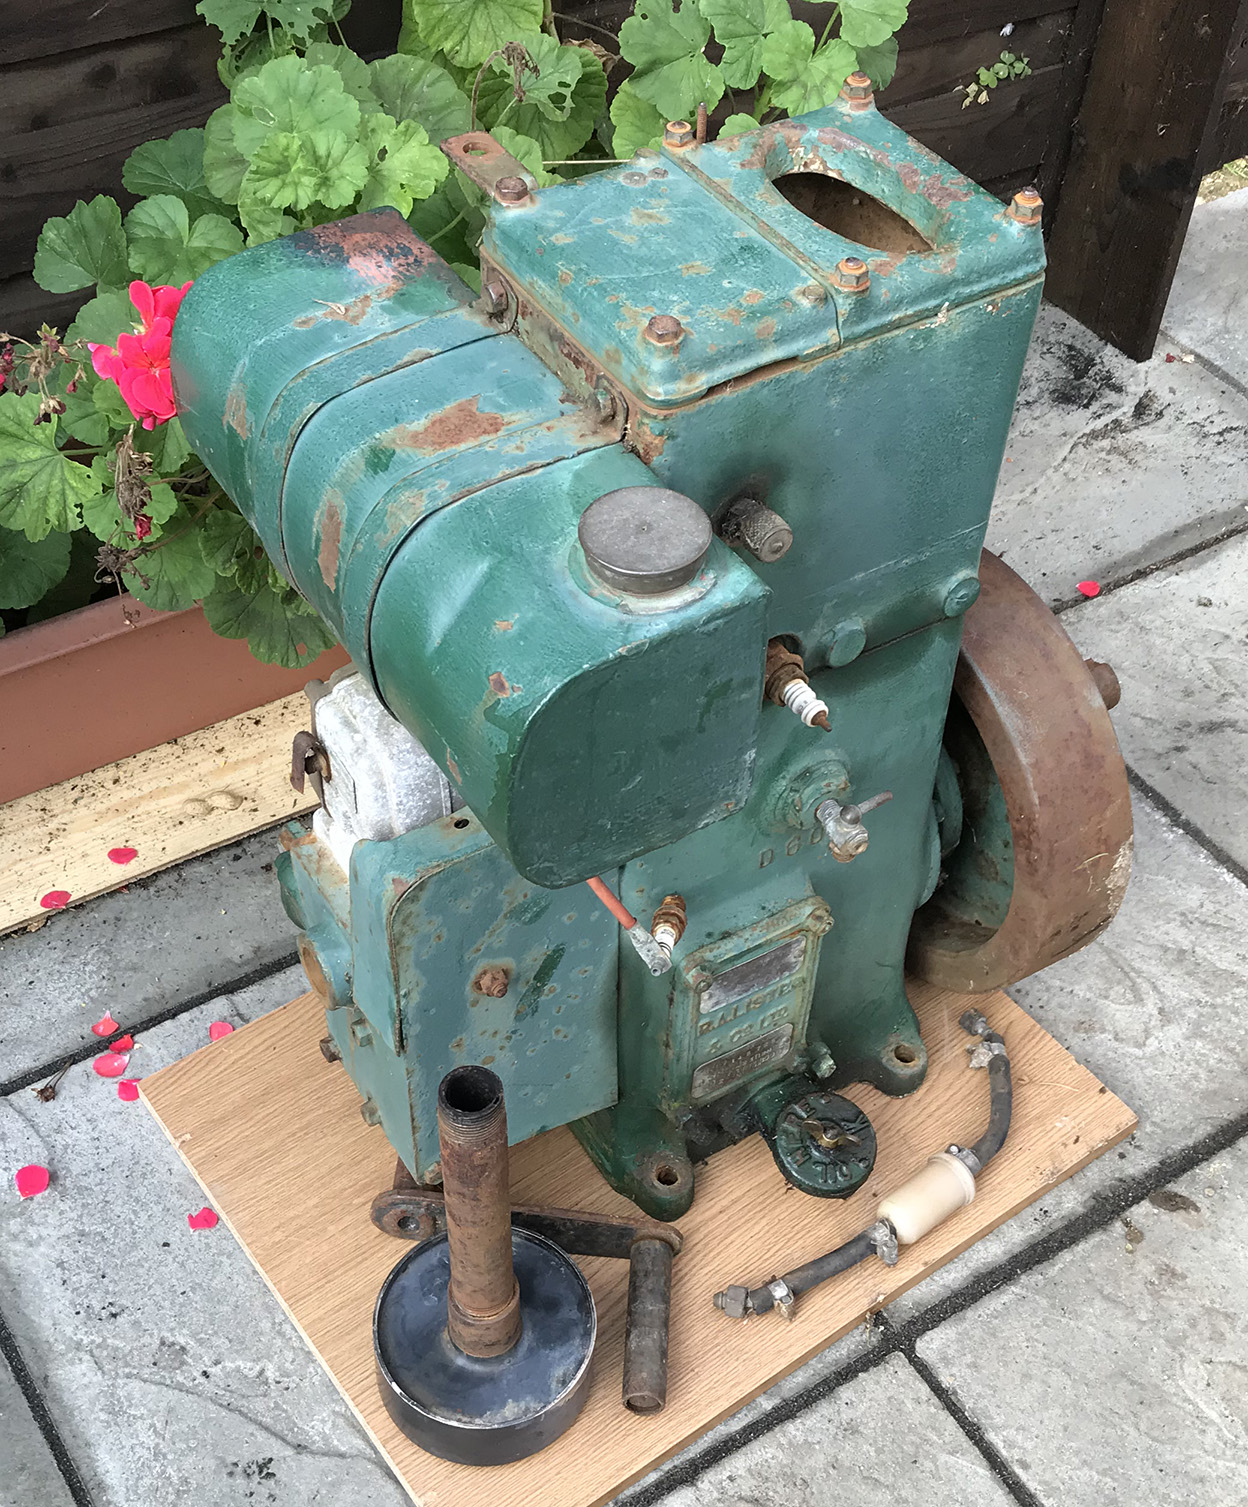
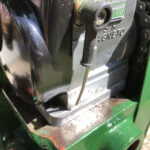
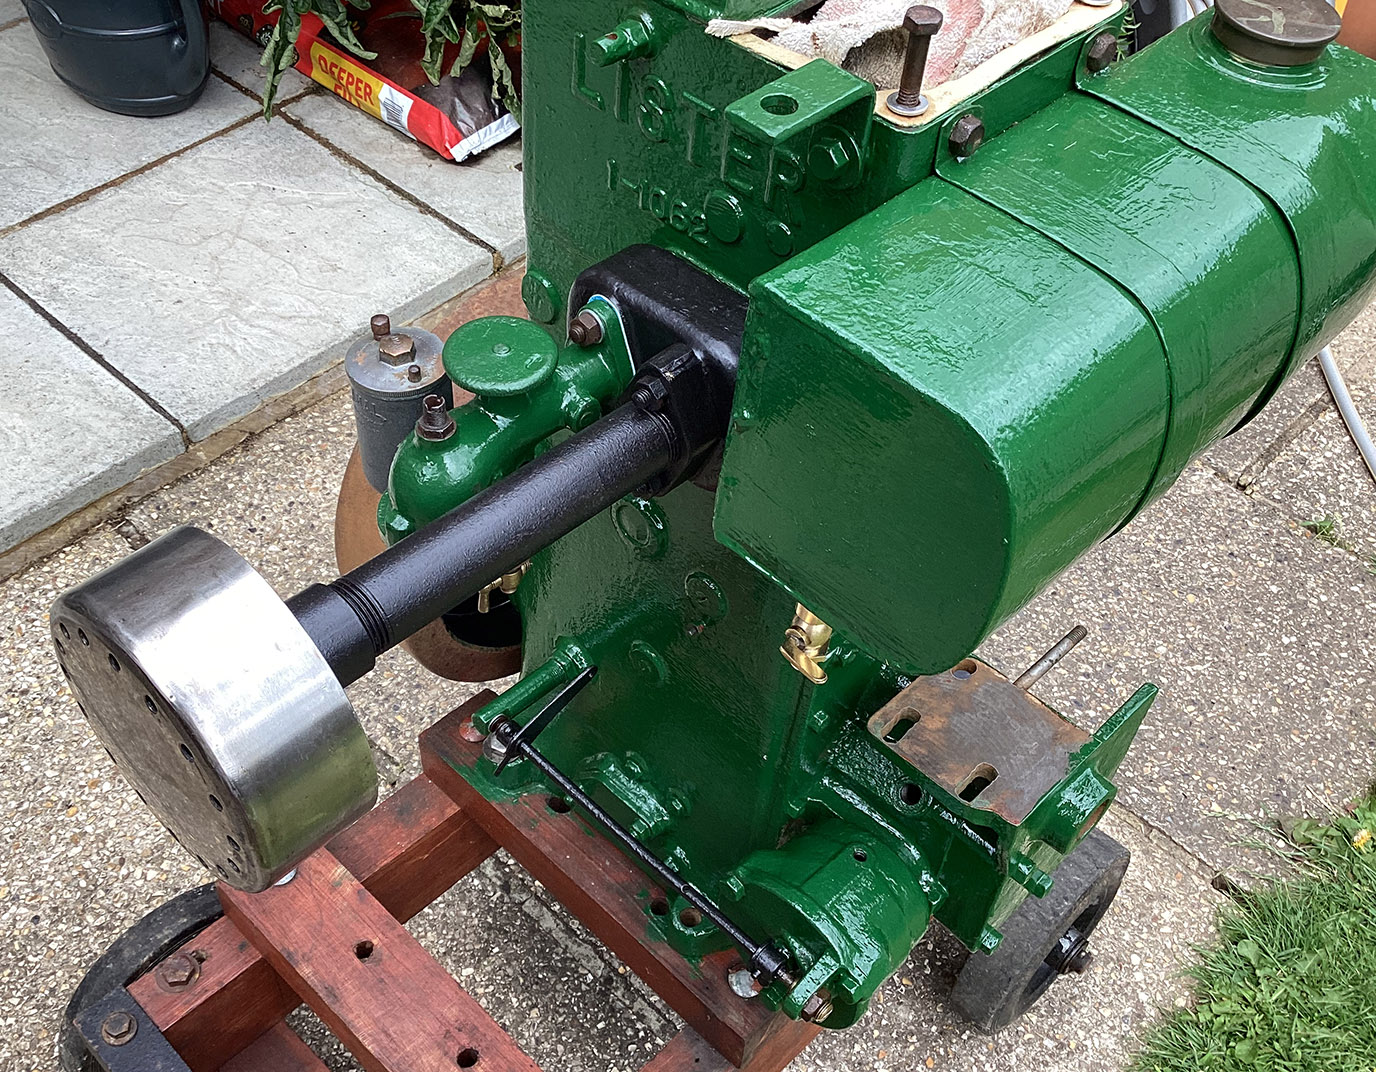
The letter R at the end of the spec type stands for reverse. This engine runs anti-clockwise, when looking at the flywheel. Below are the first two photos of the beast. There’s a fair amount of rust here and there but nothing too serious. It’s not been used for quite a few years but it’s not seized and, surprisingly, the oil looks pretty good. Before attempting to start the engine, I’ll drain the oil and flush out any muck, fill with fresh oil, fit a new spark plug, strip and clean the carburetor… Quite a lot to do.
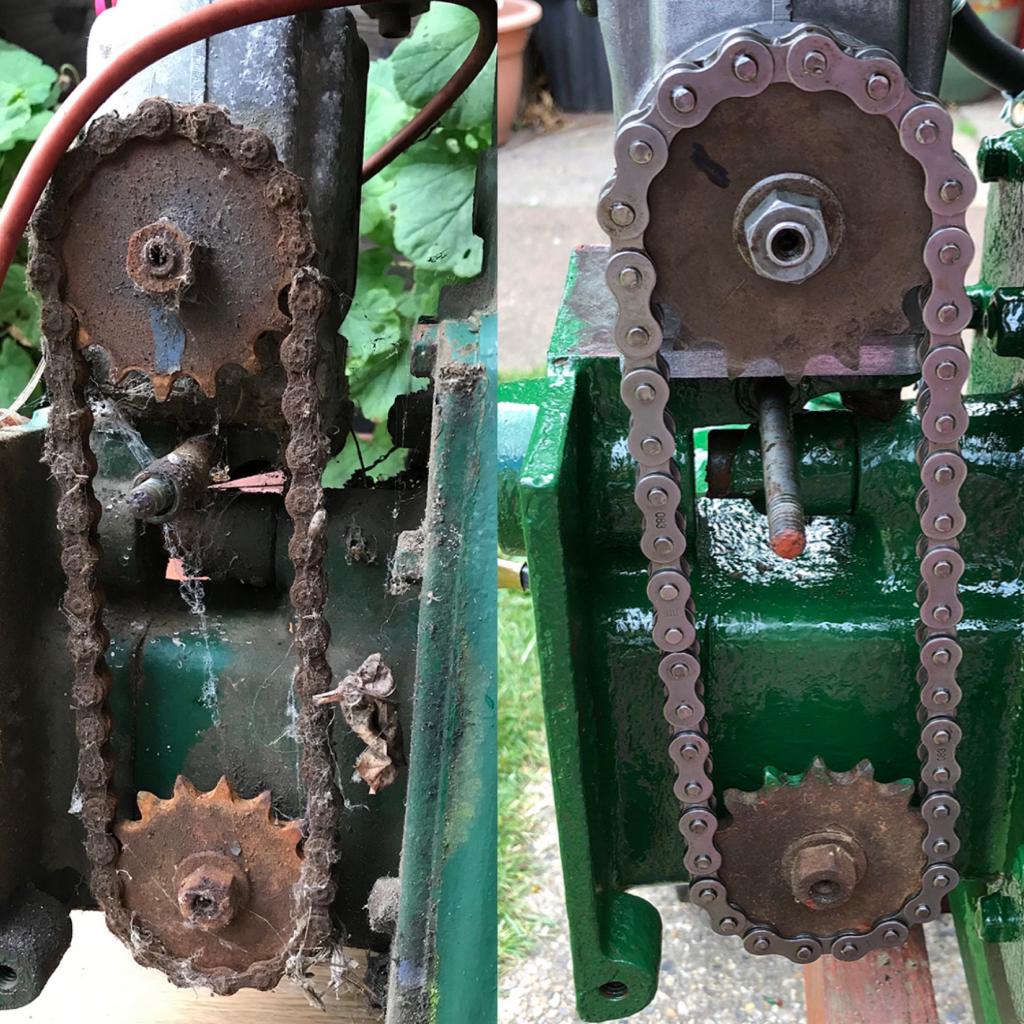
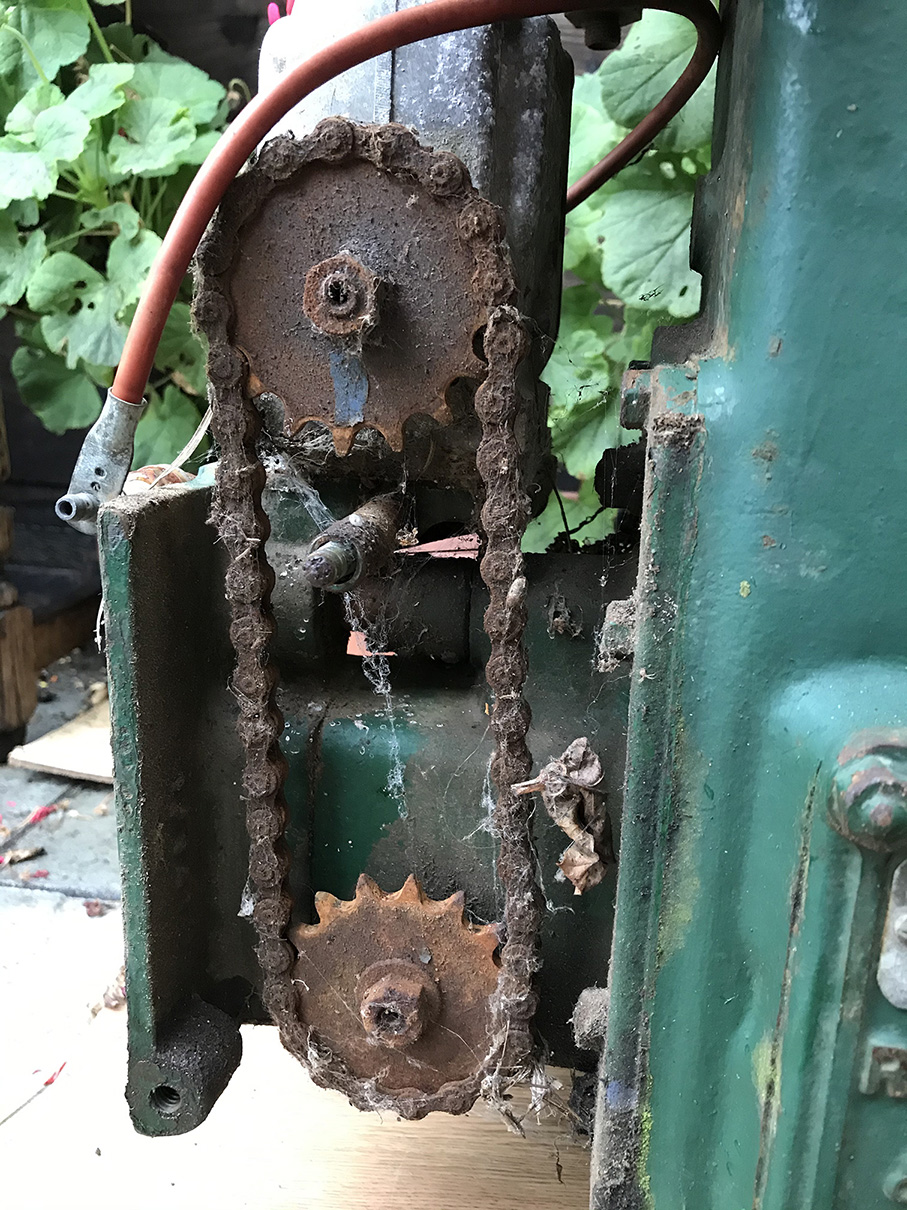
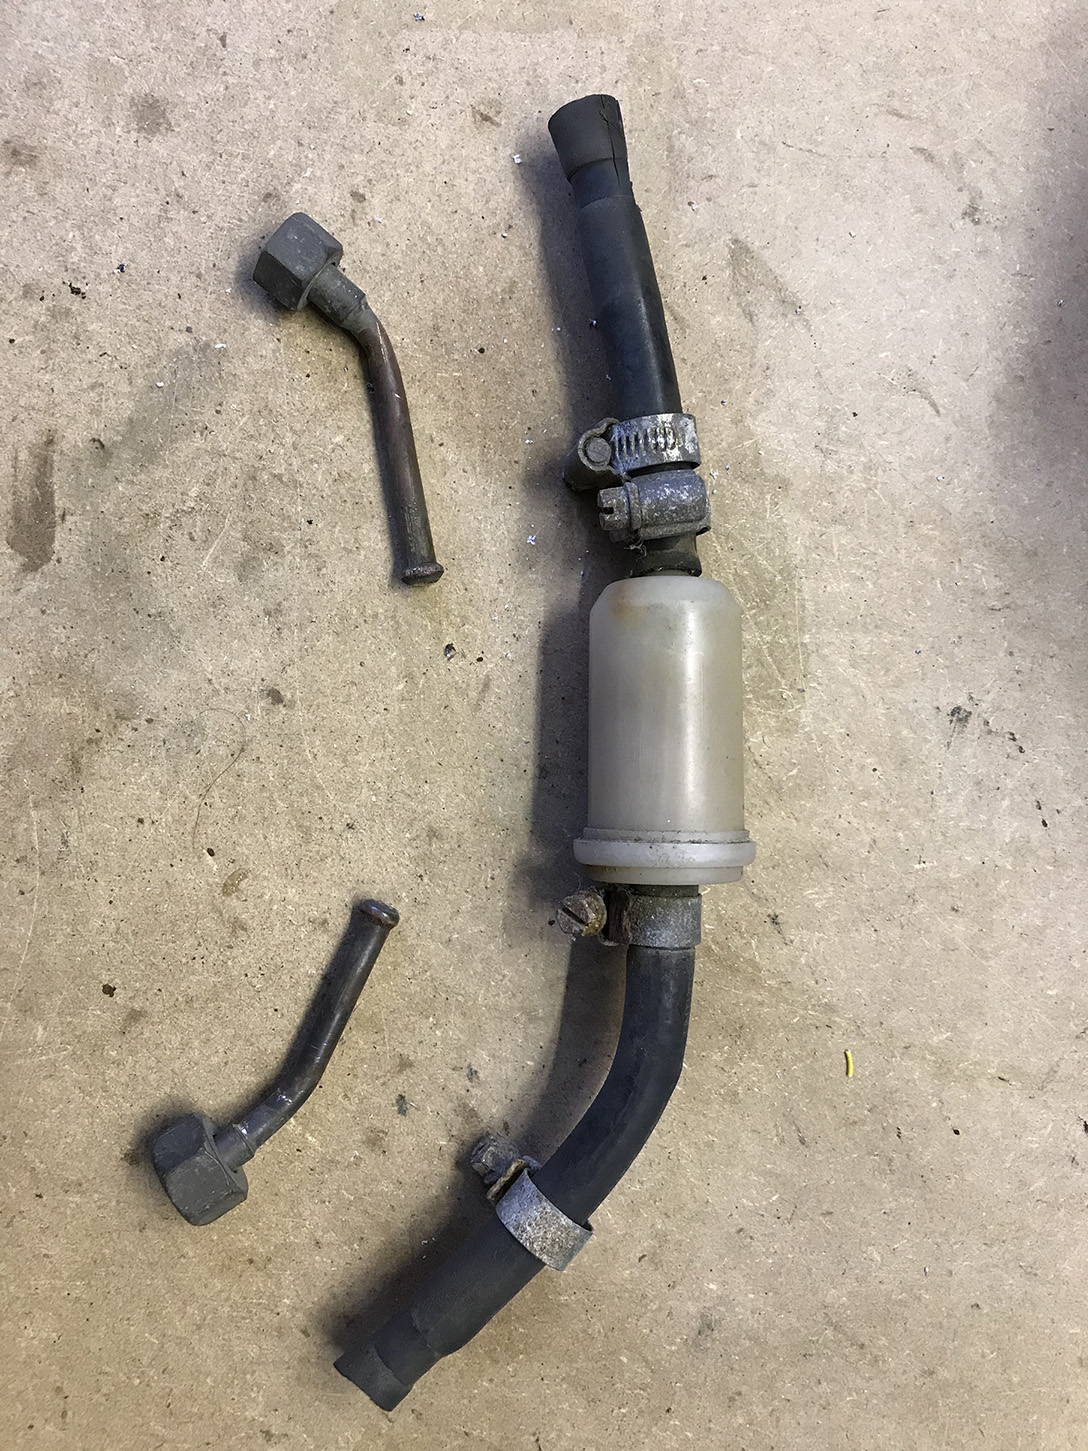
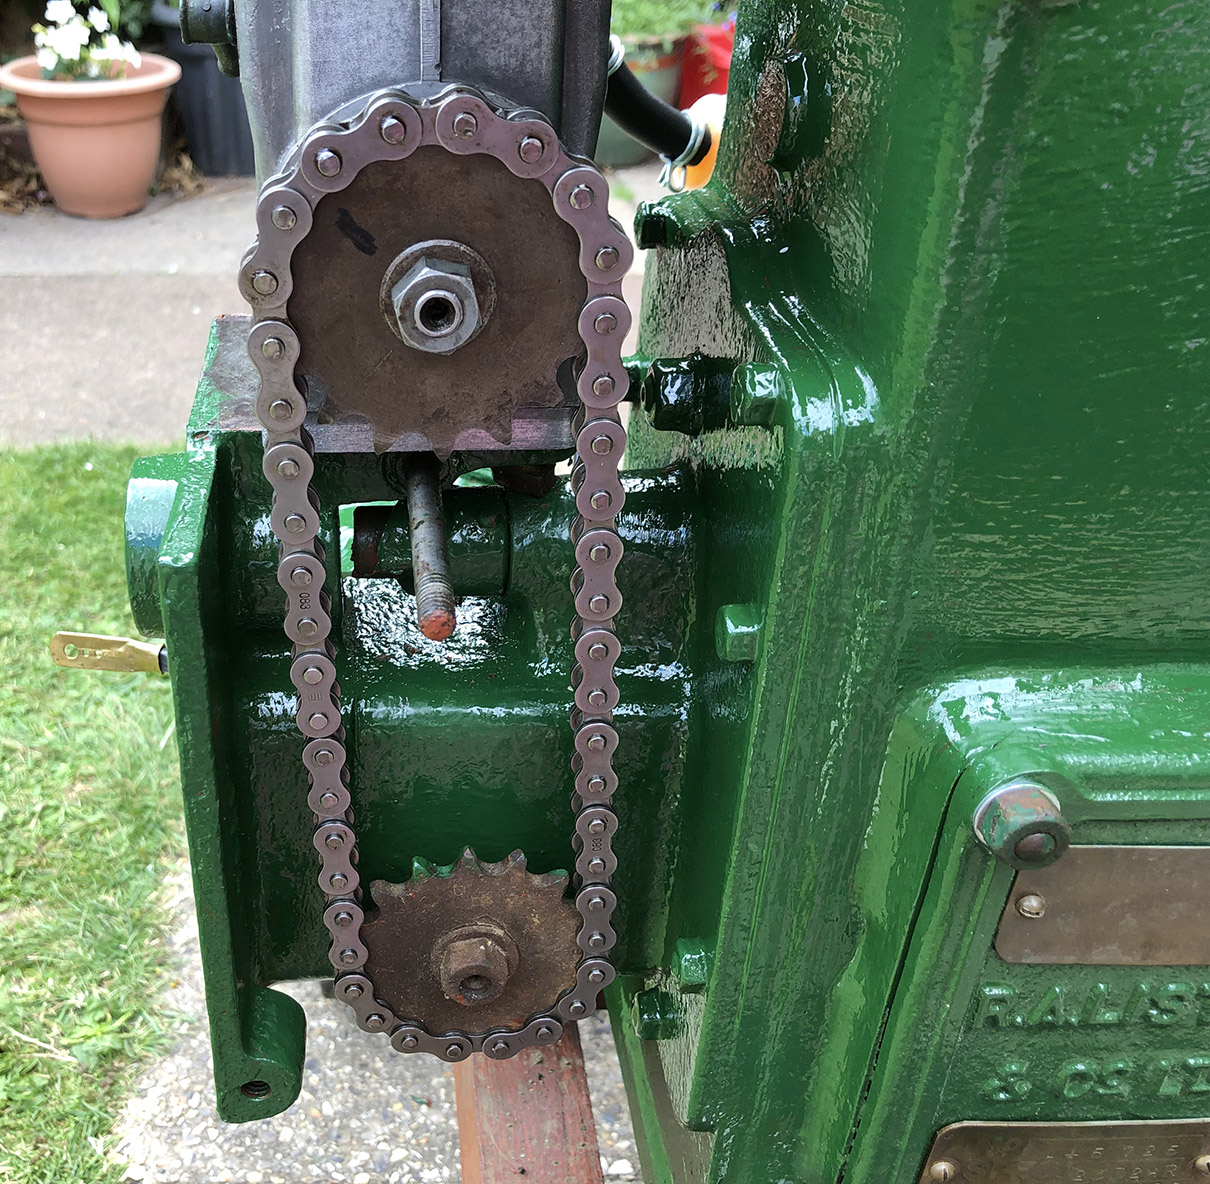
Rusty chain, weird fuel line and more…
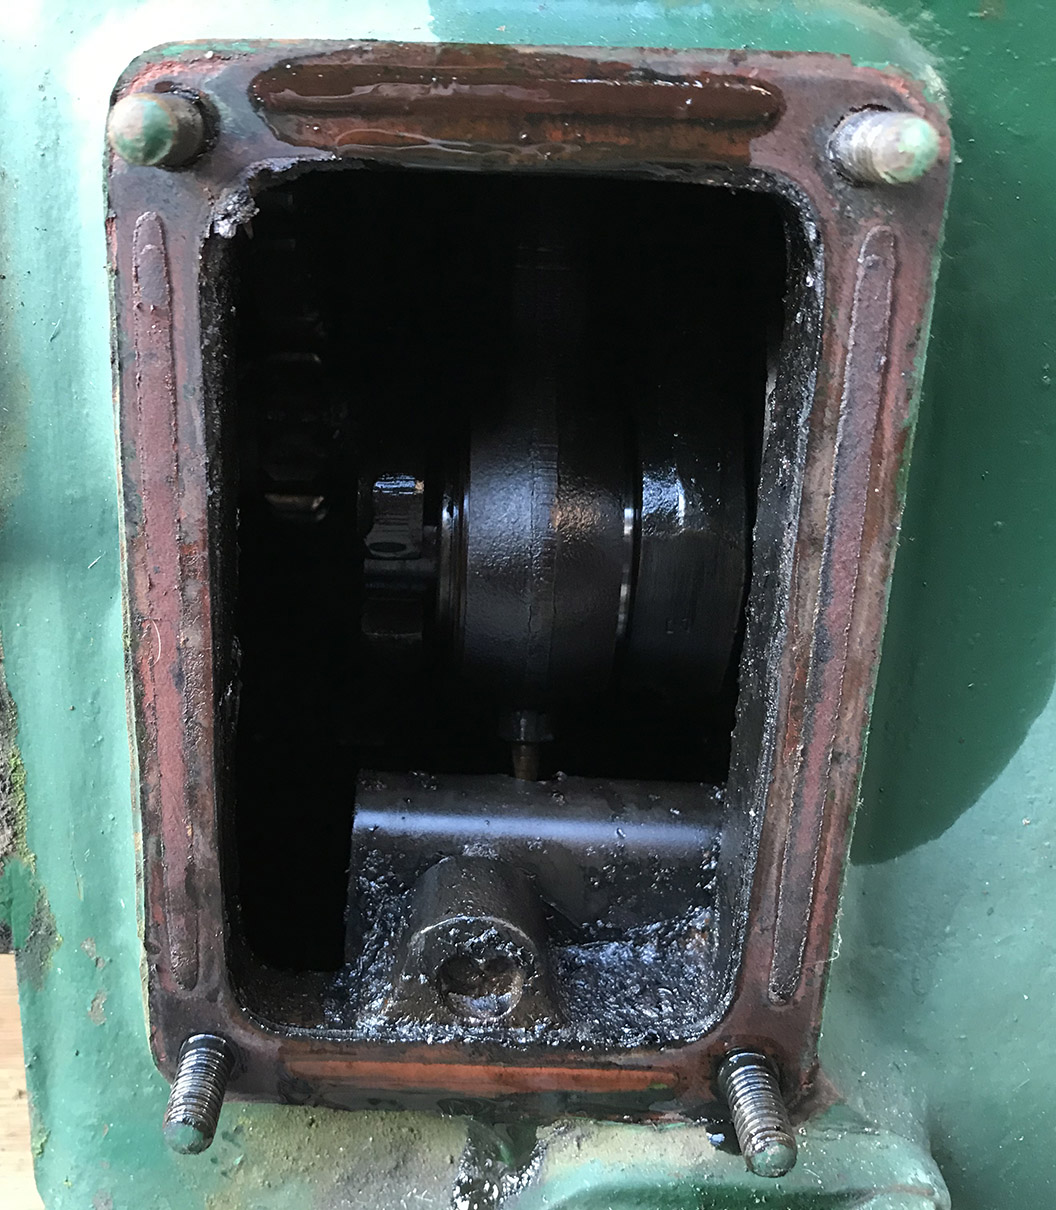
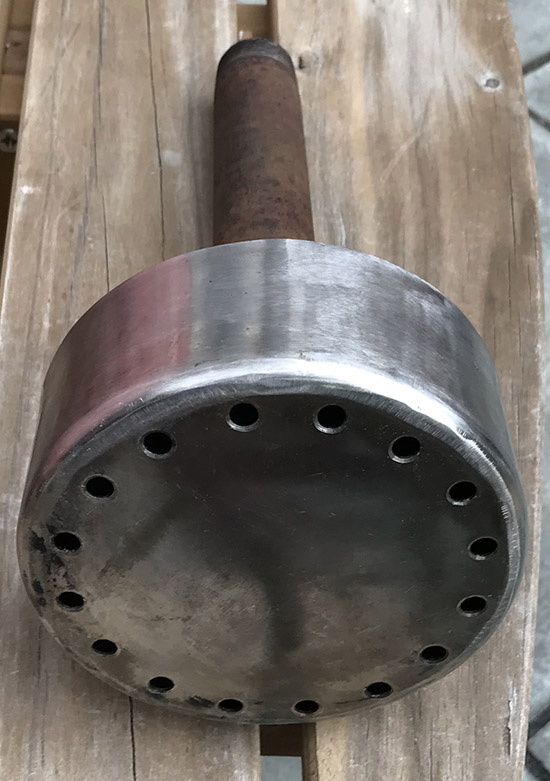
There appears to be shed loads of rust on the timing chain and sprockets. There’s no point in trying to clean up the old chain so I’ve ordered a new one. I’ve also ordered a new filter and fuel pipe as the old assembly looks rather knackered. I don’t think the fuel line and filter are original as all the engines I’ve seen use a copper fuel pipe. I was rather concerned about the condition of the big end bearing so I removed the crank case door and had a look. I could detect no play at all between the crank shaft and connecting rod, which was a relief.
14/12/20
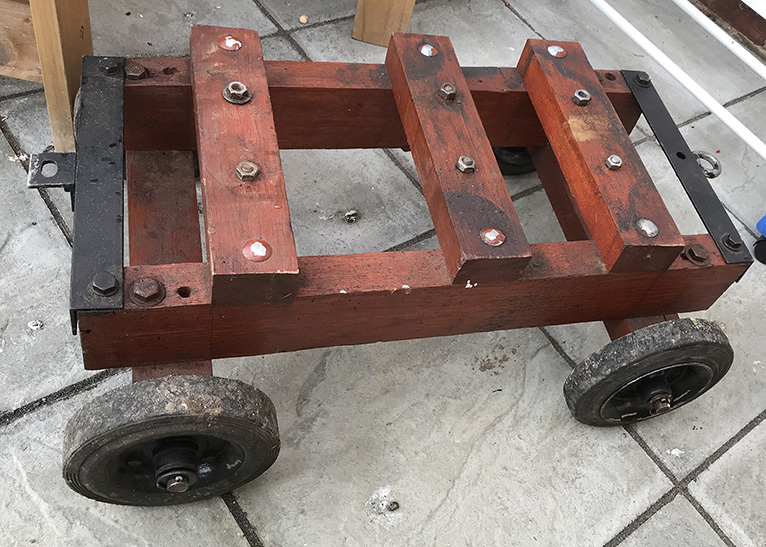
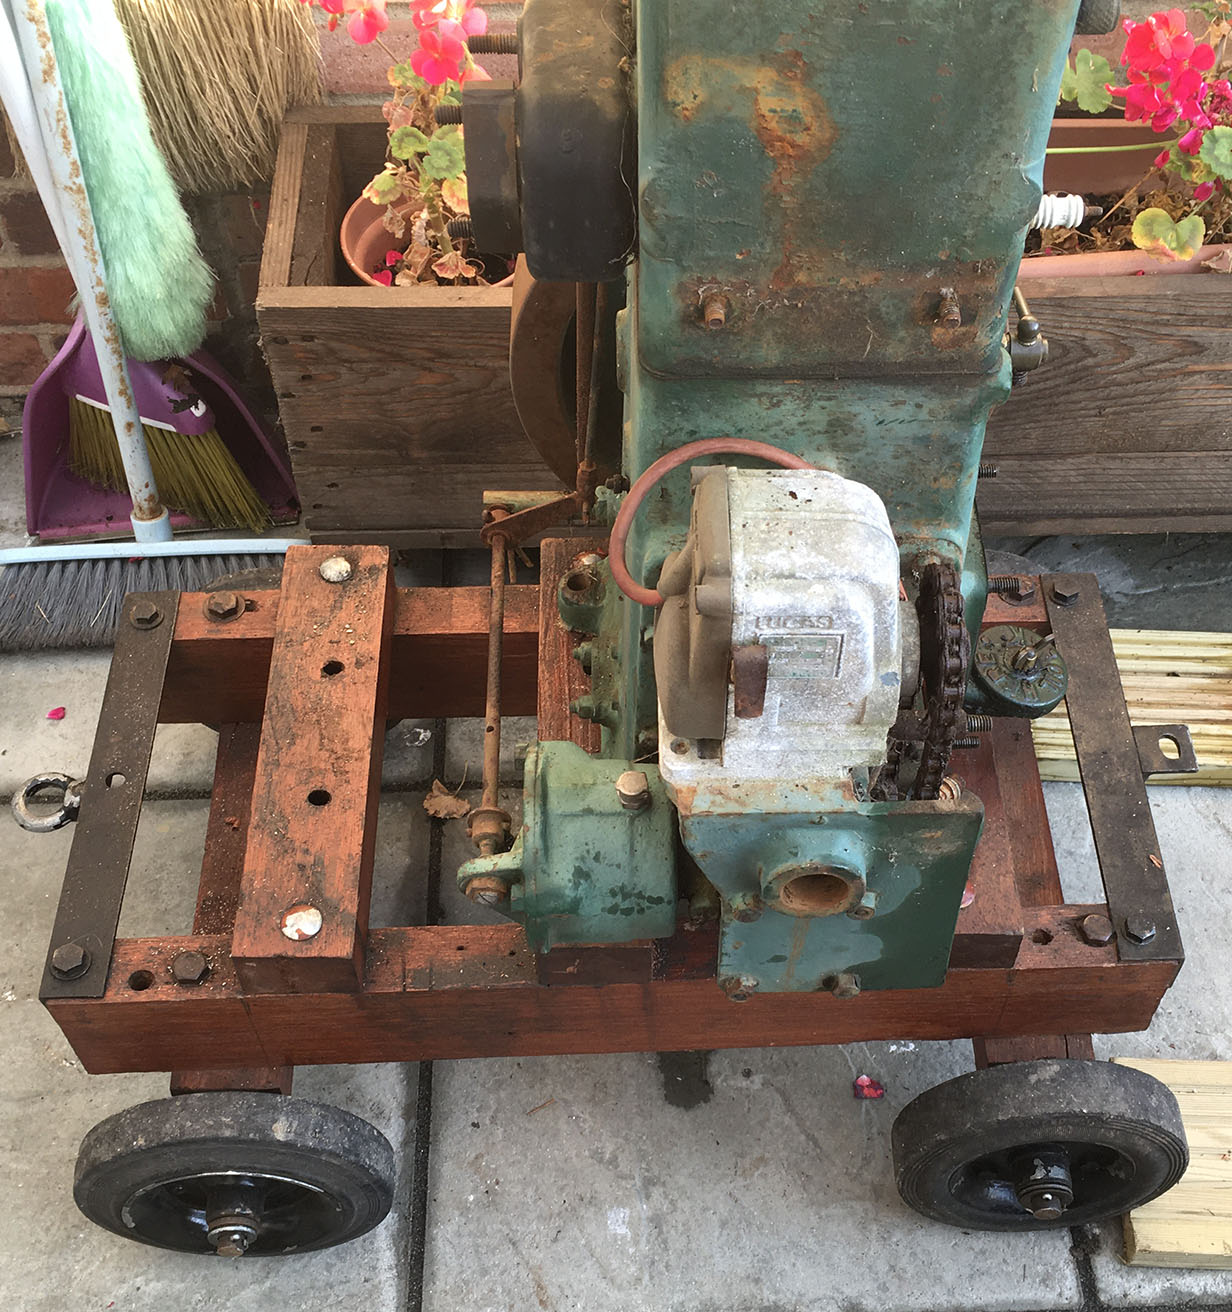
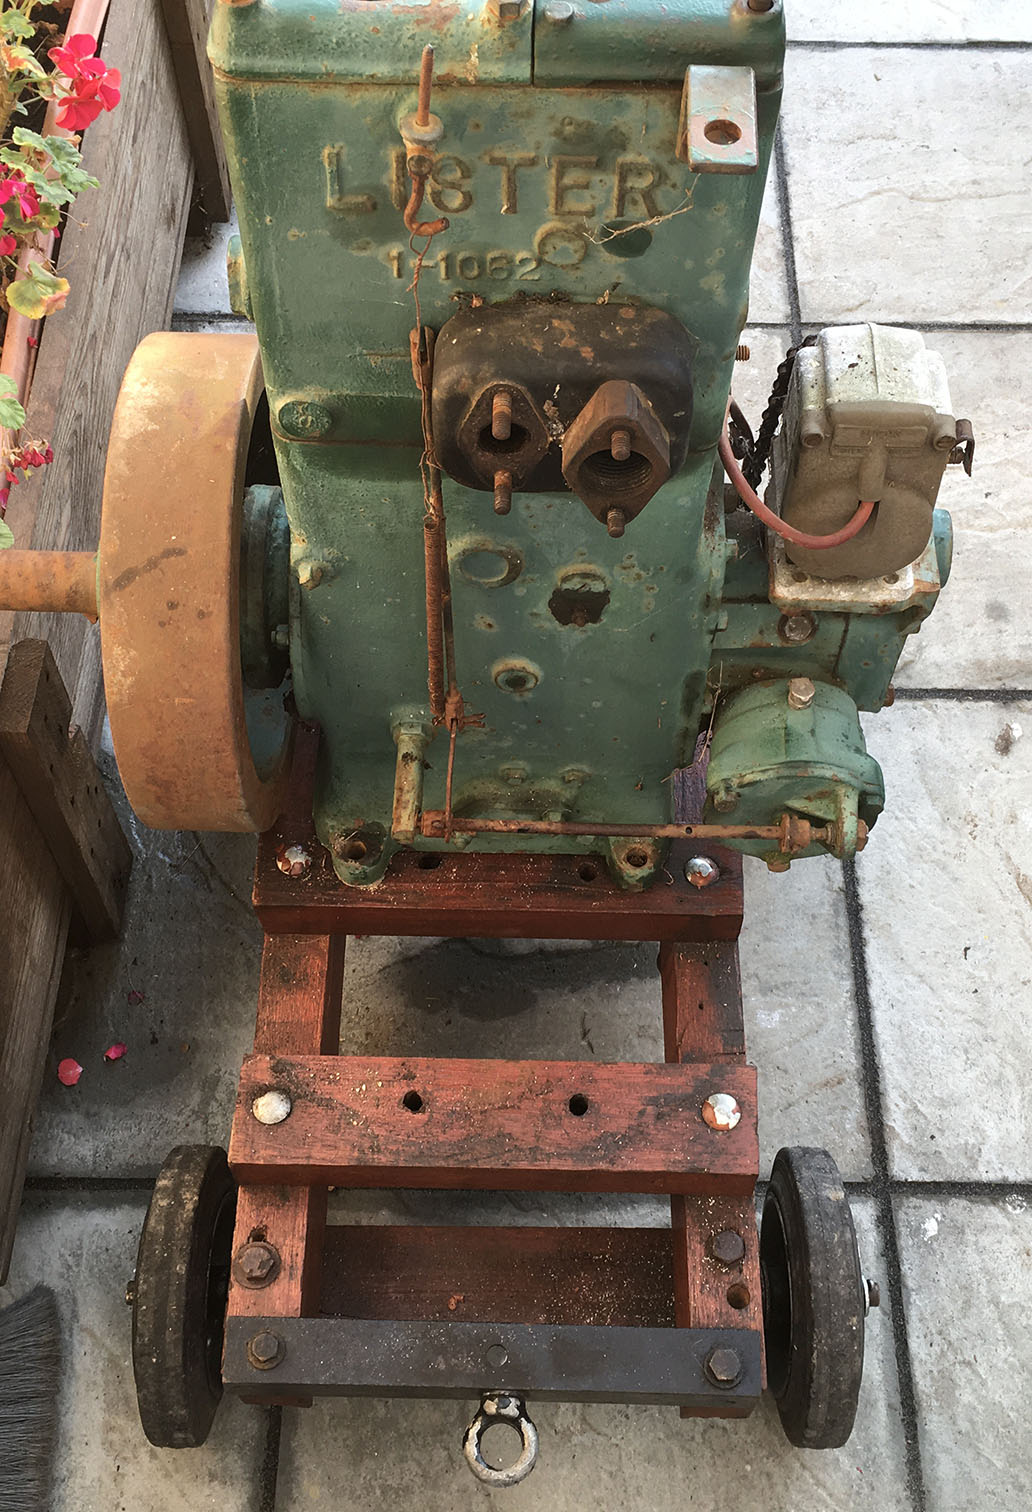
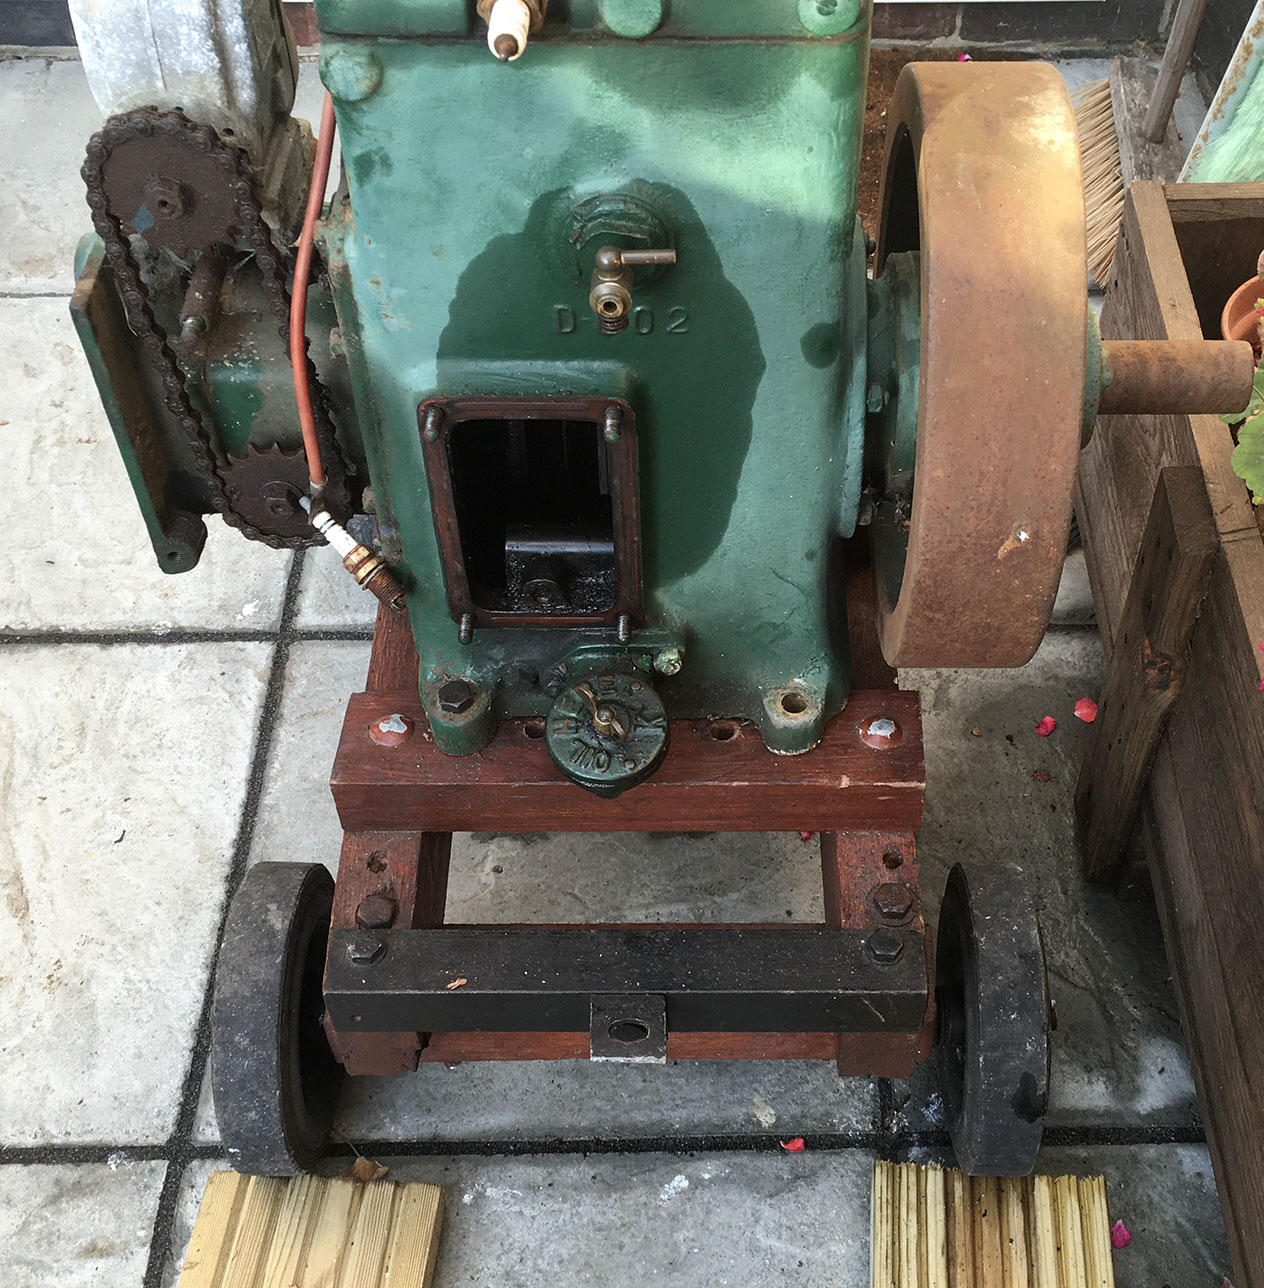
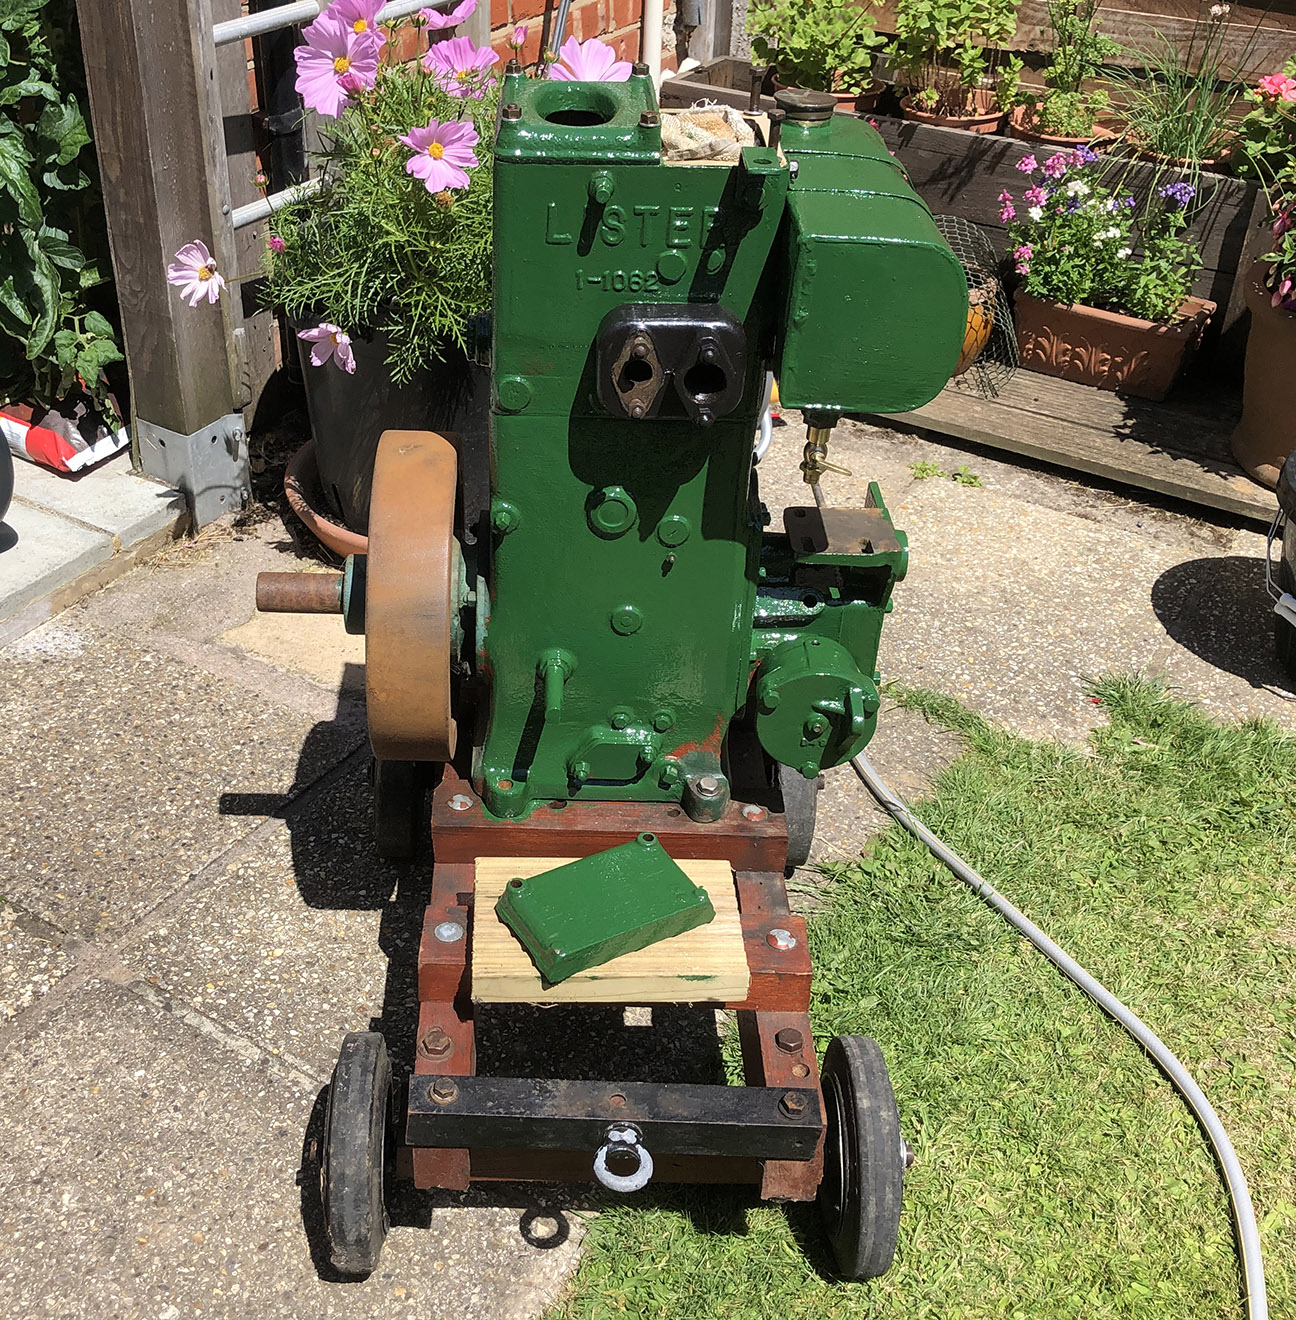
Just picked up a trolley for the engine. Nicely built and very sturdy! Which it needs to be as the engine weighs around 298lbs. That’s around 21 stones!
15/12/20: Engine runs backwards!
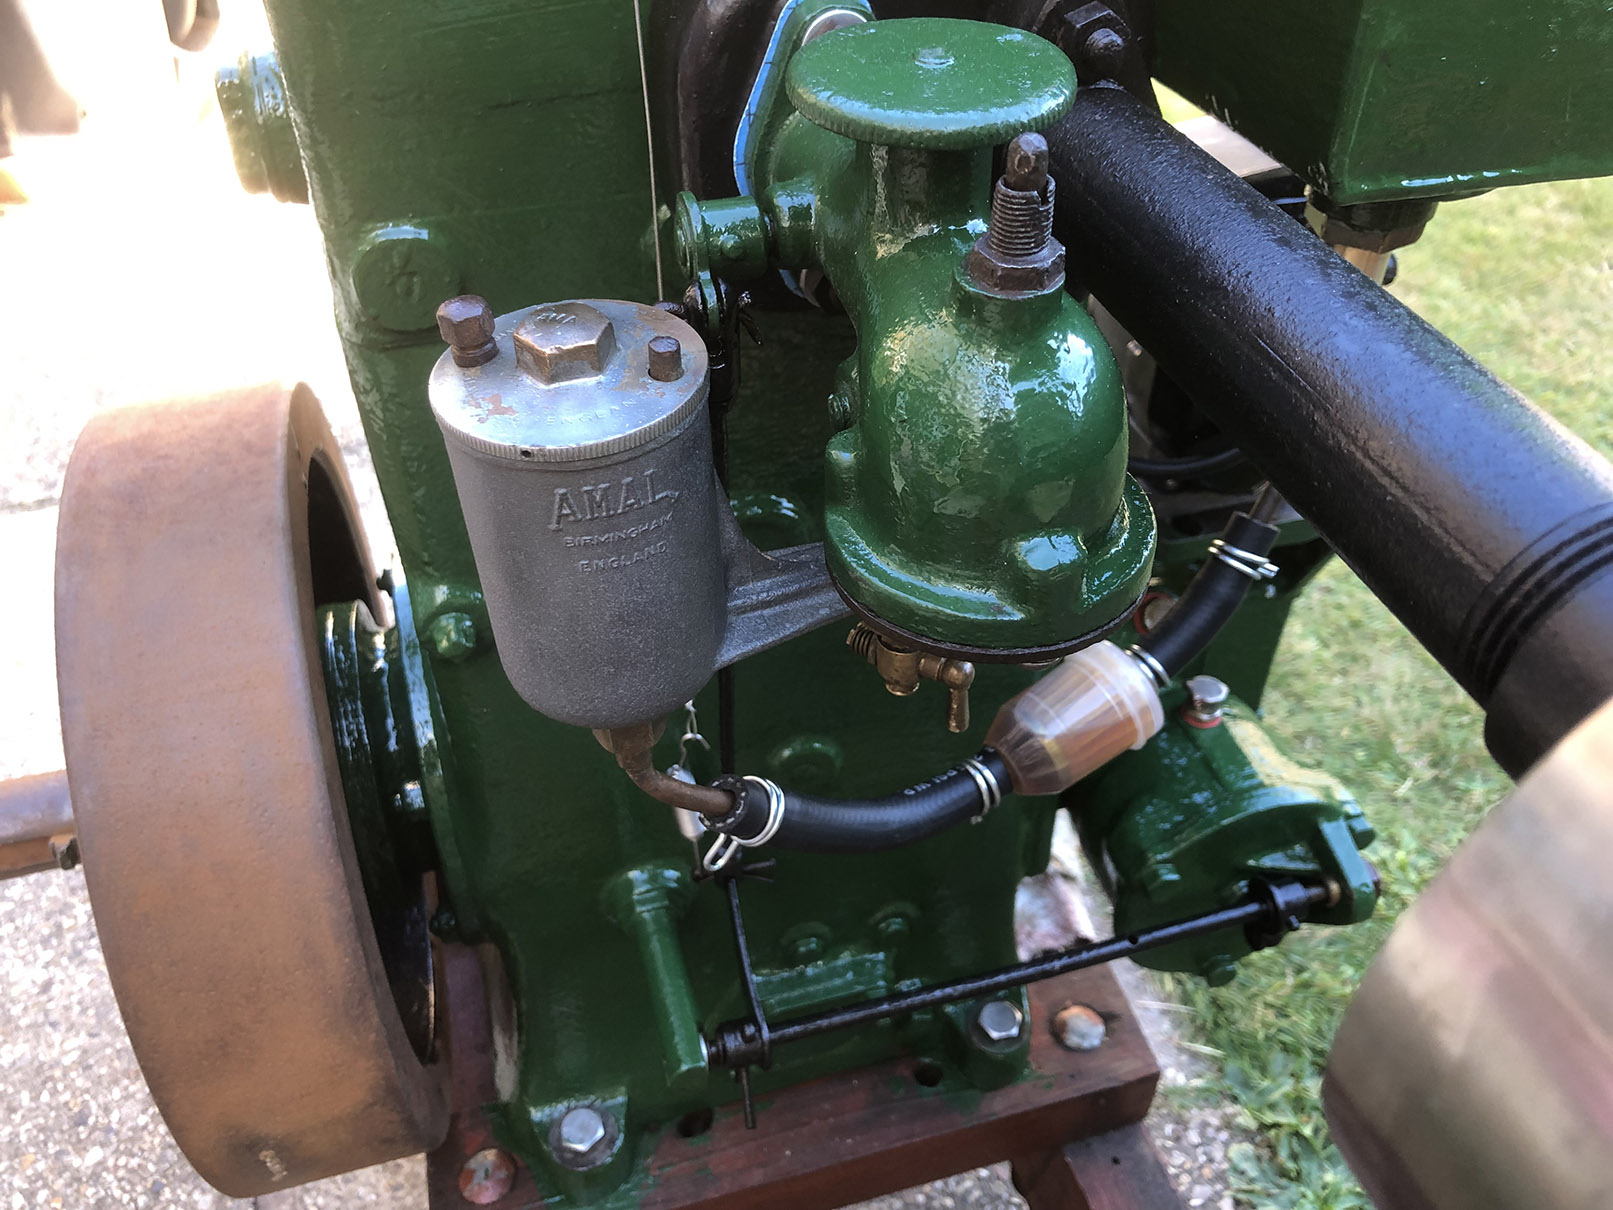
An interesting discovery. Most Lister D engines run in a clockwise direction, looking at the flywheel. This one has been modified to run anticlockwise. To reverse an engine, a new starting handle and dog, for the handle to engage, are needed. Also, a reverse magneto must be fitted and the carburetor and exhaust have to be swapped round. On my reverse engine, it would appear that the carb and exhaust have been fitted the wrong way round. By the way, the inlet and exhaust valves are identical.
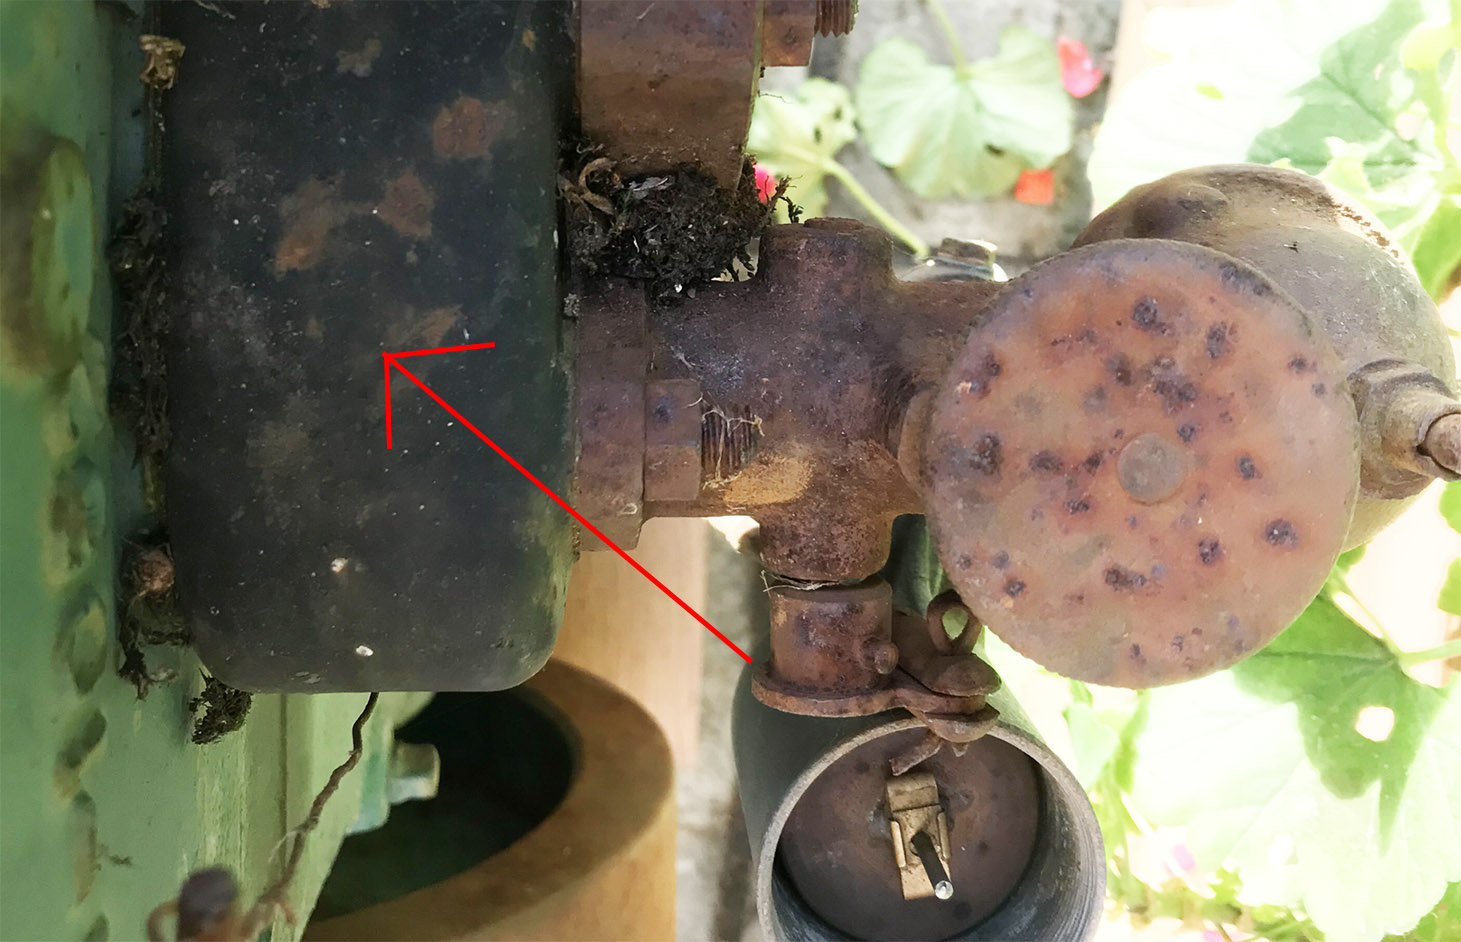
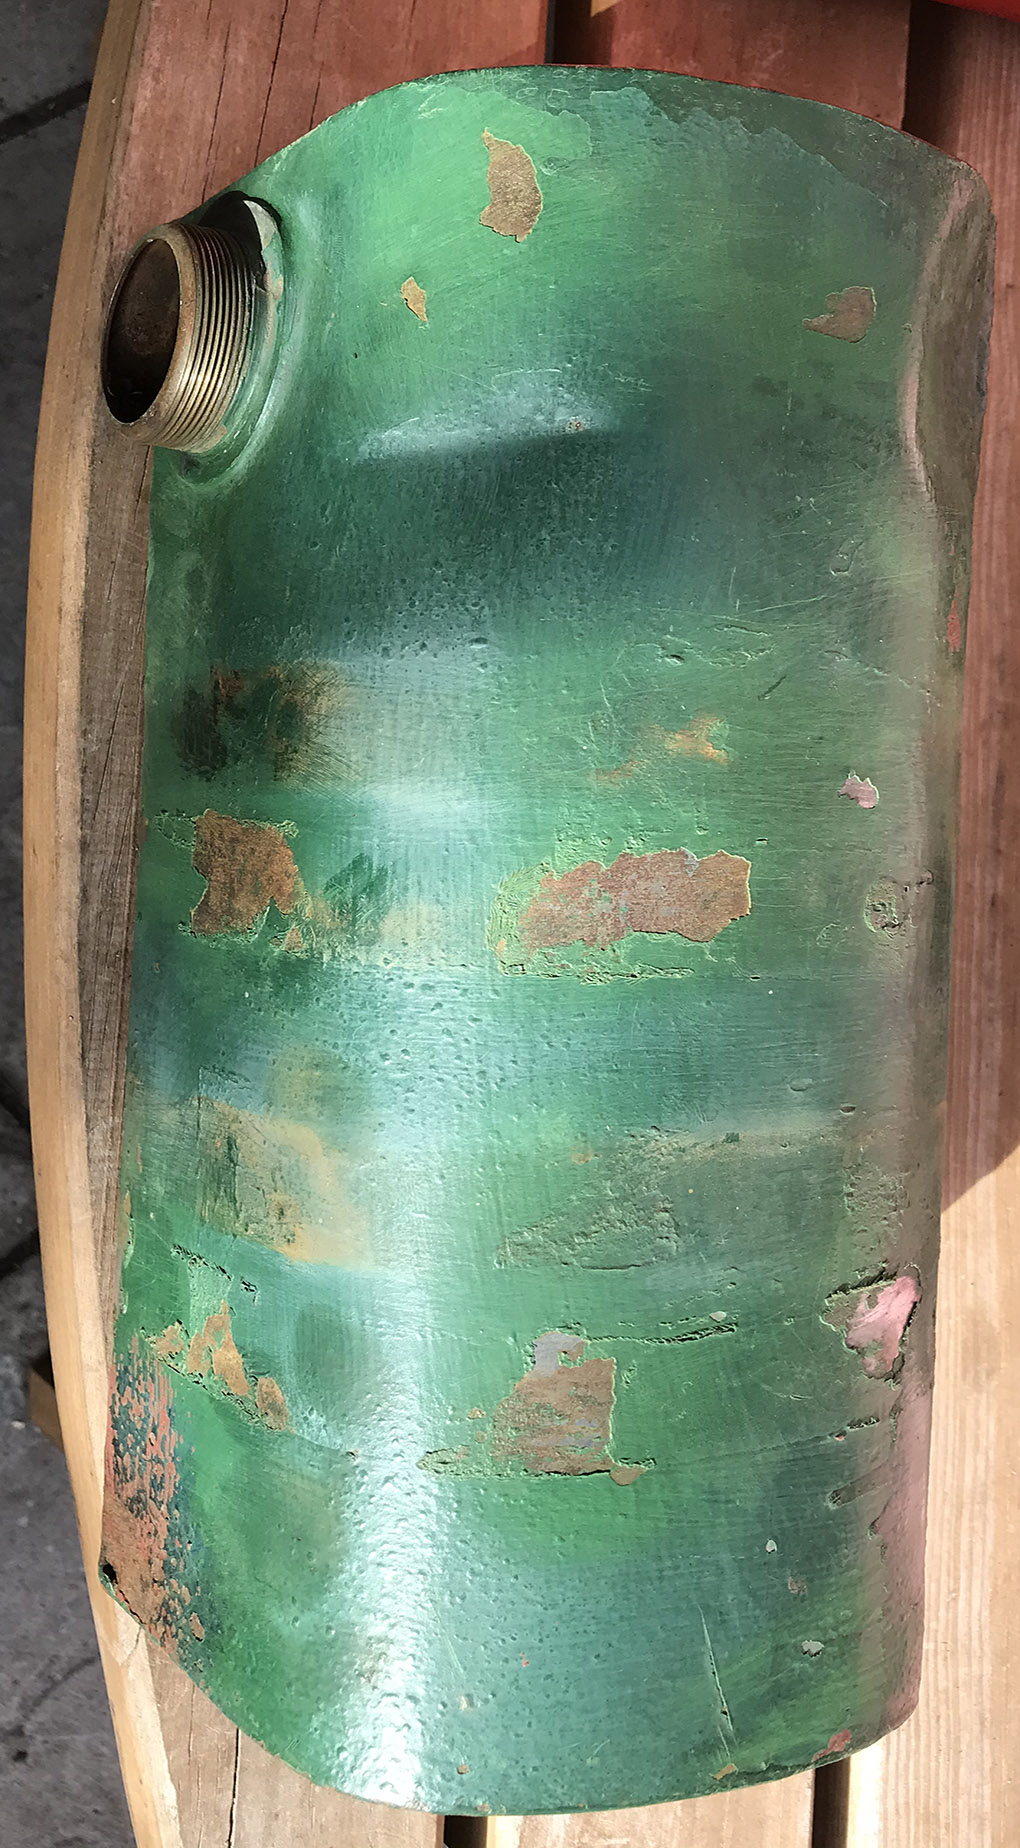
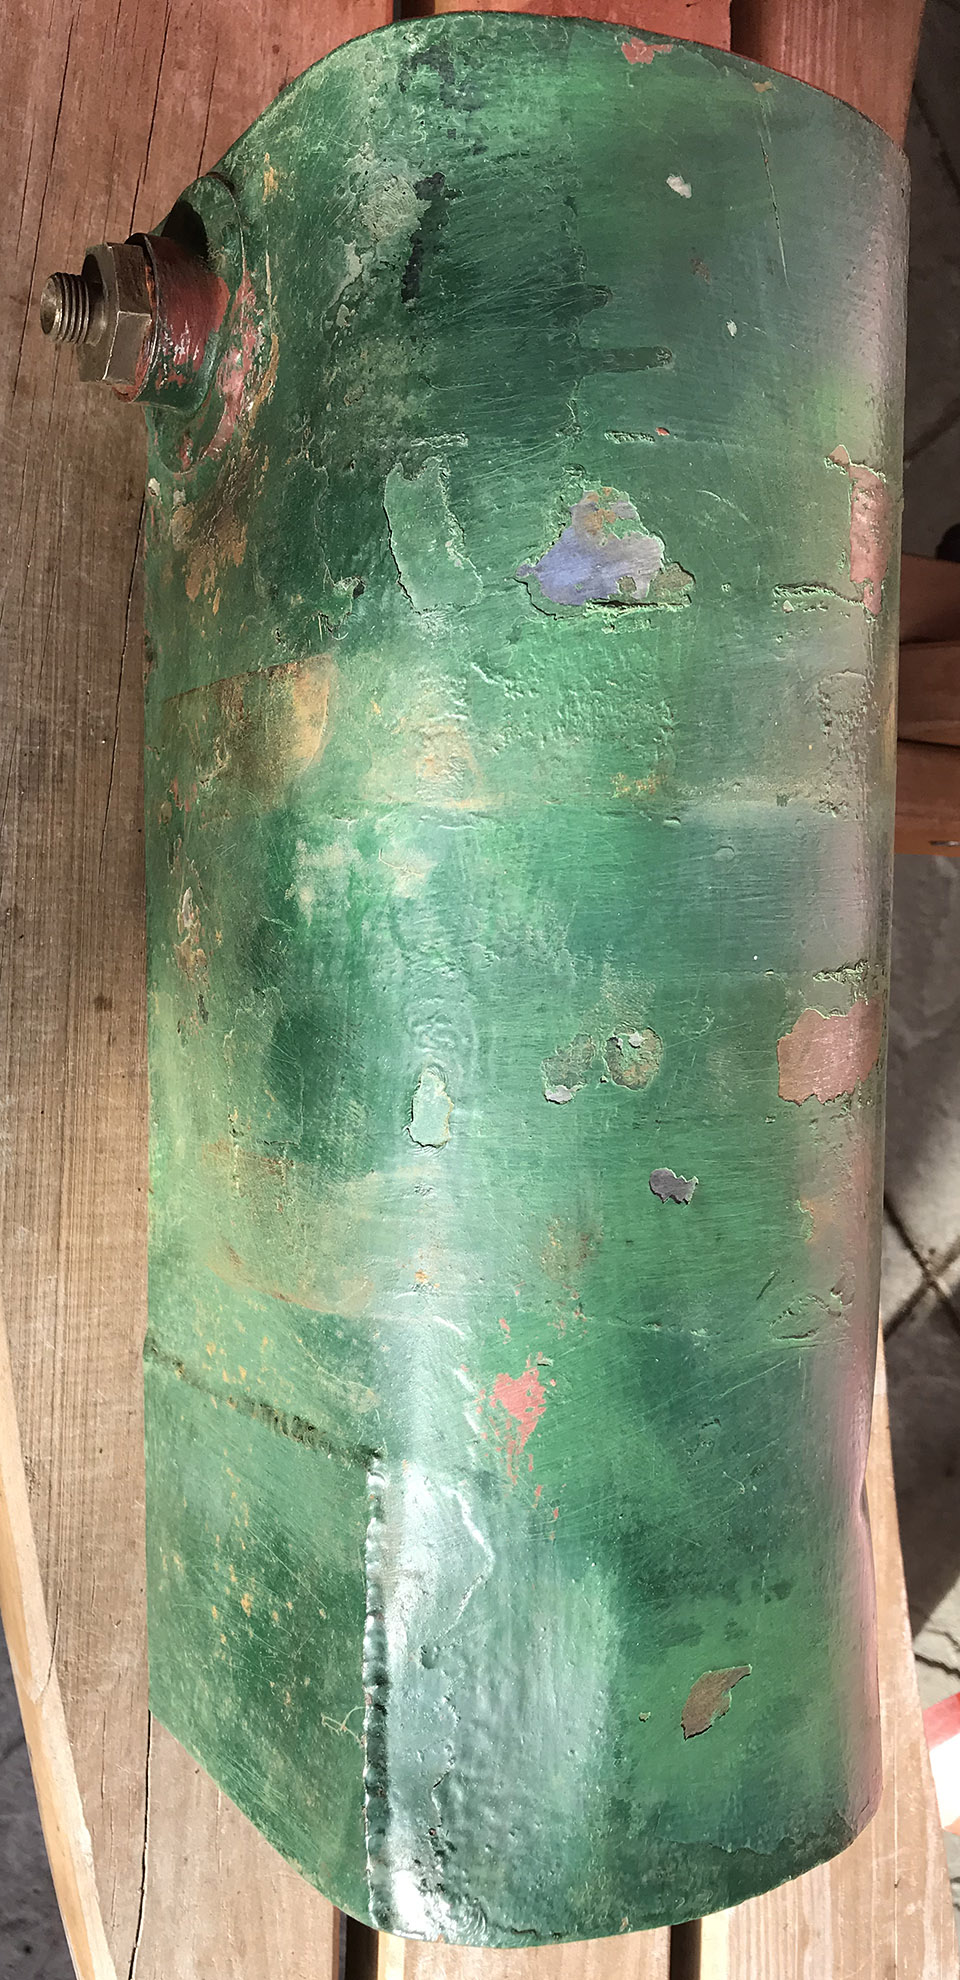
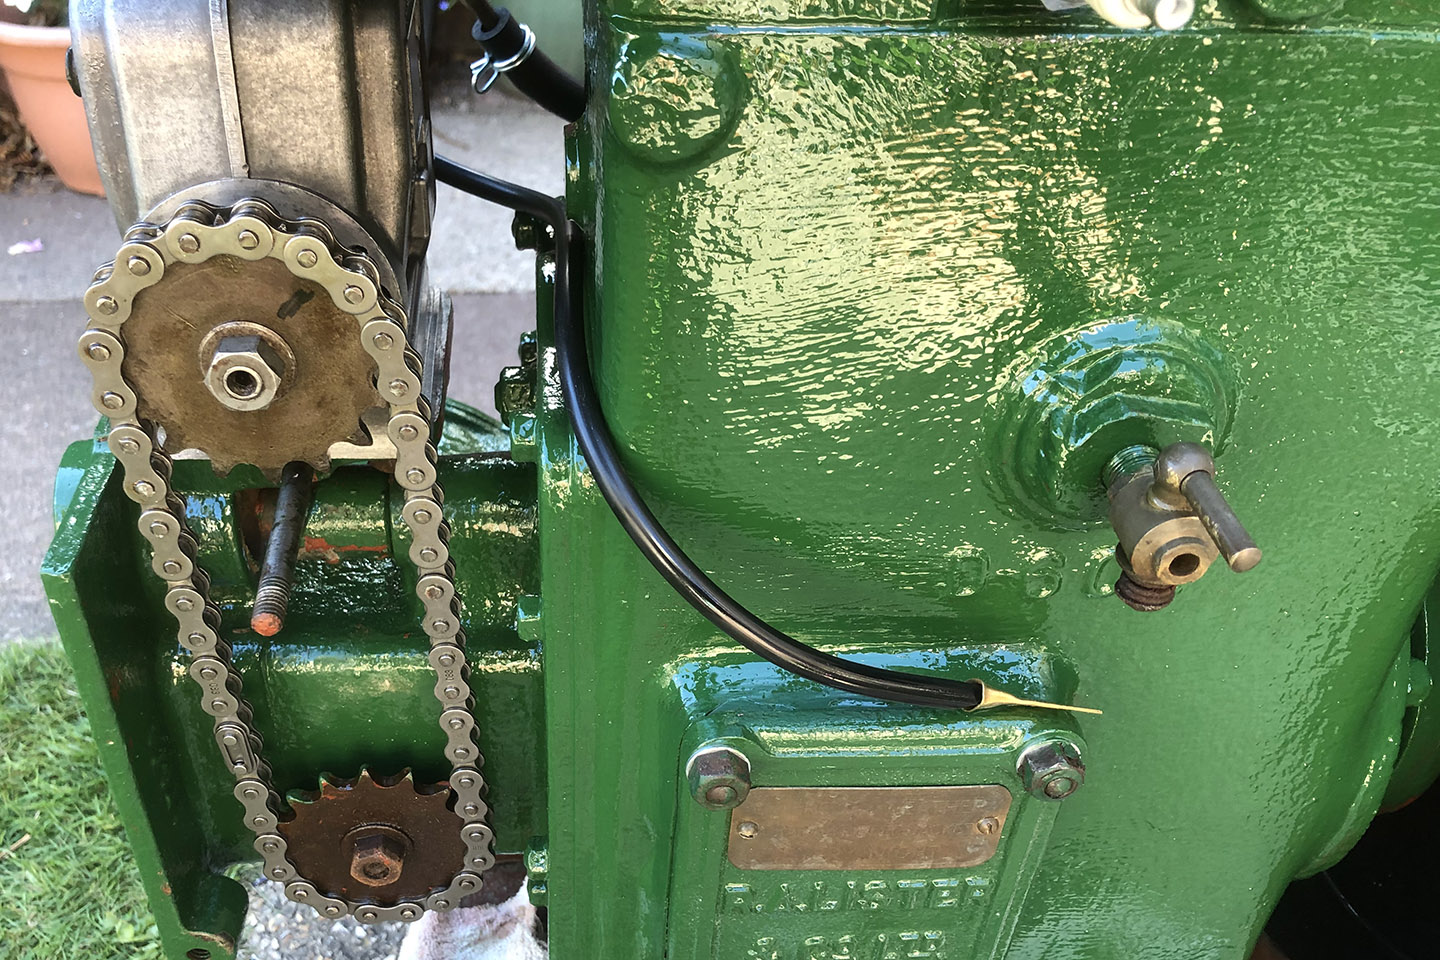
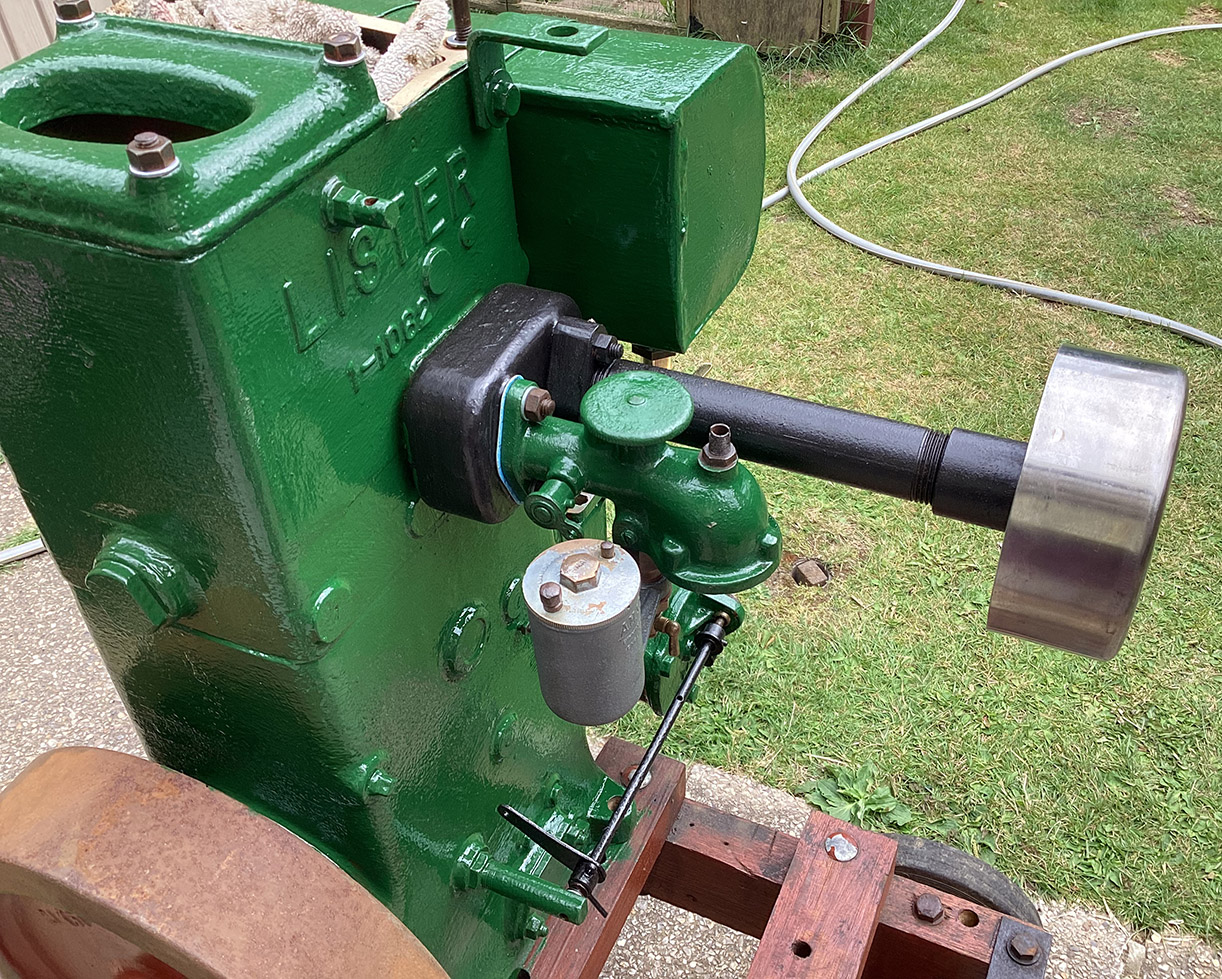
The engine is fitted with a vapouriser block to enable paraffin to be used instead of petrol. I’ve now discovered that the vapouriser block reverses the ports. In other words, it swaps over the exhaust and inlet channels. This is fine but, obviously, the carb and exhaust pipe also need to be swapped. If the engine has been modified for reverse running, the carb and exhaust need to be swapped round. Now I’m confusing myself! Conclusion: the carb and exhaust have been fitted correctly for reverse running and paraffin fuel.
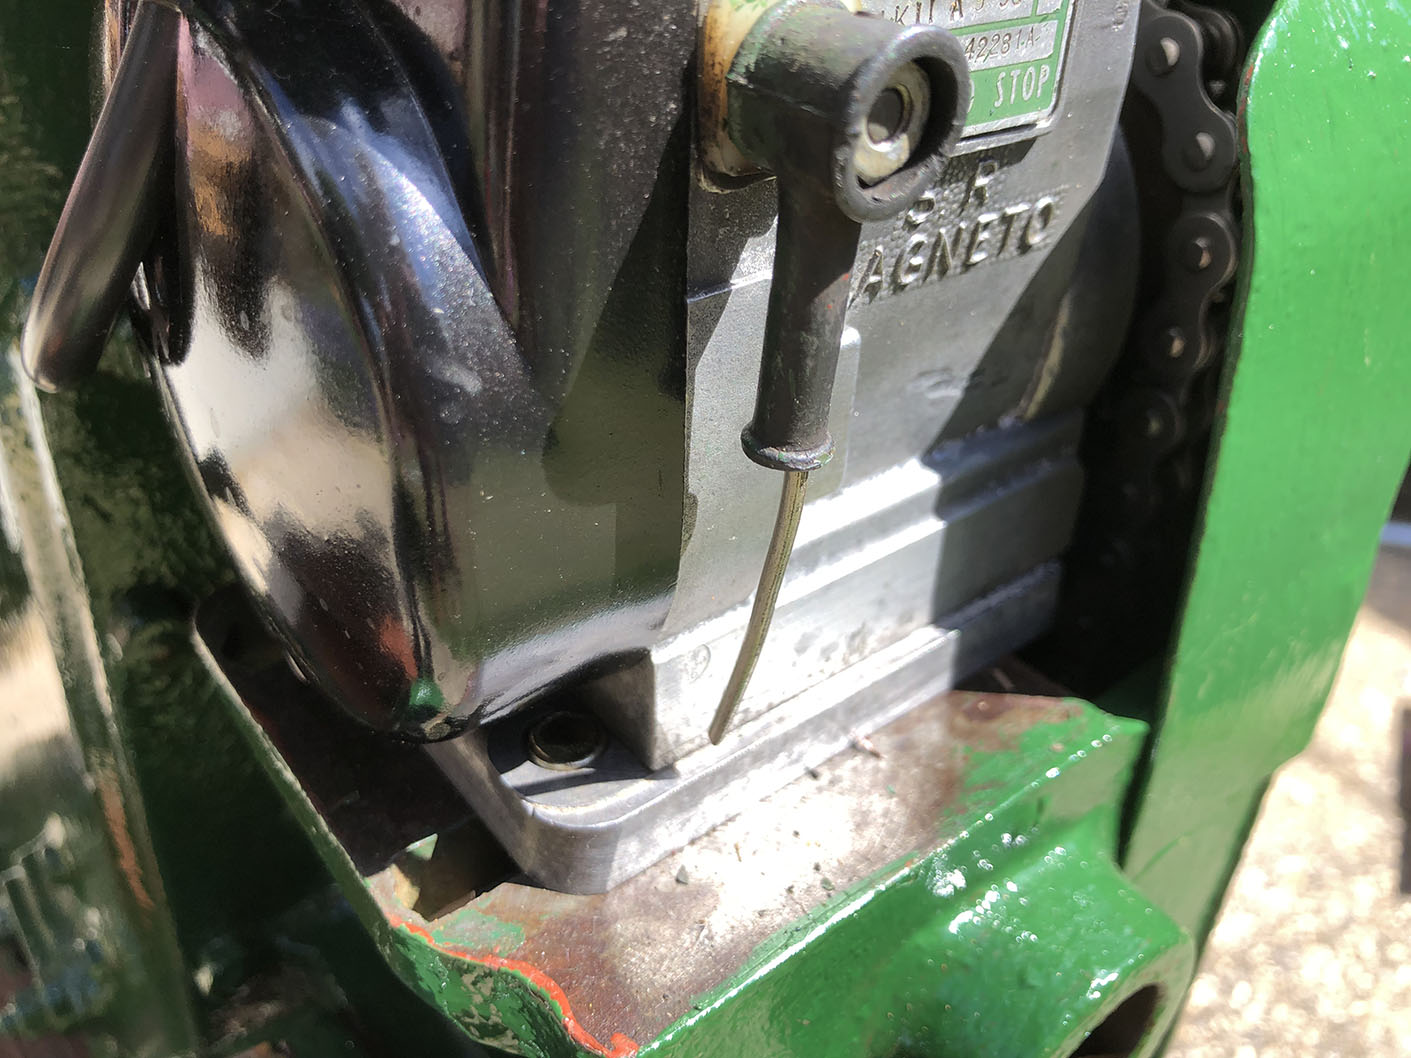
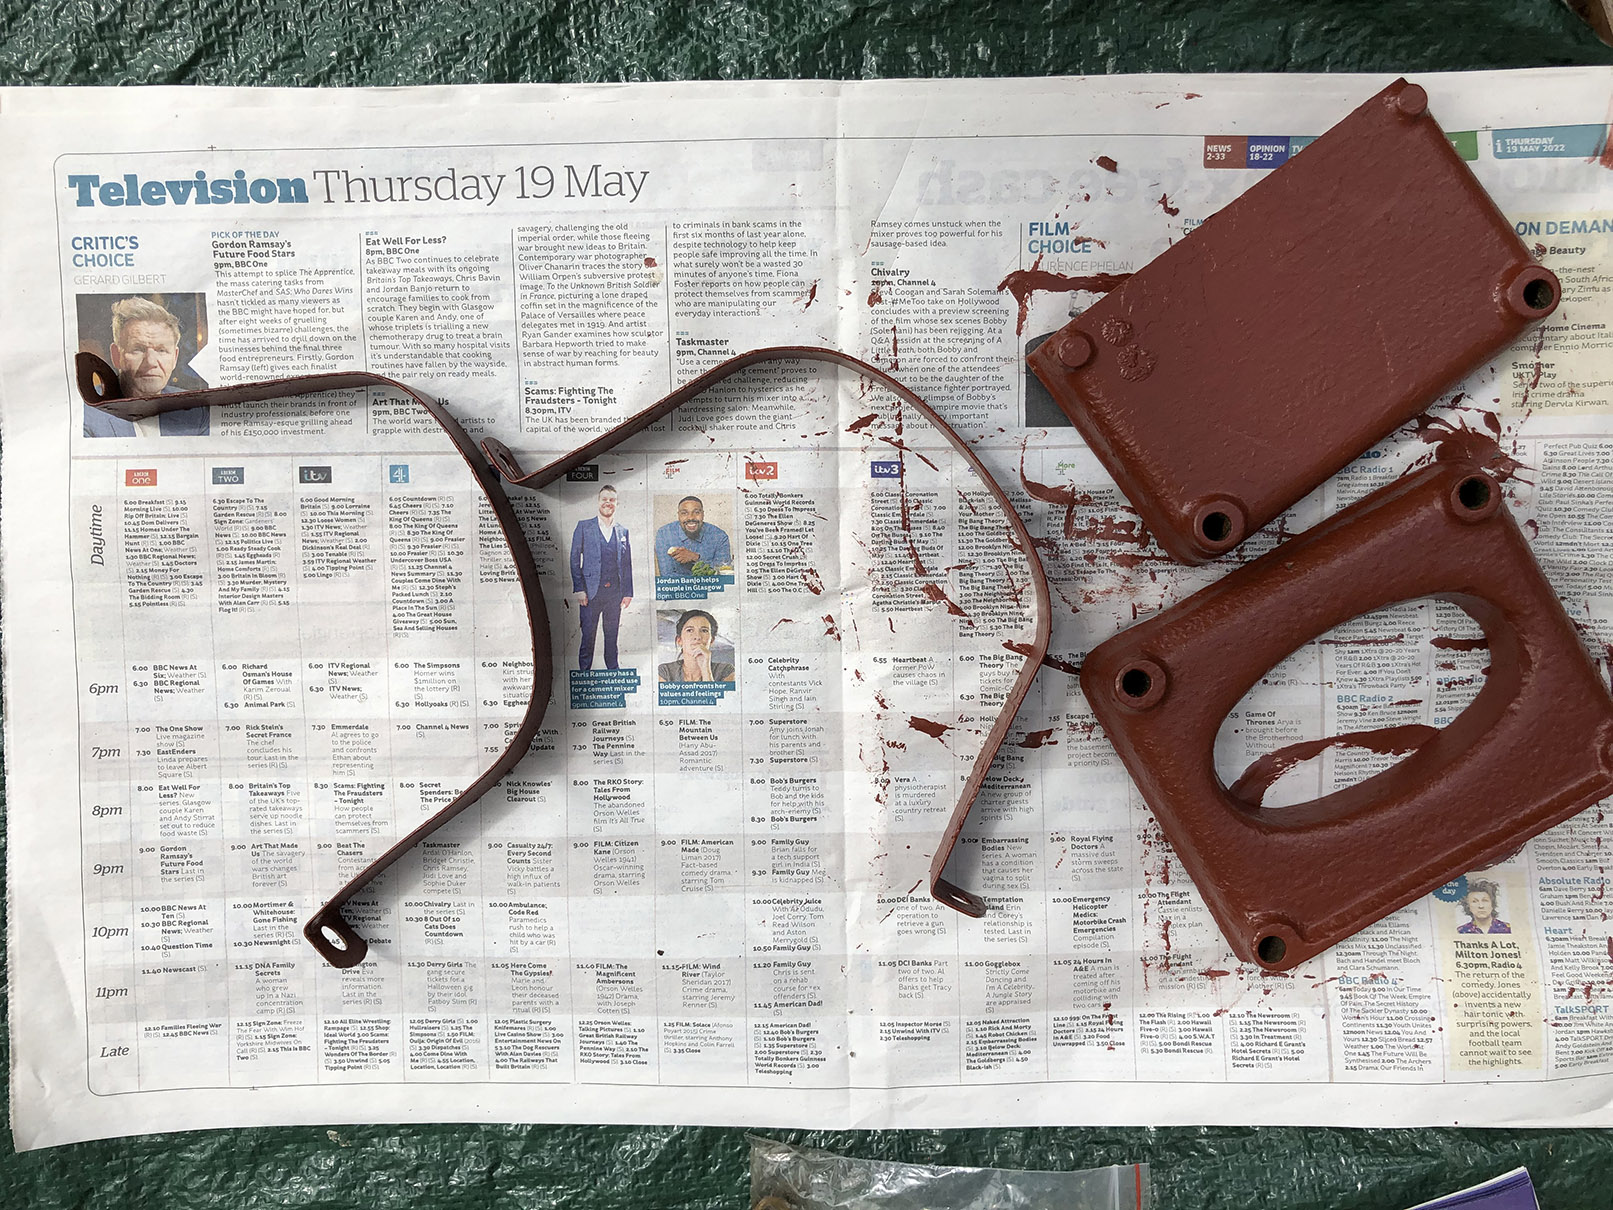
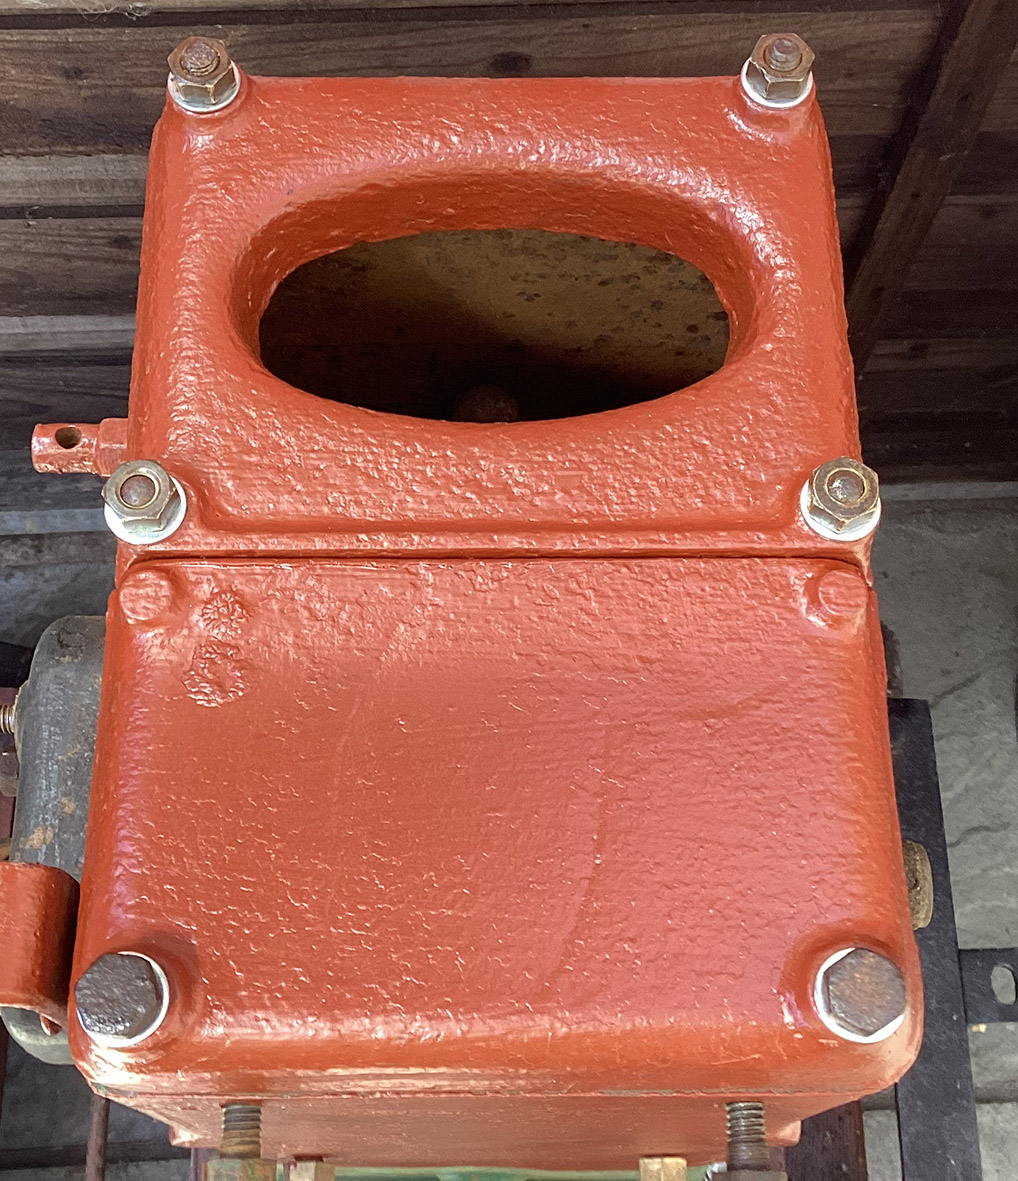
Pictured below is the vapouriser block, indicated by the red arrow. It channels the inlet through the hot exhaust jacket to vapourise the fuel. This is a factory modification, not a bodge.
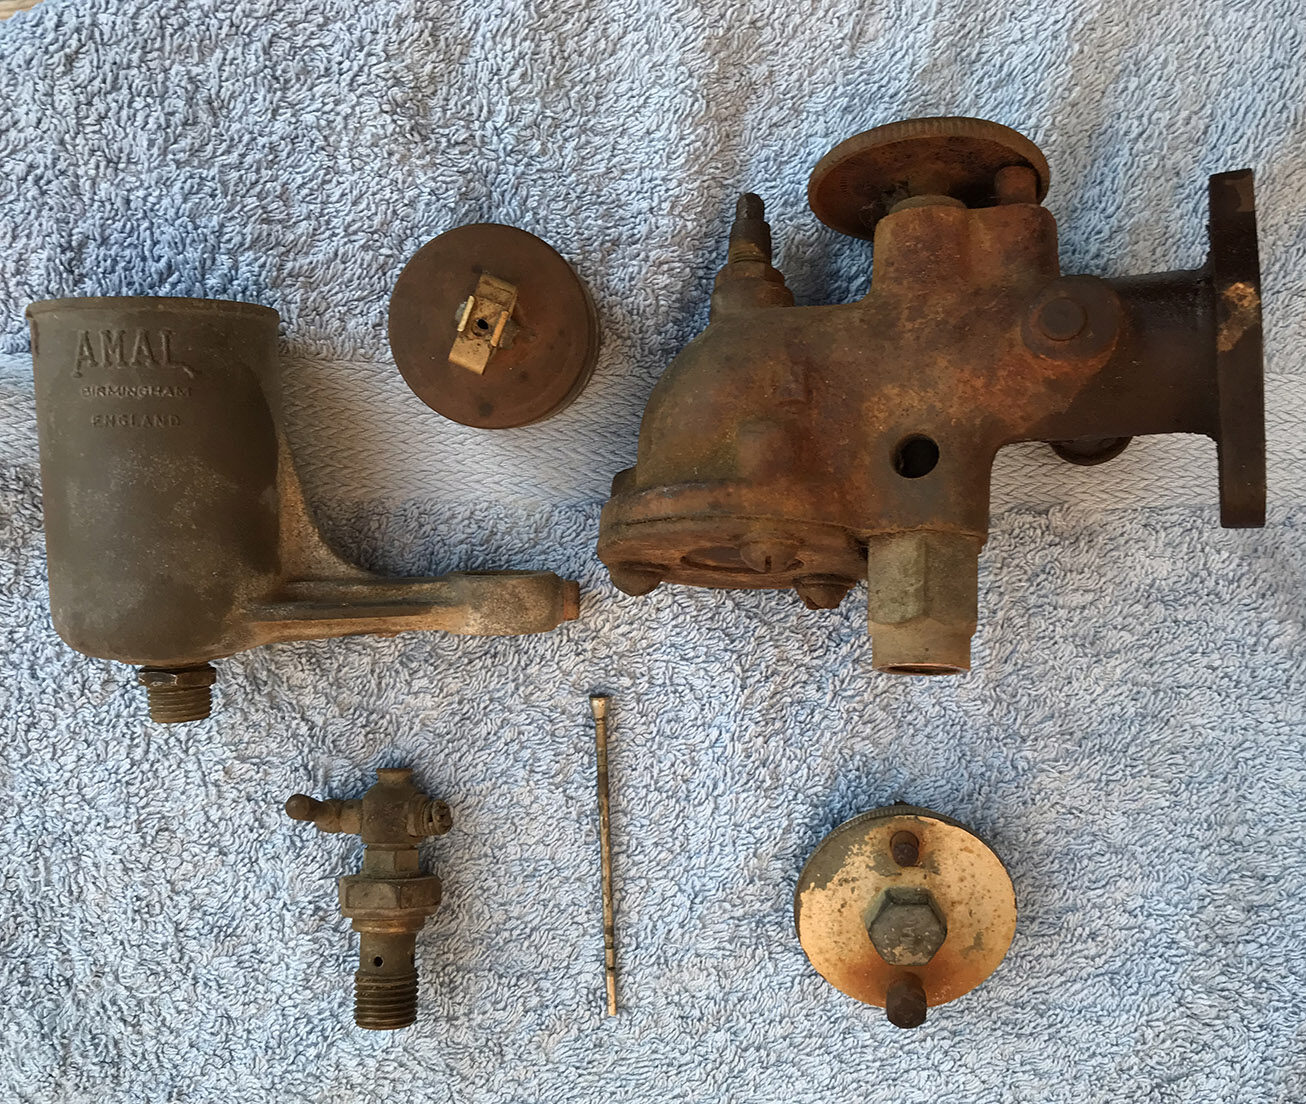
The Carburetor.
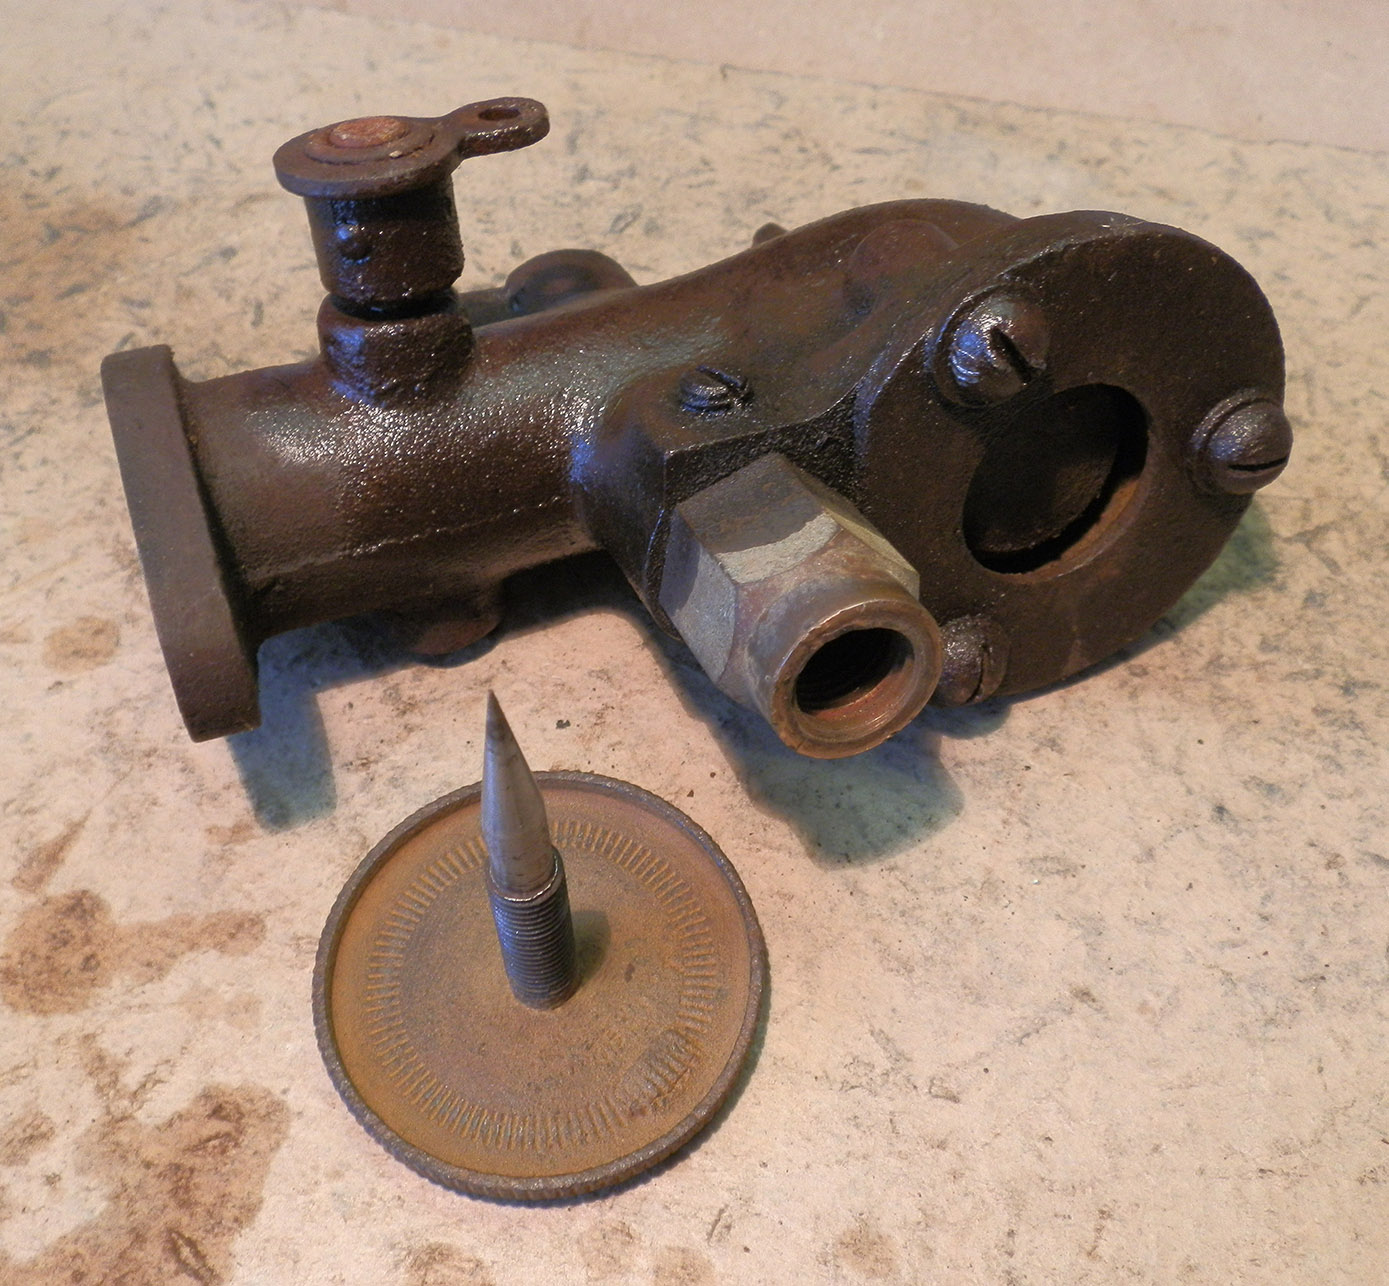
The Carburetor, shown below, will need some serious cleaning. There’s a fair amount of rust to contend with but, with some care and patience, all should be well. I’ve managed to remove the mixture control, centre photo, and free up the throttle butterfly, which was completely seized. I certainly won’t be running the engine for some time yet. My brother-in-law kindly spent a considerable amount of time removing the three air plate retaining screws on the inlet manifold, one had to be drilled out. I use the word ‘manifold’ incorrectly as it’s just one inlet pipe. I can now remove the rust from all parts and reassemble the unit.
18/12/20: Exhaust pipe and fuel tank.
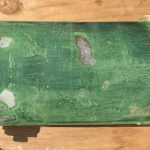
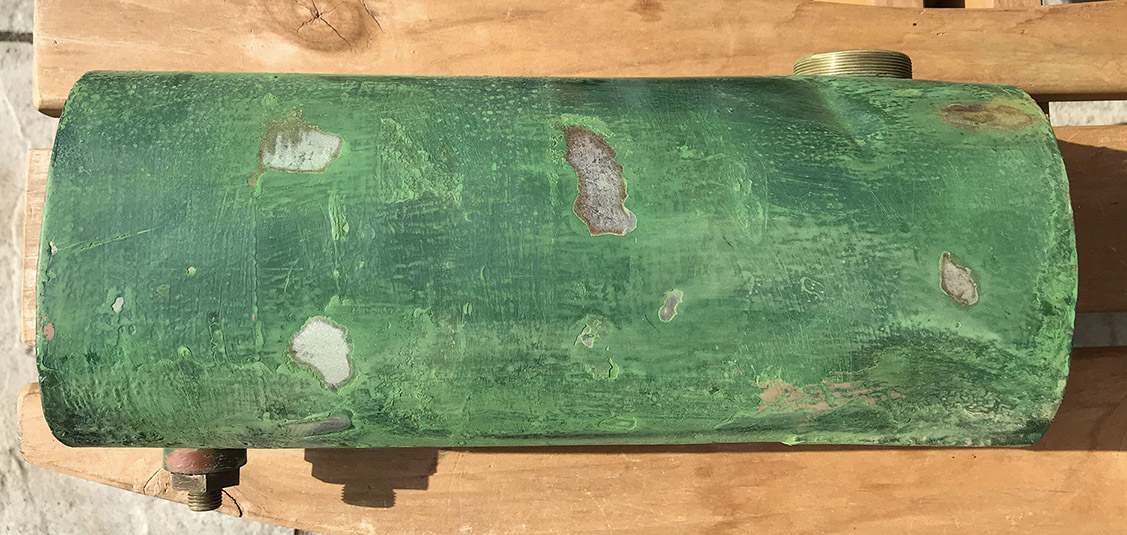
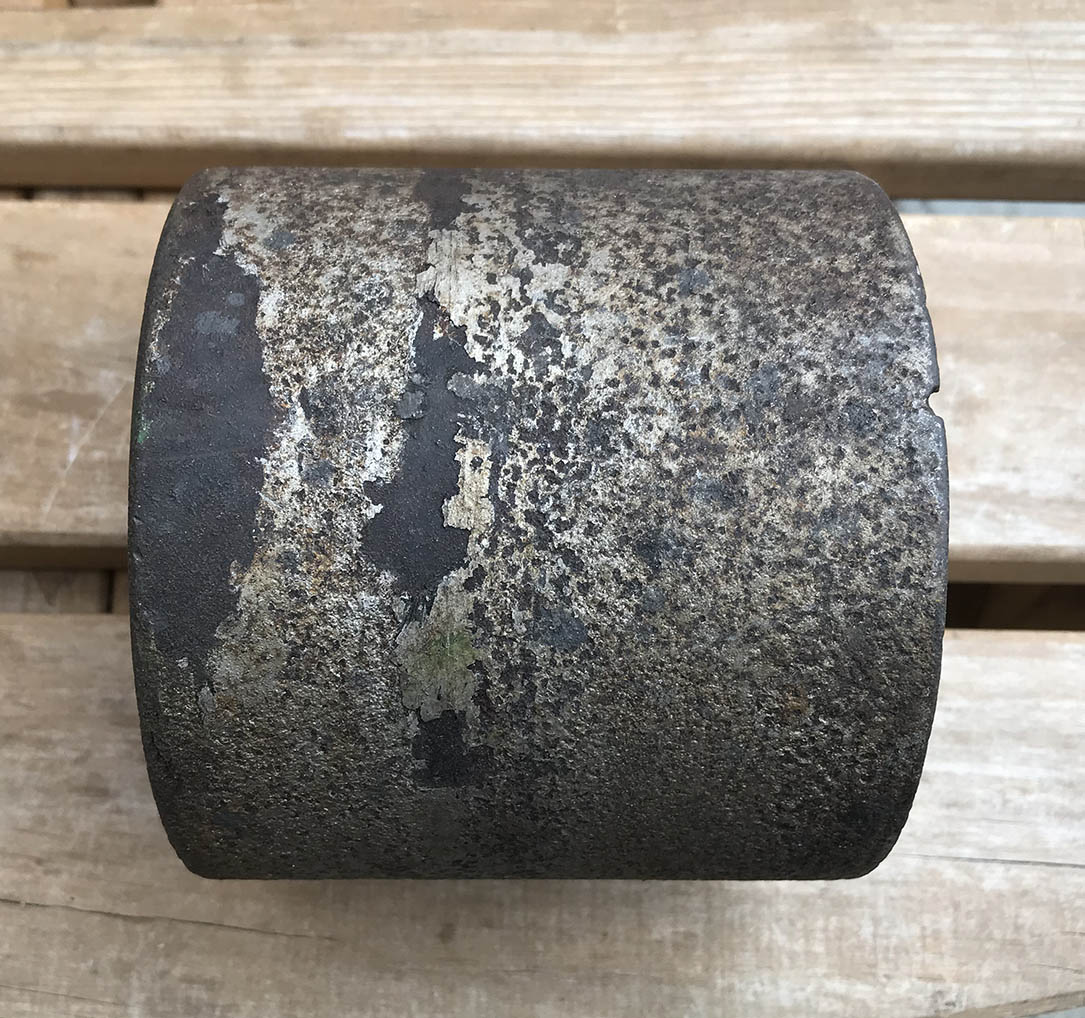
Below left is the exhaust pipe and silencer. Luckily, beneath the paint, I’ve discovered that the silencer is stainless steel. A drop of Nitromors worked wonders. The other two photos show the petrol tank. It’s rusty, both inside and out, but I don’t think there are any holes in the metal. I’ll need to use a bottle of rust removing liquid for the inside. A wire brush will be fine for the outside before painting.
24/12/20: The Lister Story.
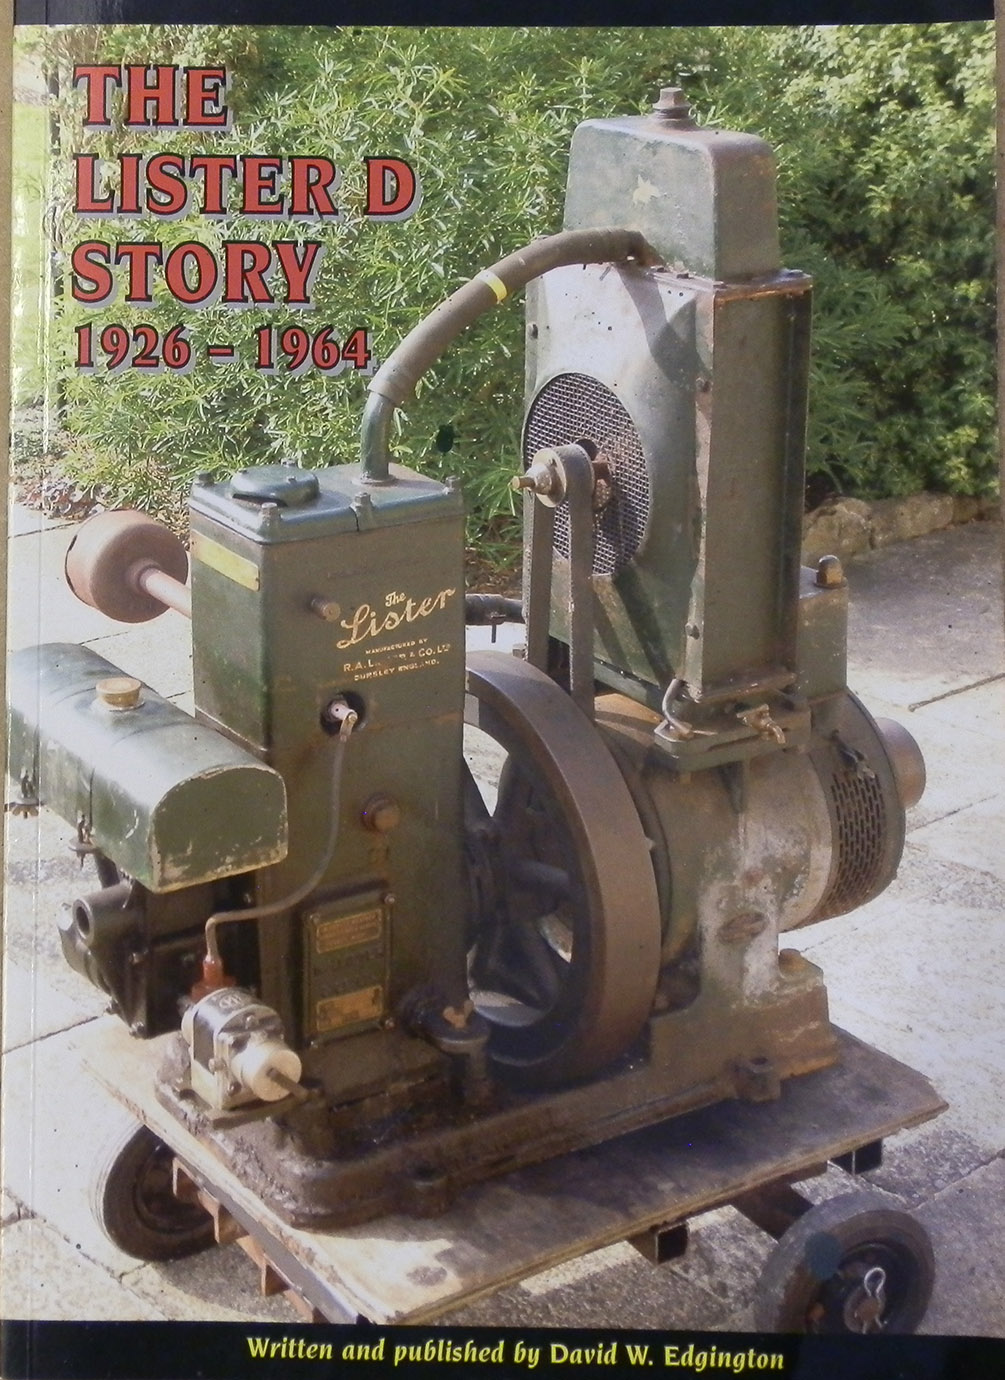
A friend has just sent me this book: The Lister D Story 1926 – 1964. Full of illustrations and well written, it’s going to be very useful during the engine restoration. I’ve already discovered a great deal from the book. However, I can find no reference to the stainless steel exhaust silencer fitted to my engine. Was it something that someone added which had nothing to do with the Lister engine? I really don’t know. I can’t find any reference to the engine’s cubic capacity, which is a shame. Perhaps someone knows?
25/12/20: Lifting the engine onto the trolley.
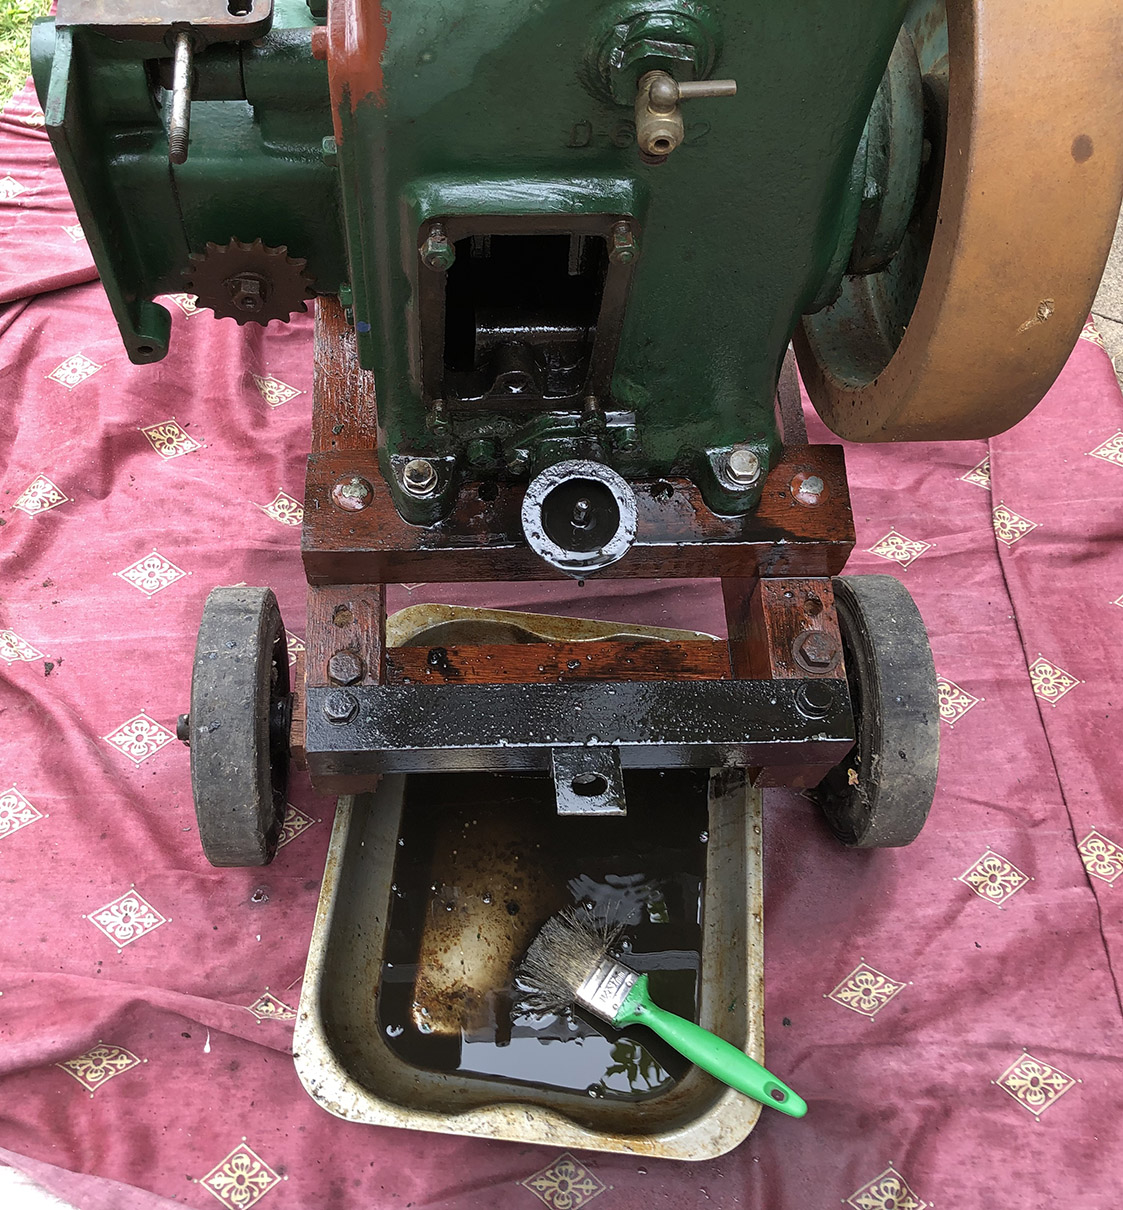
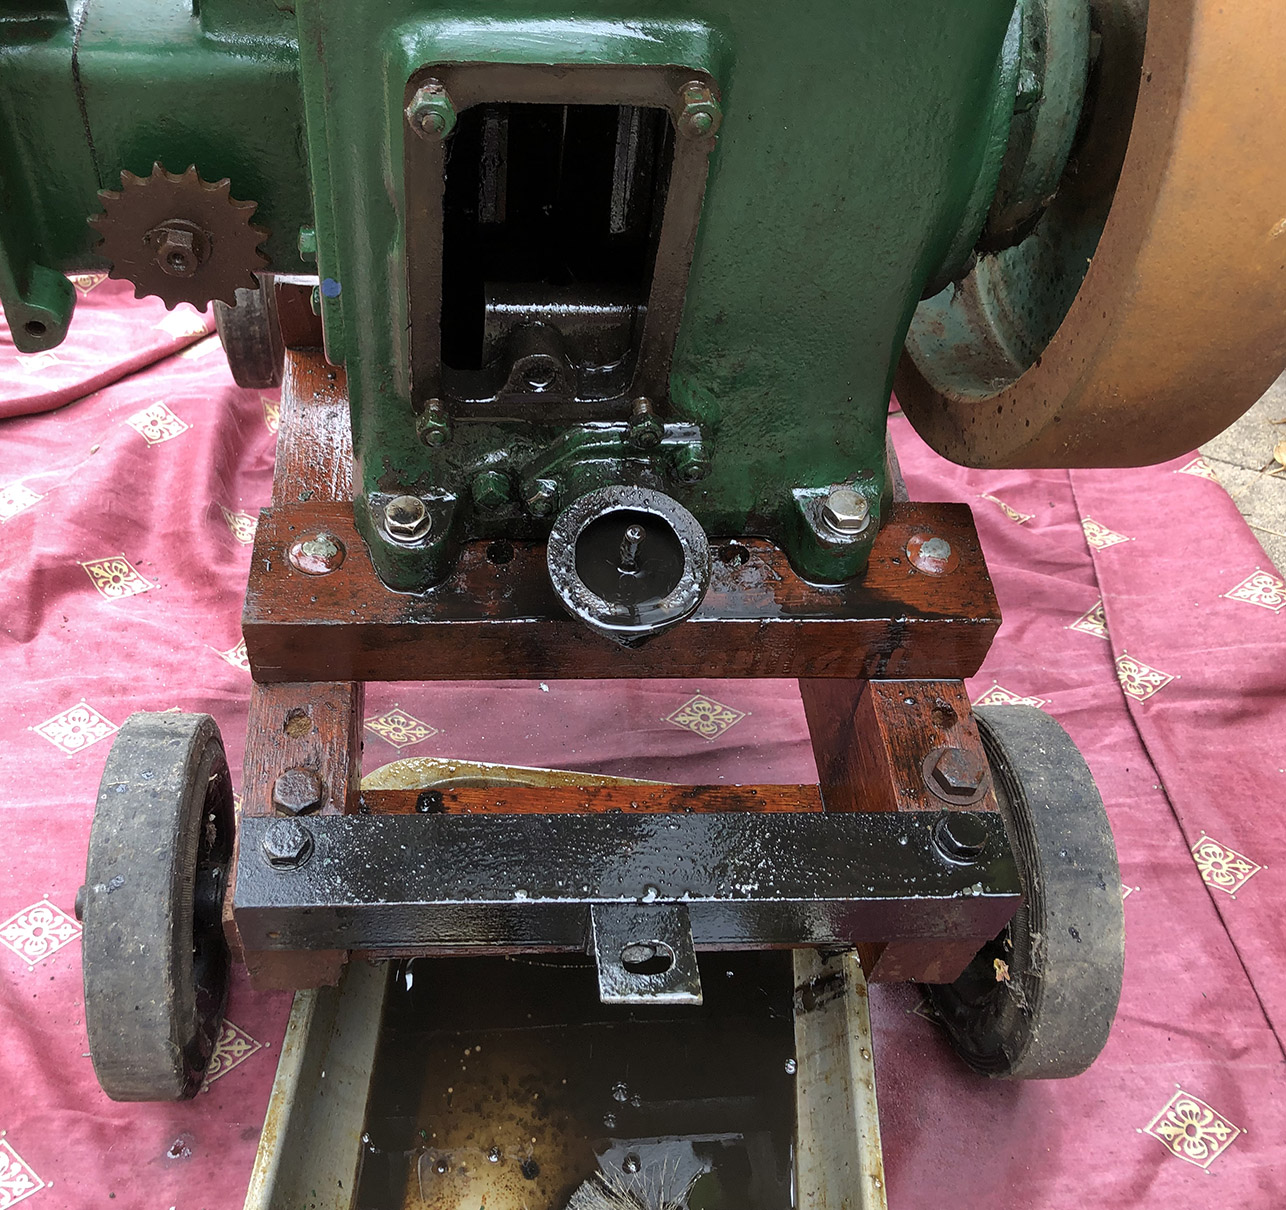
With the help of my brother-in-law, and after a lot of heaving, the engine is now on the trolley. I can now move the engine around which will make it easier to work on. The engine isn’t yet bolted to the trolley but I don’t think it will go anywhere. You can now see the magneto and the governor linkage in the first two photos. The third shows the crankcase door removed. The next job, after bolting the engine to the trolley, will be to wash out the muck in the crankcase with paraffin and refill the engine with Golden Film SAE30 oil. The crankcase door can then be fitted, with a new gasket, and attention moved to the rusty governor linkage.
There’s still a lot of work to do on the engine but, as much as I want to see it running, half the fun is the restoration process. I’m leaving painting to last just in case I need to take the head off. I can’t see that it will be necessary but you never know. Just arrived, paint hand cleaner, rust remover.

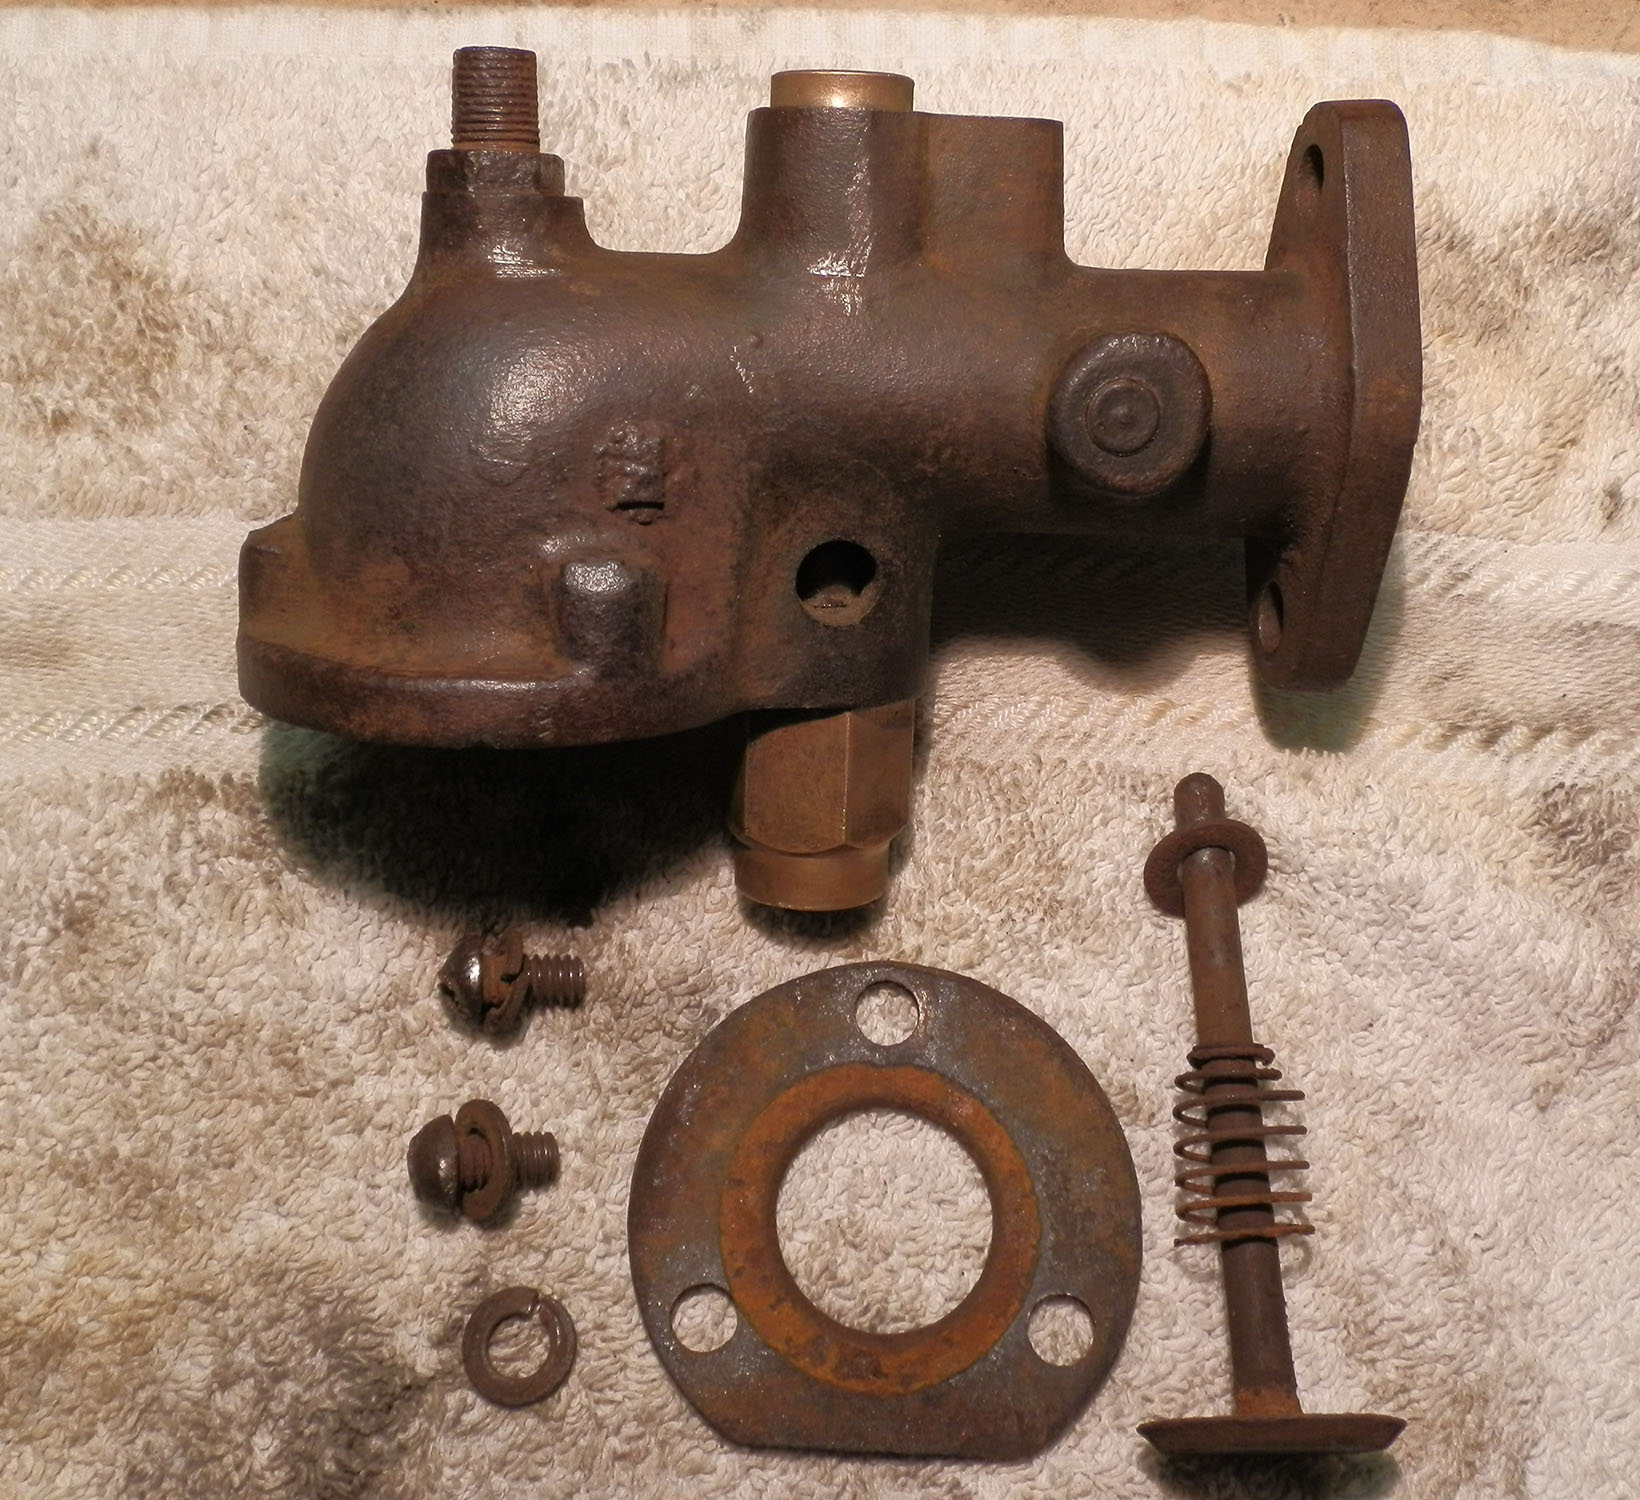
1/1/21: Carburettor overhaul.
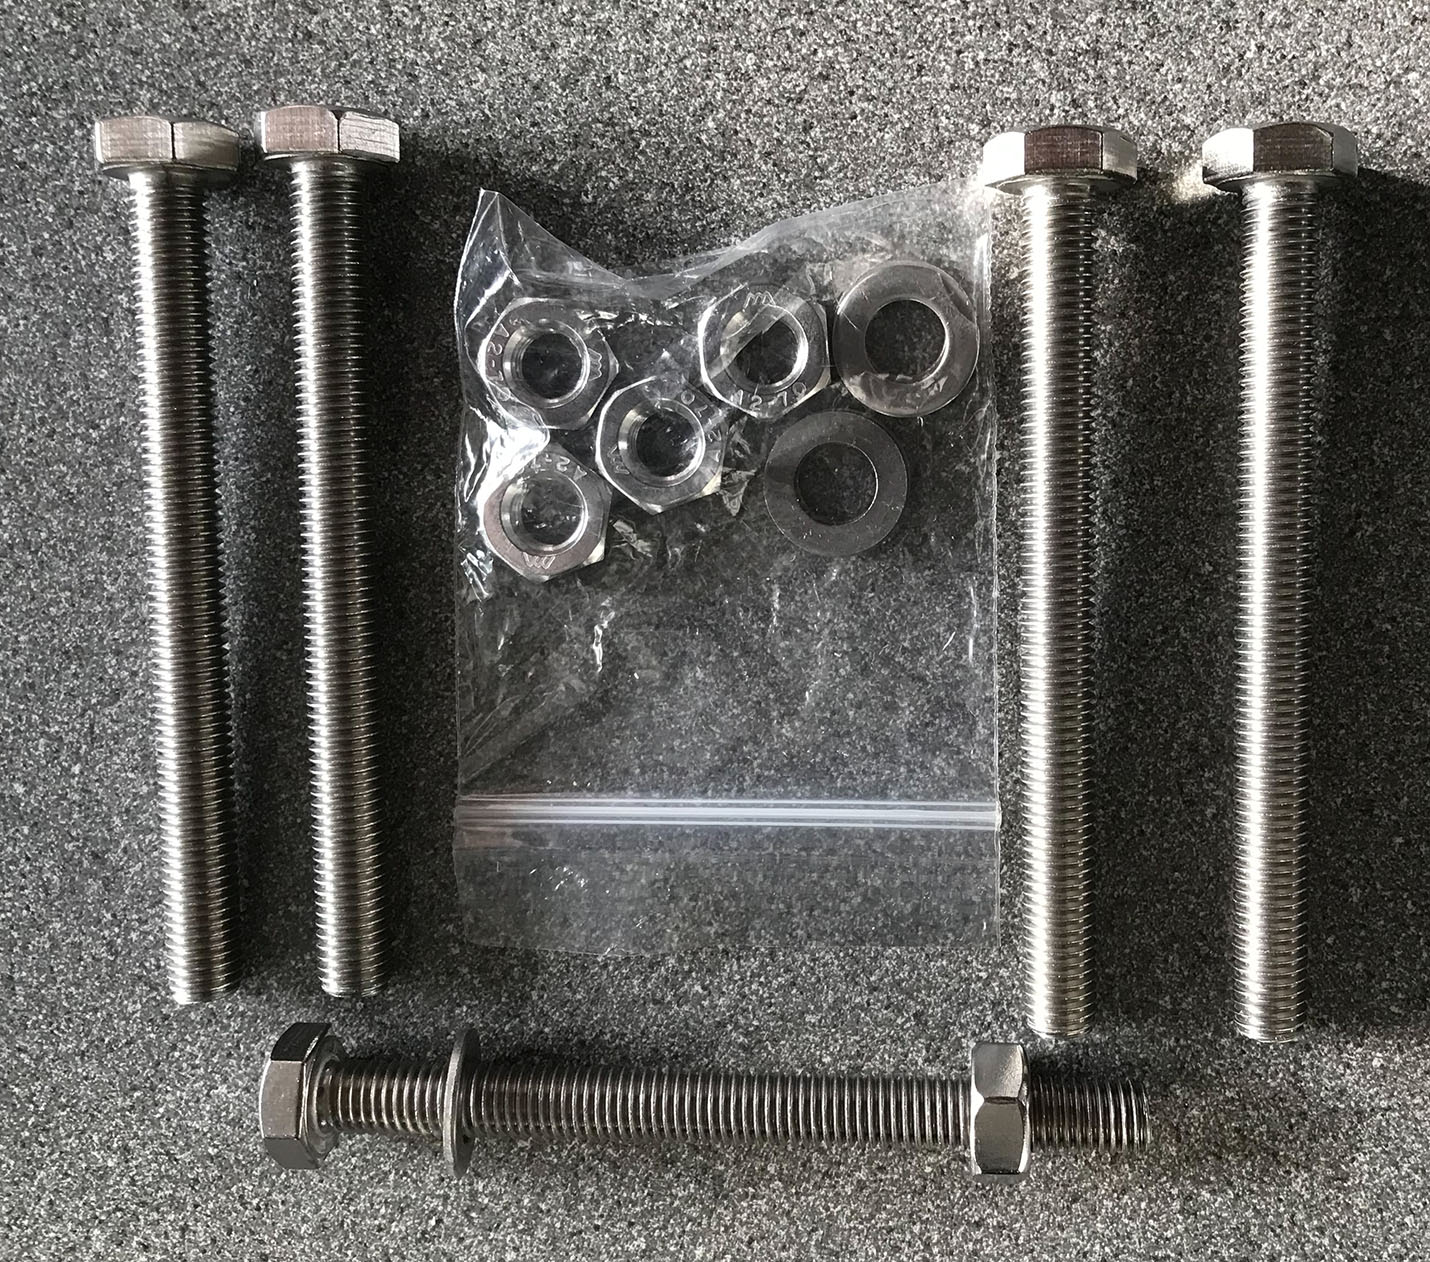
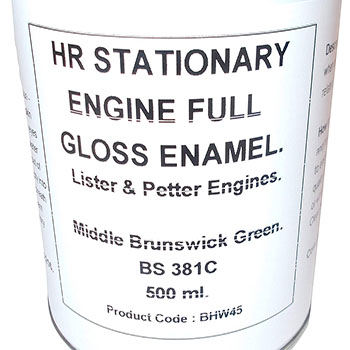
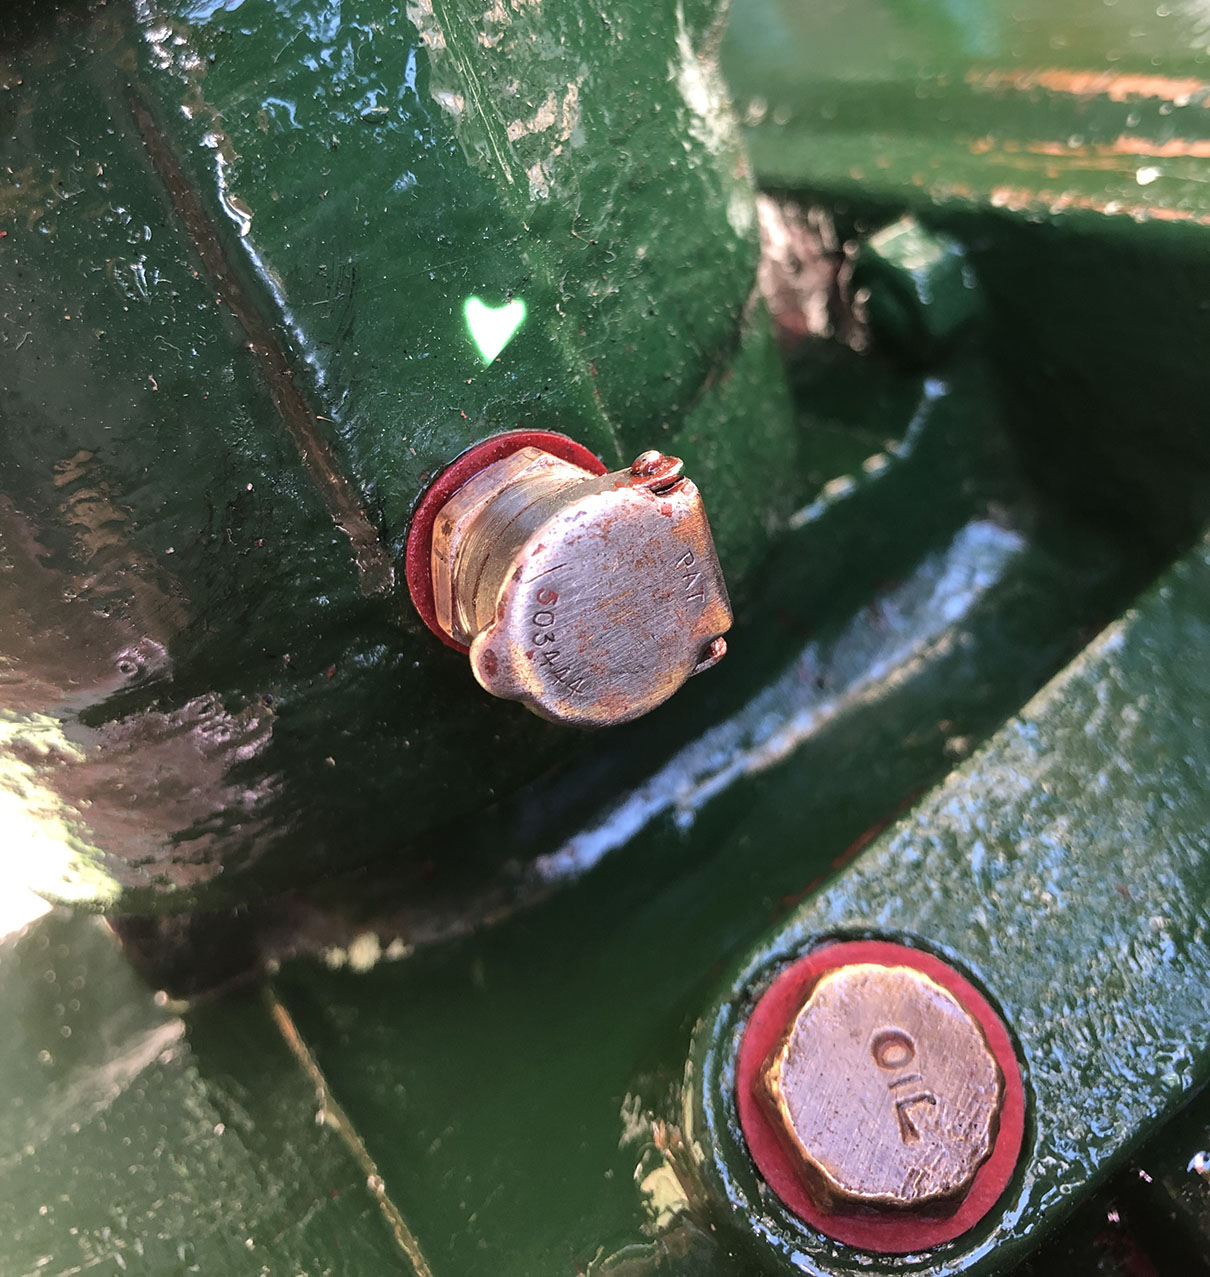
The carburetor and inlet manifold have been stripped and cleaned. Below is the first coat of Mid Brunswick Green enamel paint on the manifold. The stainless steel nuts and bolts have arrived so the engine is now mounted securely on the trolley. I only needed four but they come in packs of five. The far right photo shows what I initially thought to be the petrol on/off tap. It is a fuel tap, but it’s for draining fuel. It would appear that there is no fuel on/off tap on the engine. I’ll have to add one at some stage. I’m wondering whether the tap was to drain the float chamber of paraffin before switching to petrol and starting the engine. Once running, a three way tap would then be set to paraffin. My engine doesn’t have the small petrol container or three way tap. I think this was introduced later, so that would explain it. The previous owner said that it would run all day long on stale petrol so I’m hoping he’s right.
2/1/21: Crank case door.
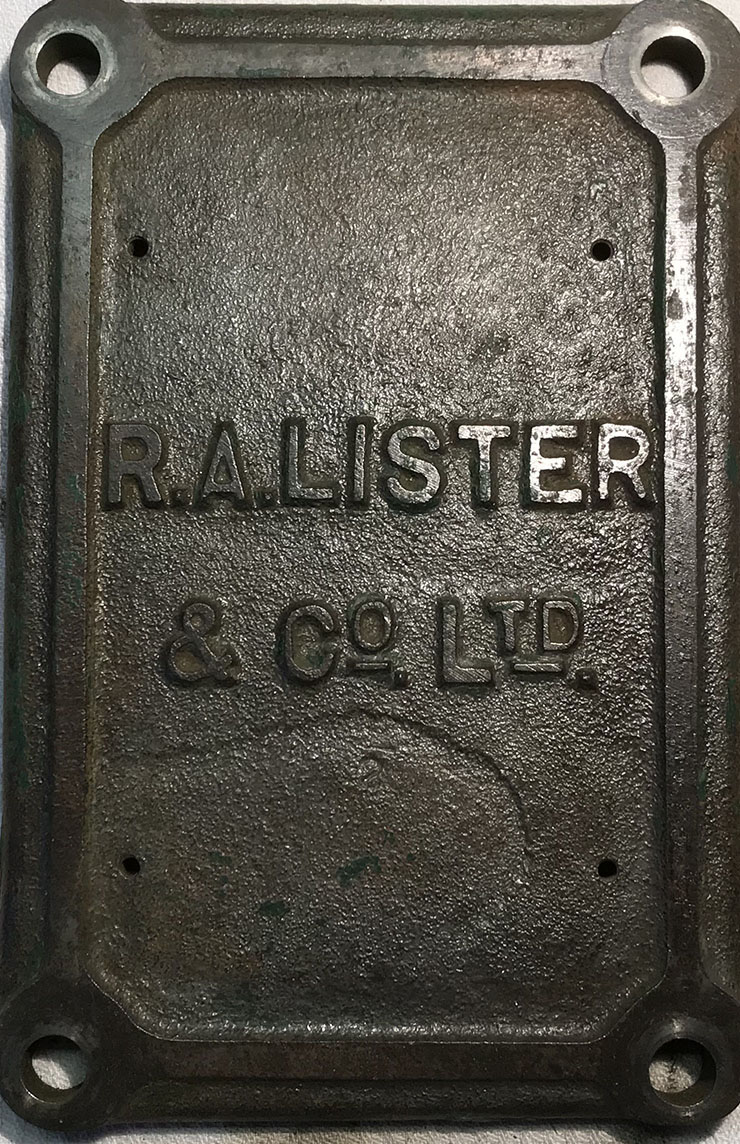
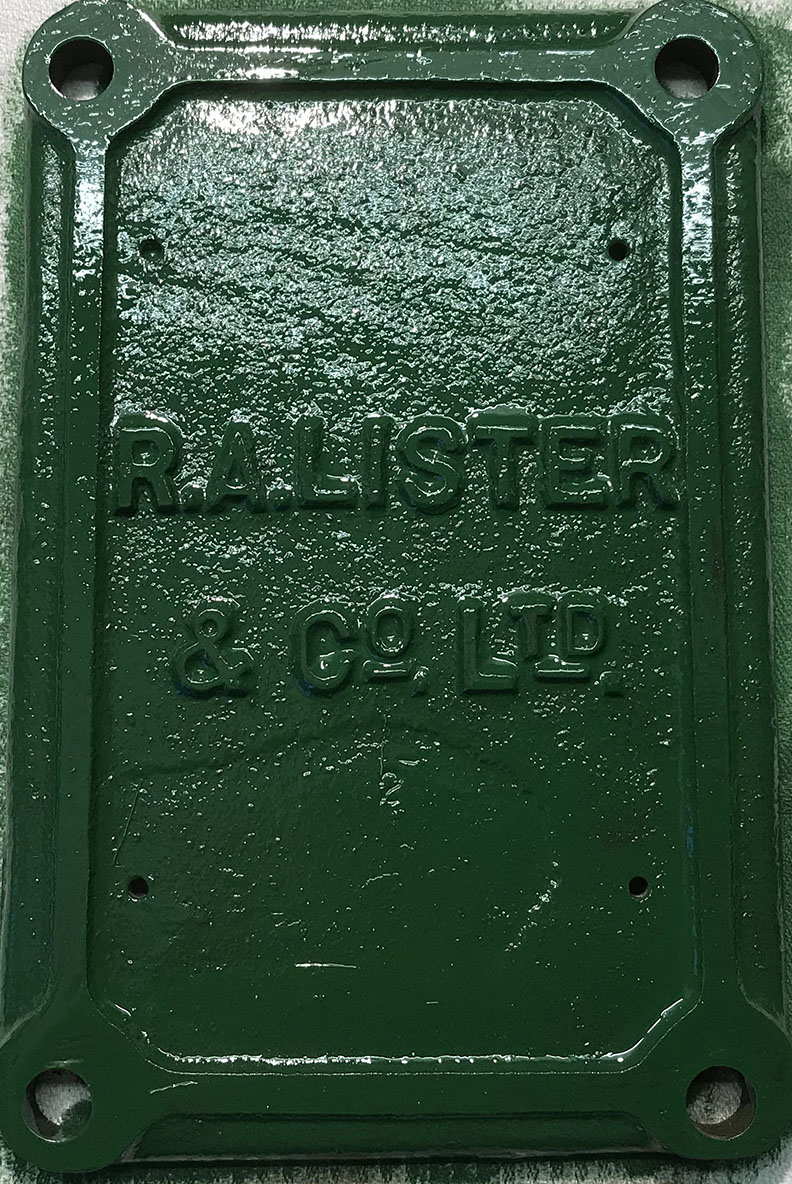
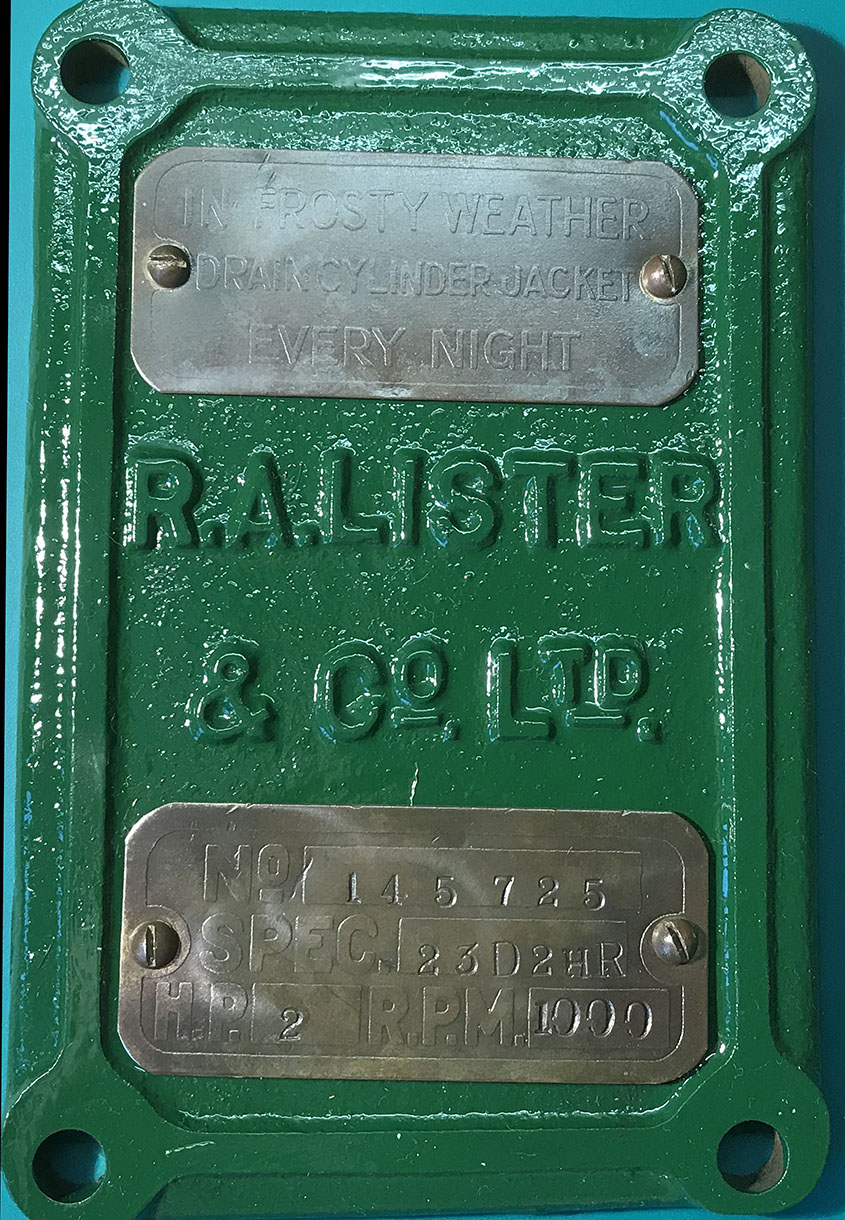
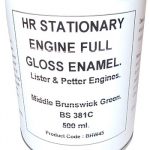
Left hand photo, the crank case door stripped, cleaned and ready for painting. Second photo, painted mid Brunswick green. Right hand photo, the brass plates back in situ. I know they aren’t straight, but that’s how they were.
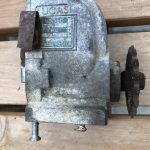
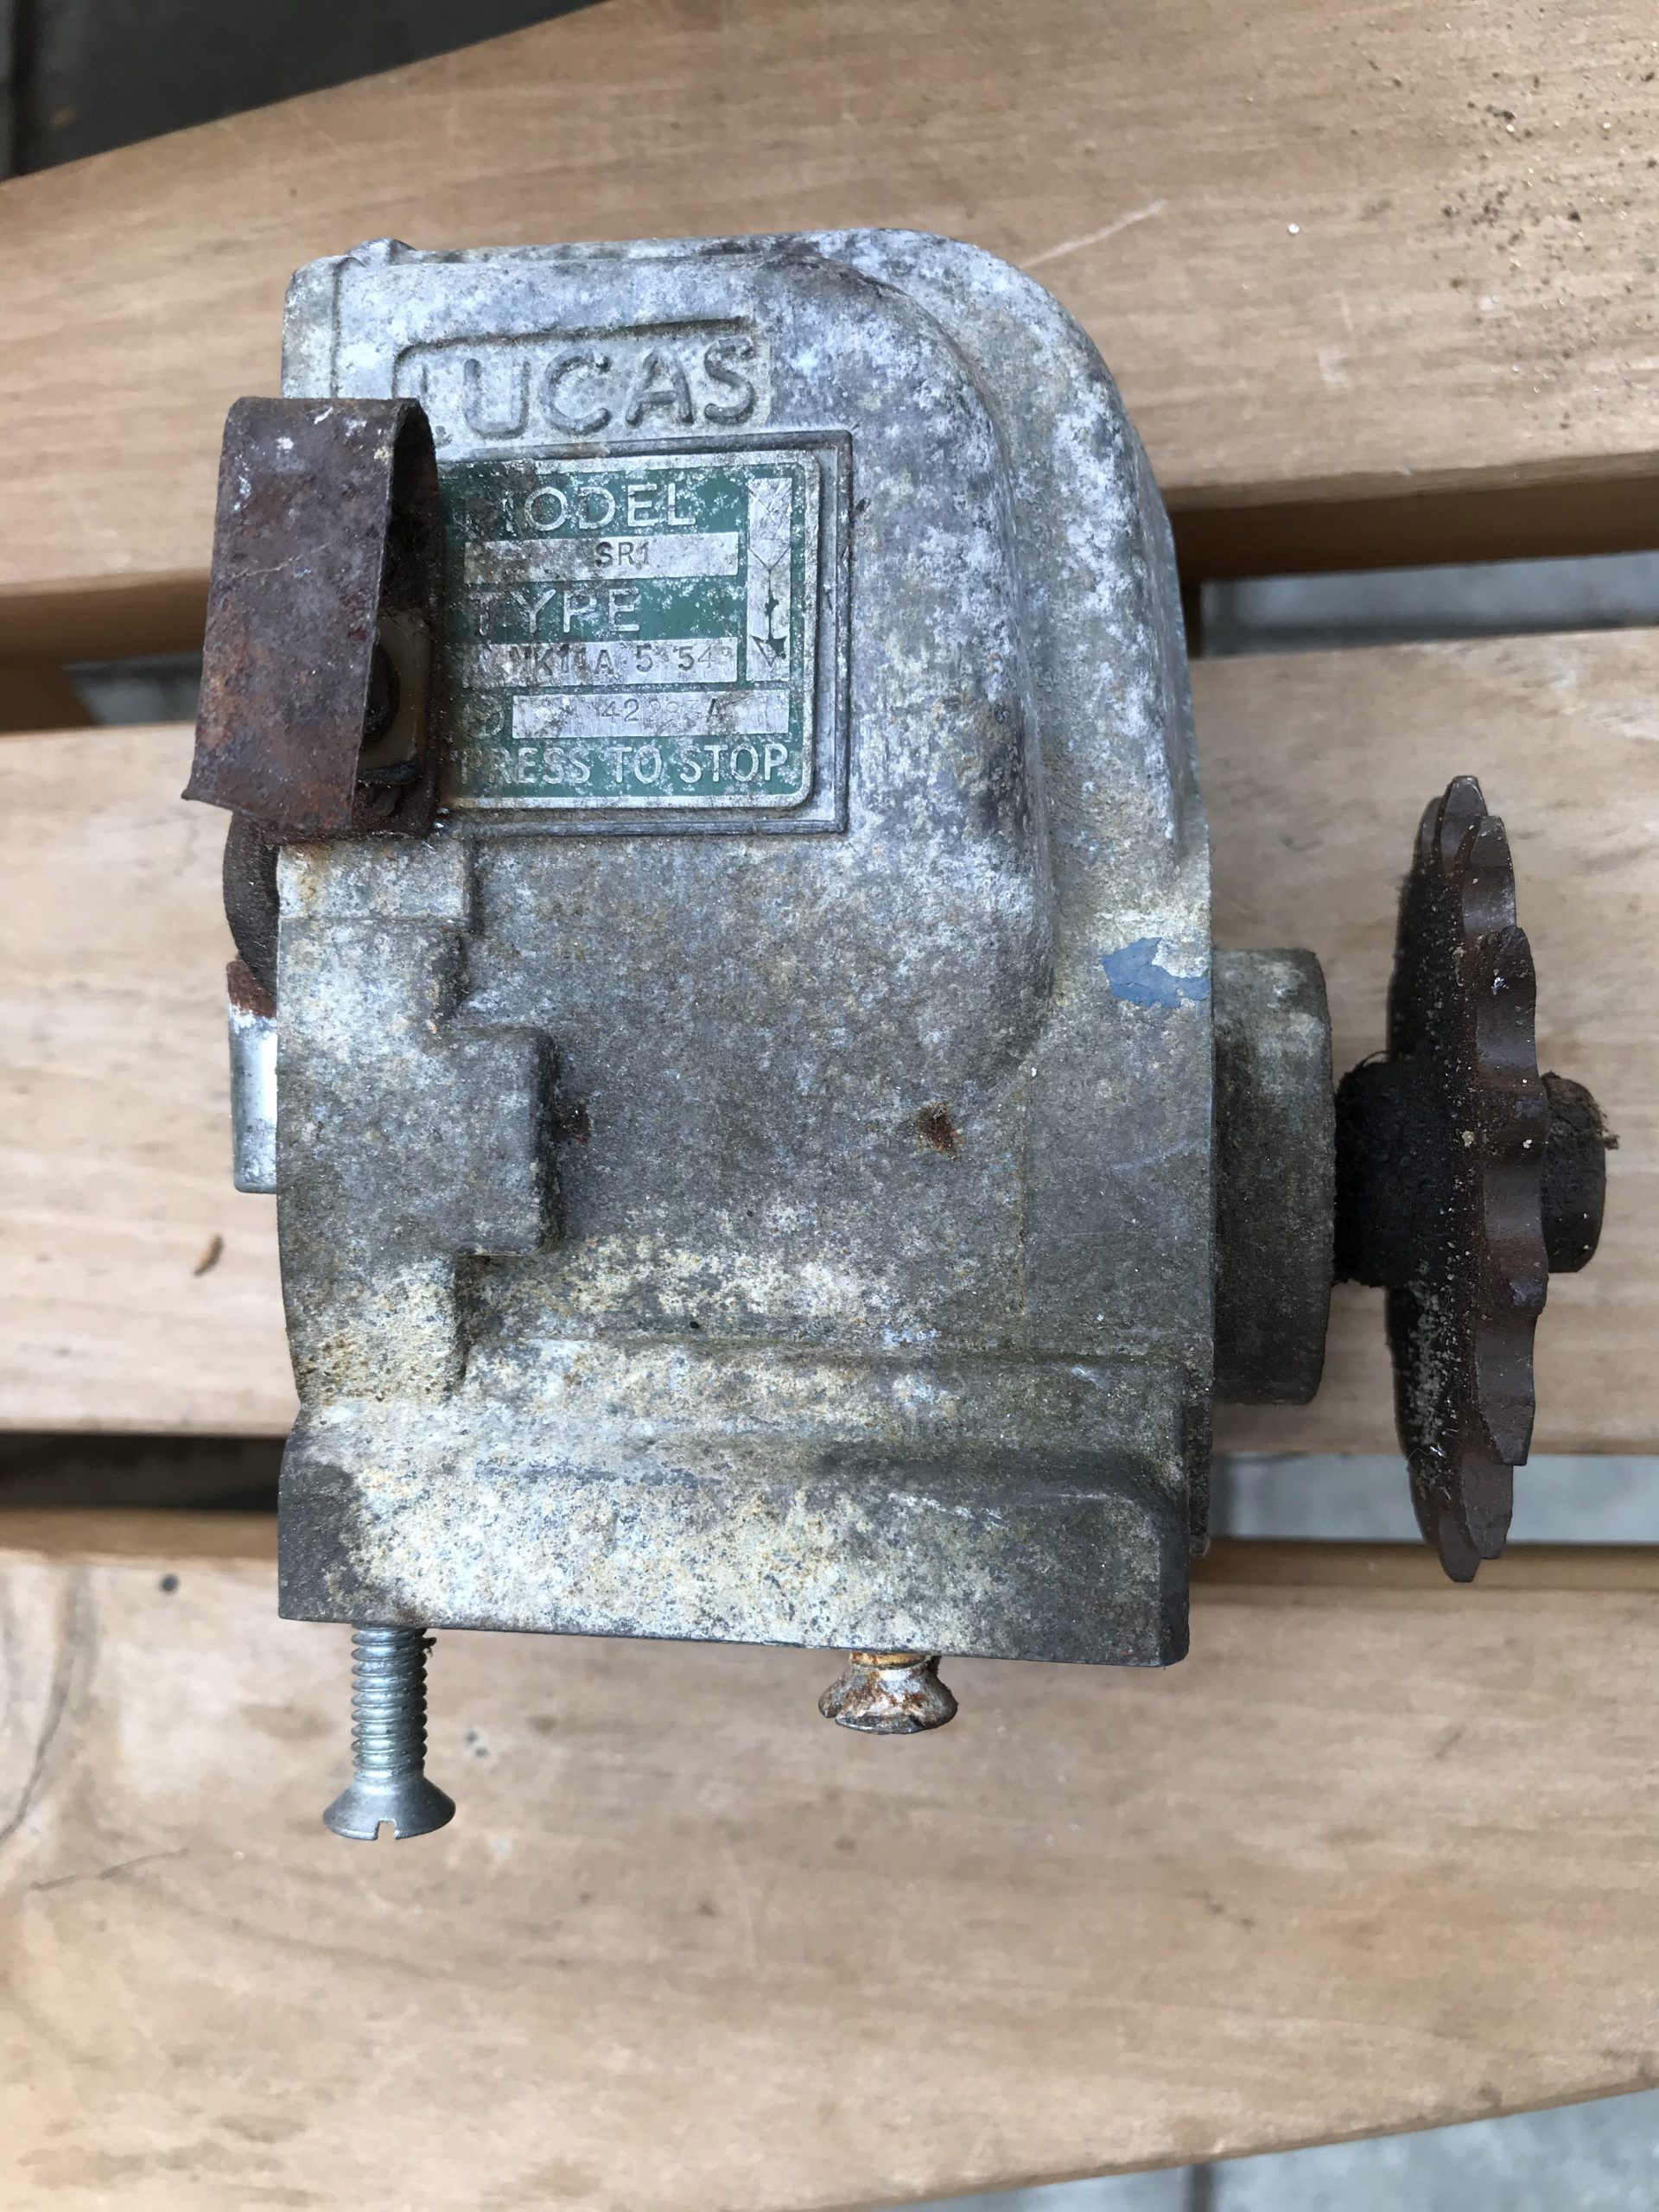
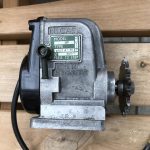
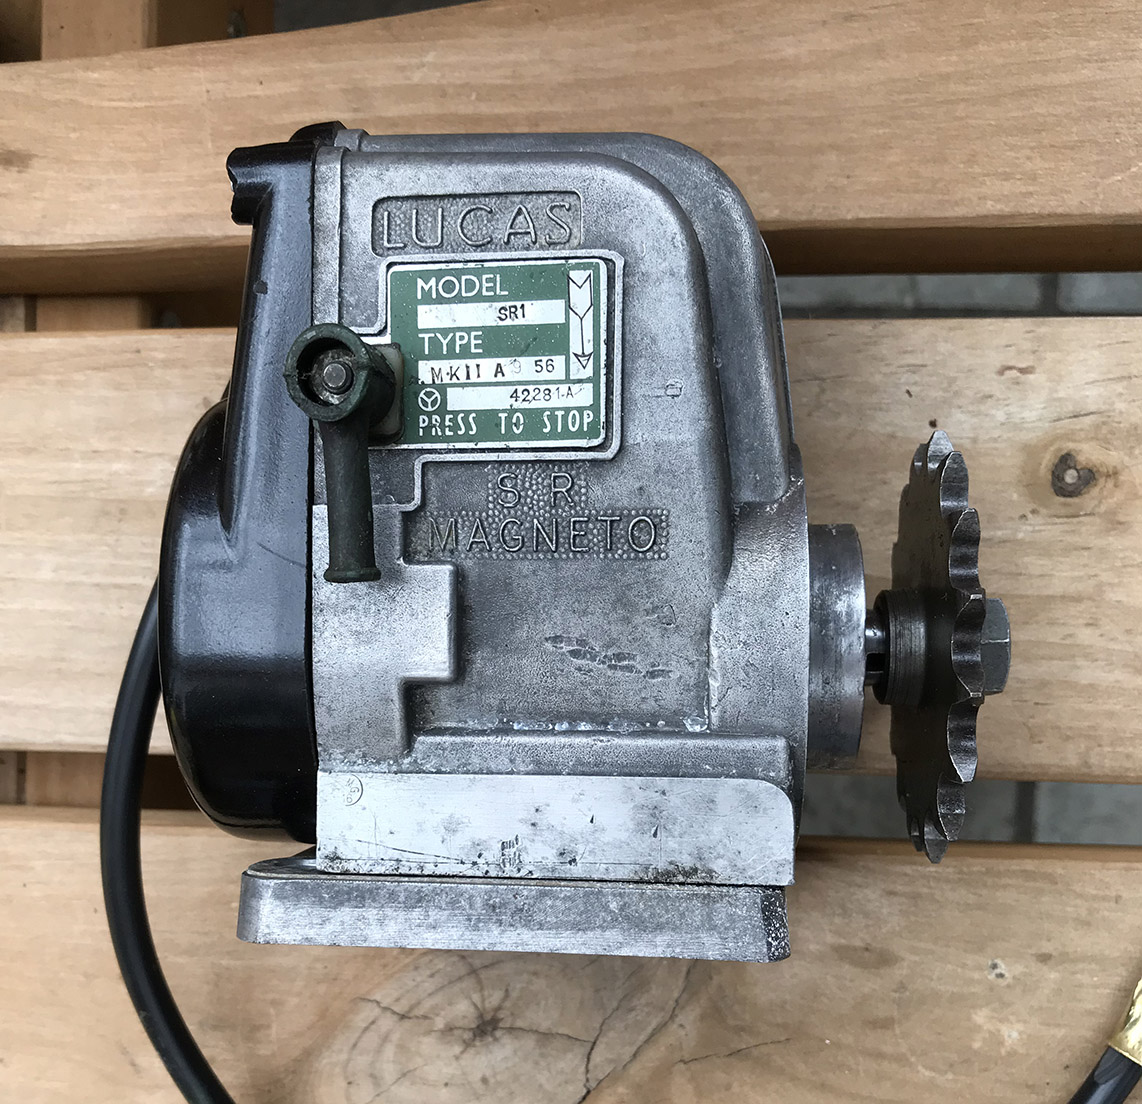
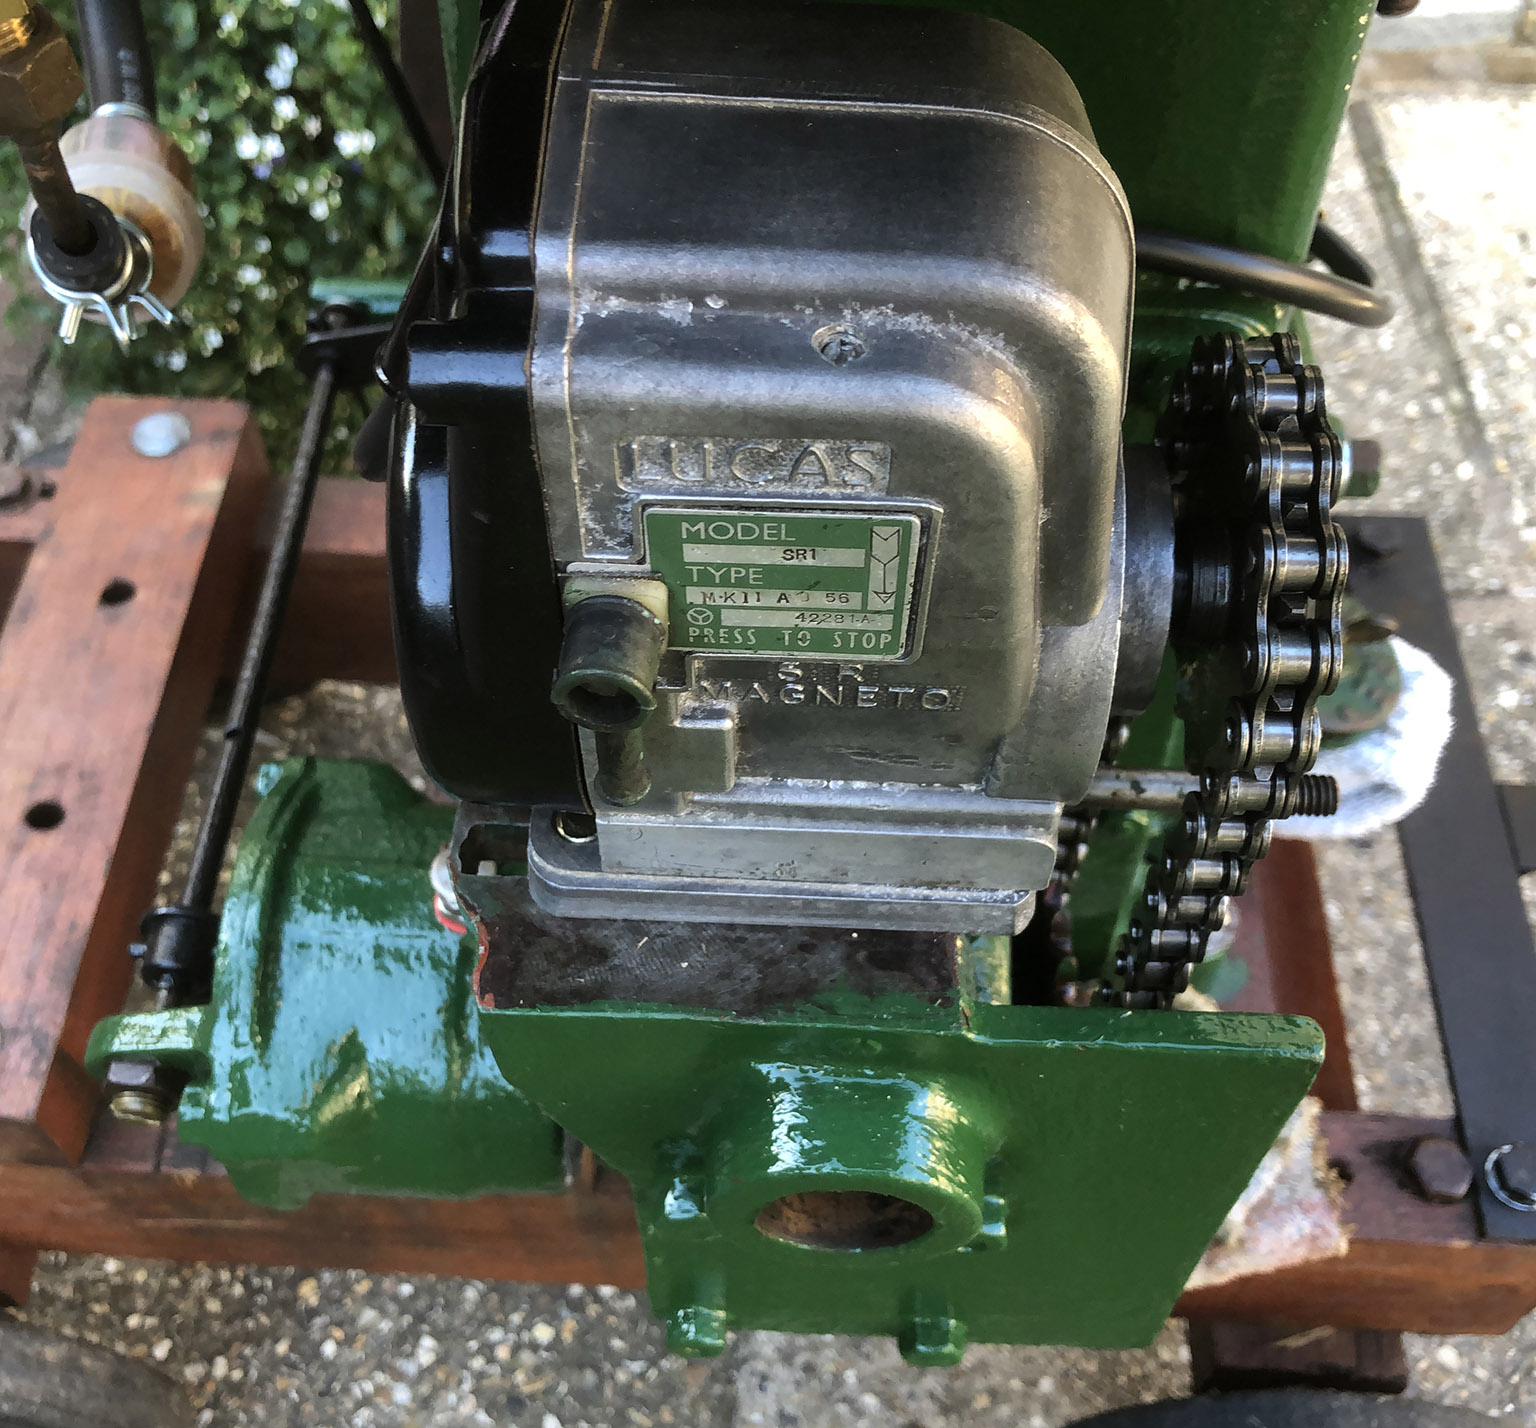
The Magneto.
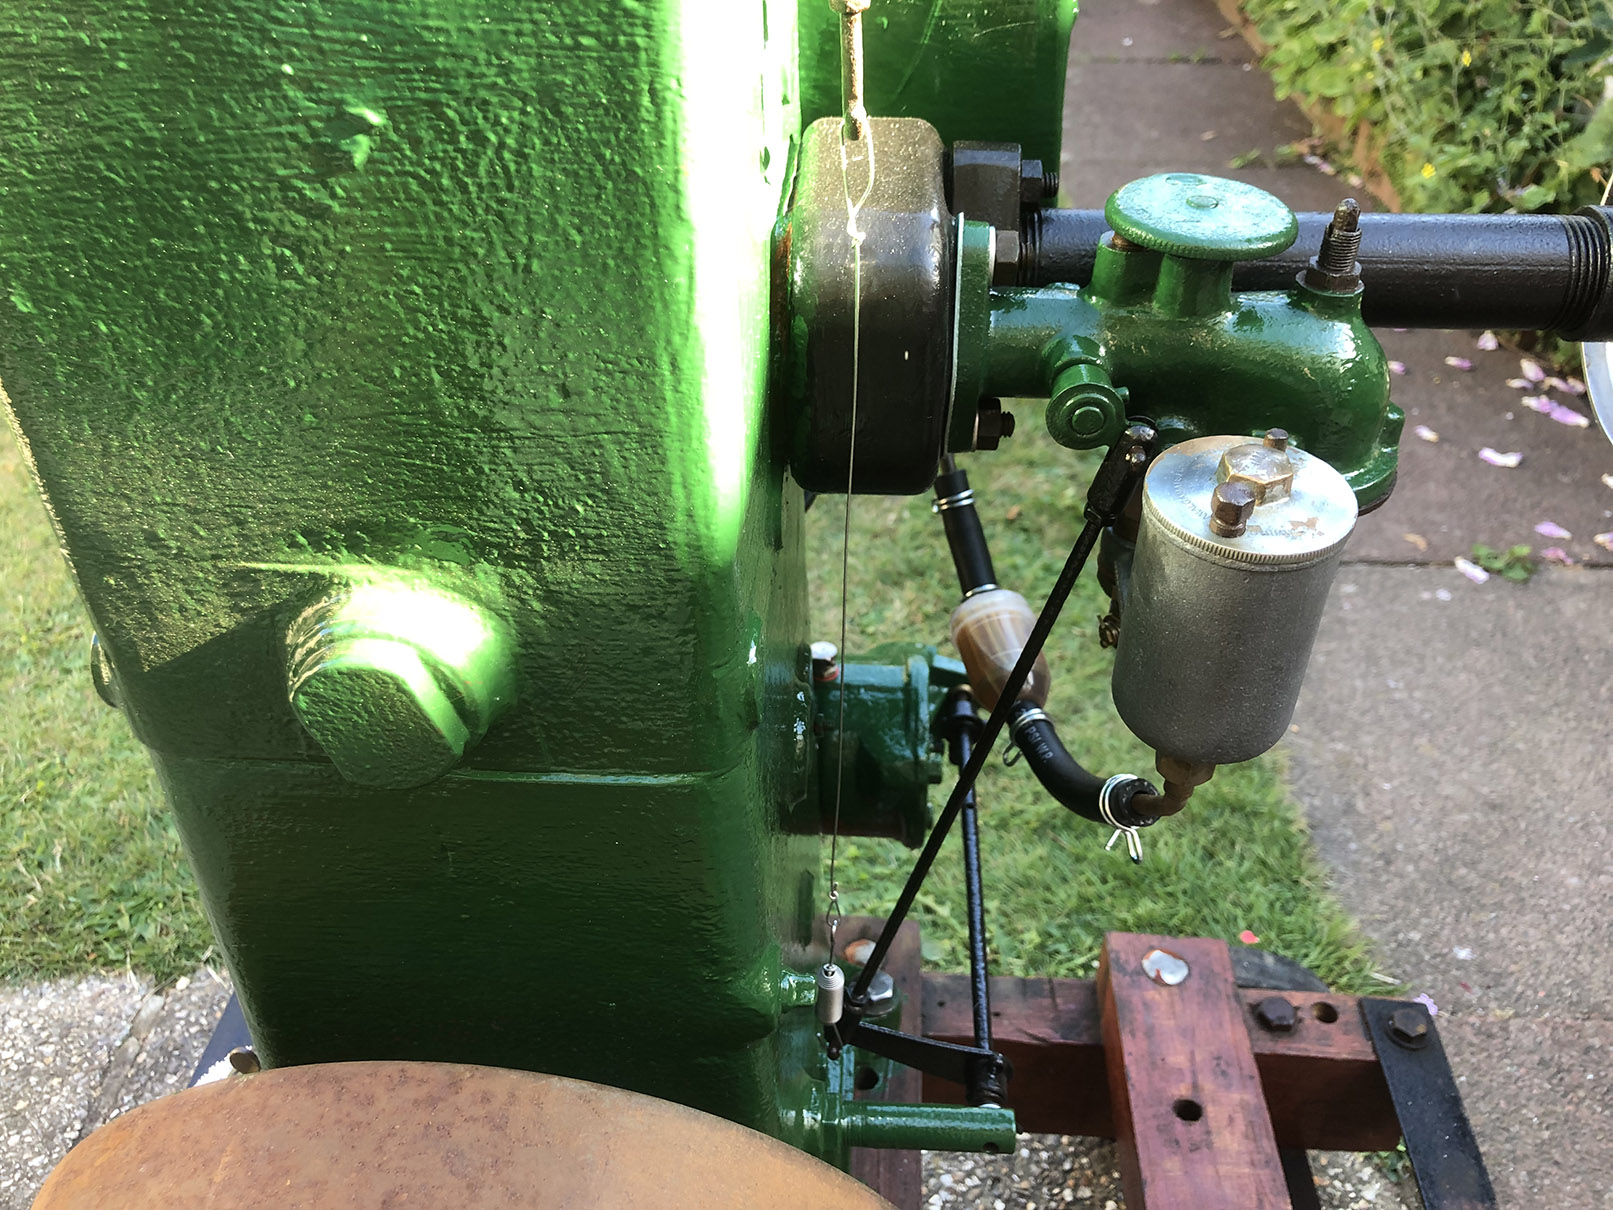
The magneto has a problem, there’s no spark. Unfortunately, the secondary (high voltage) winding is open circuit. As a temporary measure, I could use a car ignition coil and small 12 volt lead acid battery connected to the original points and condenser. At least that would get the engine running. Wait! I’ve located a decent magneto, and it works! The photo on the right shows the engine stop ‘switch’. A piece of wire pressed against the metal body to kill the spark.
-
- Lister D engine magneto
-
- Lister D engine magneto
-
- Lister D magneto cut-out
Type of fuel.
I’ve just discovered that my Lister type D engine was designed to run on unleaded petrol. Leaded fuel was introduced much later, for lubrication purposes. So, lead replacement petrol (LRP) shouldn’t be used as it doesn’t burn correctly.
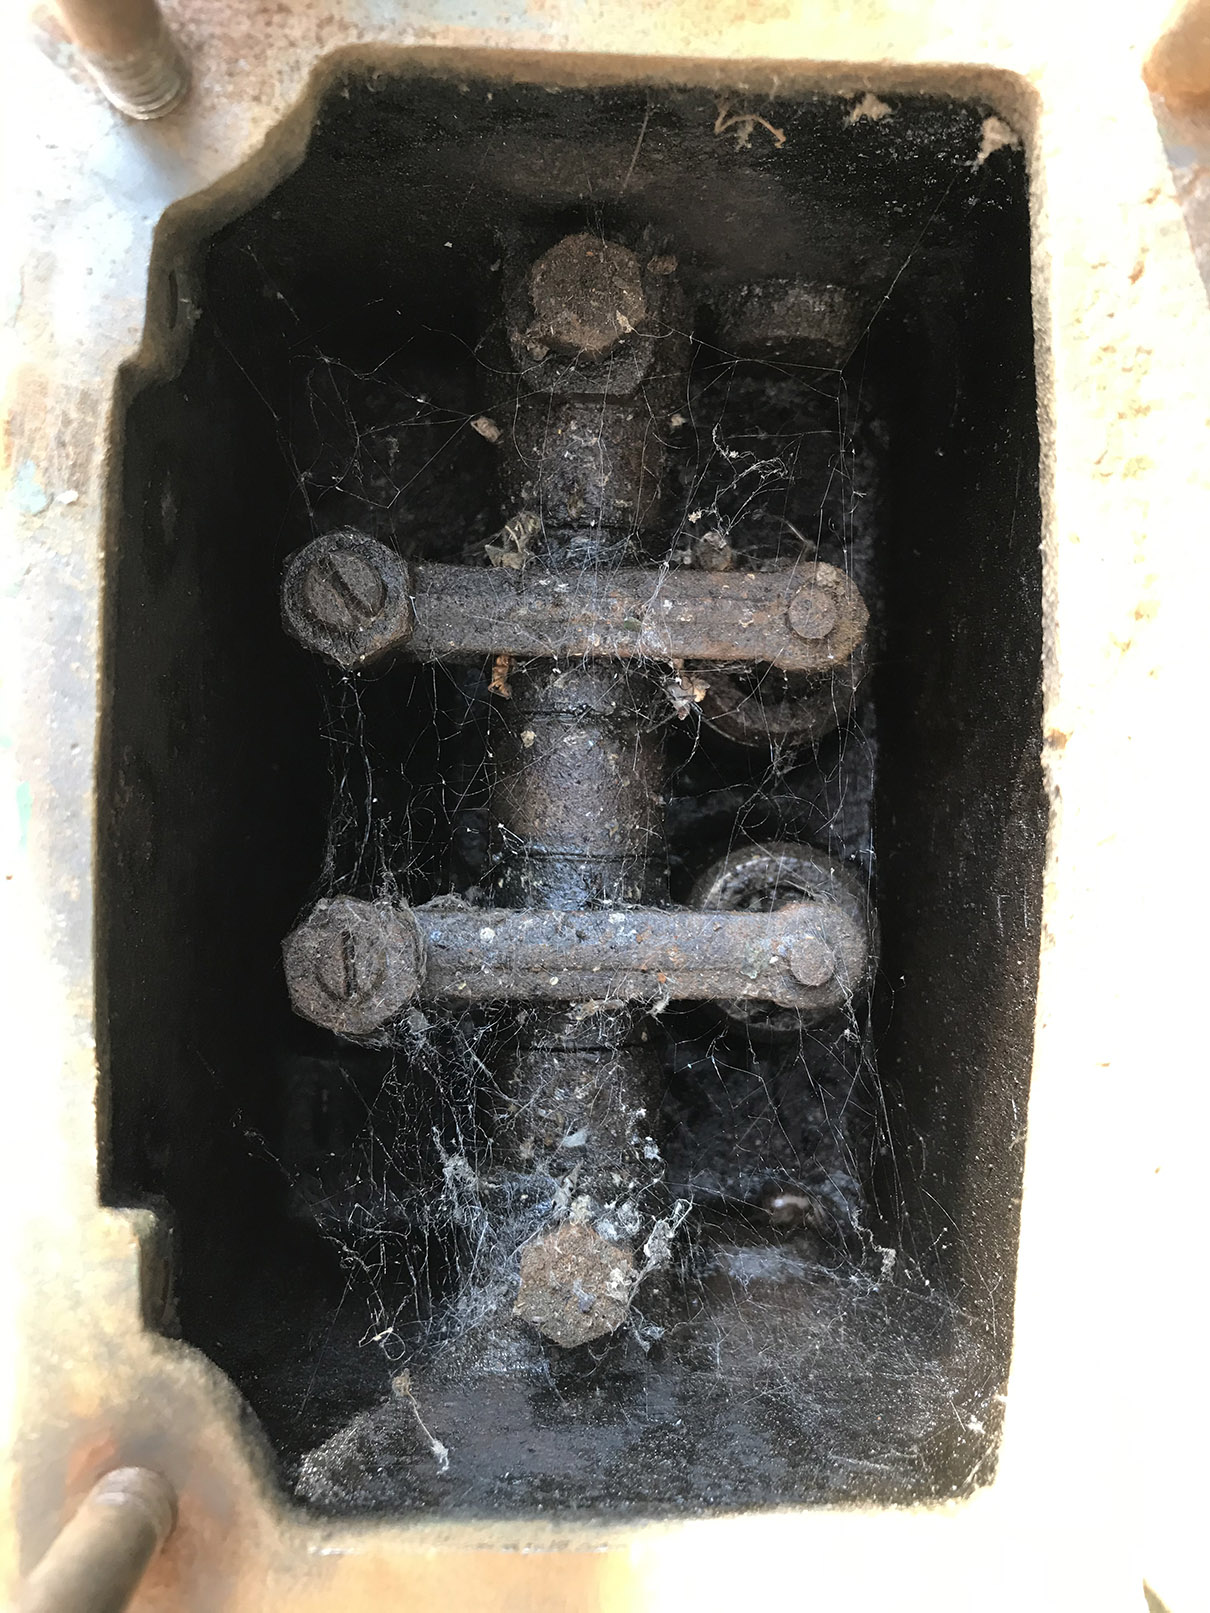
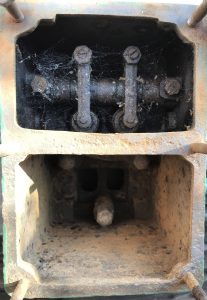
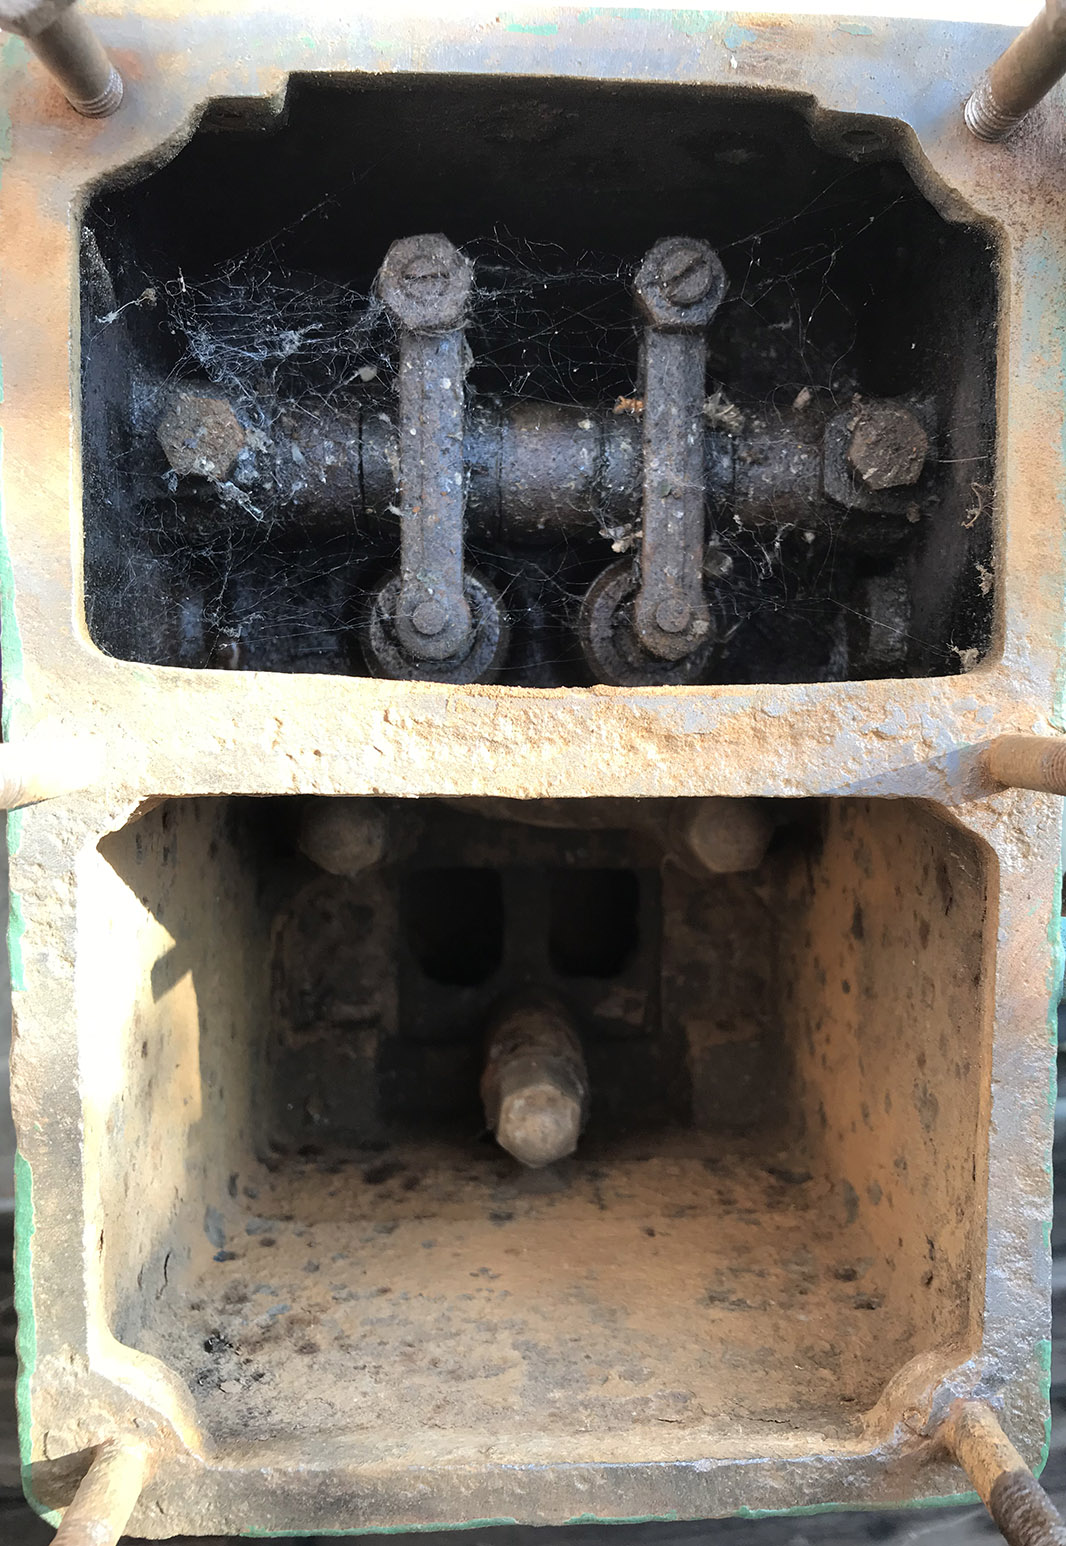
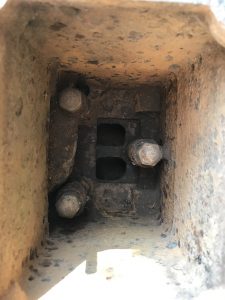
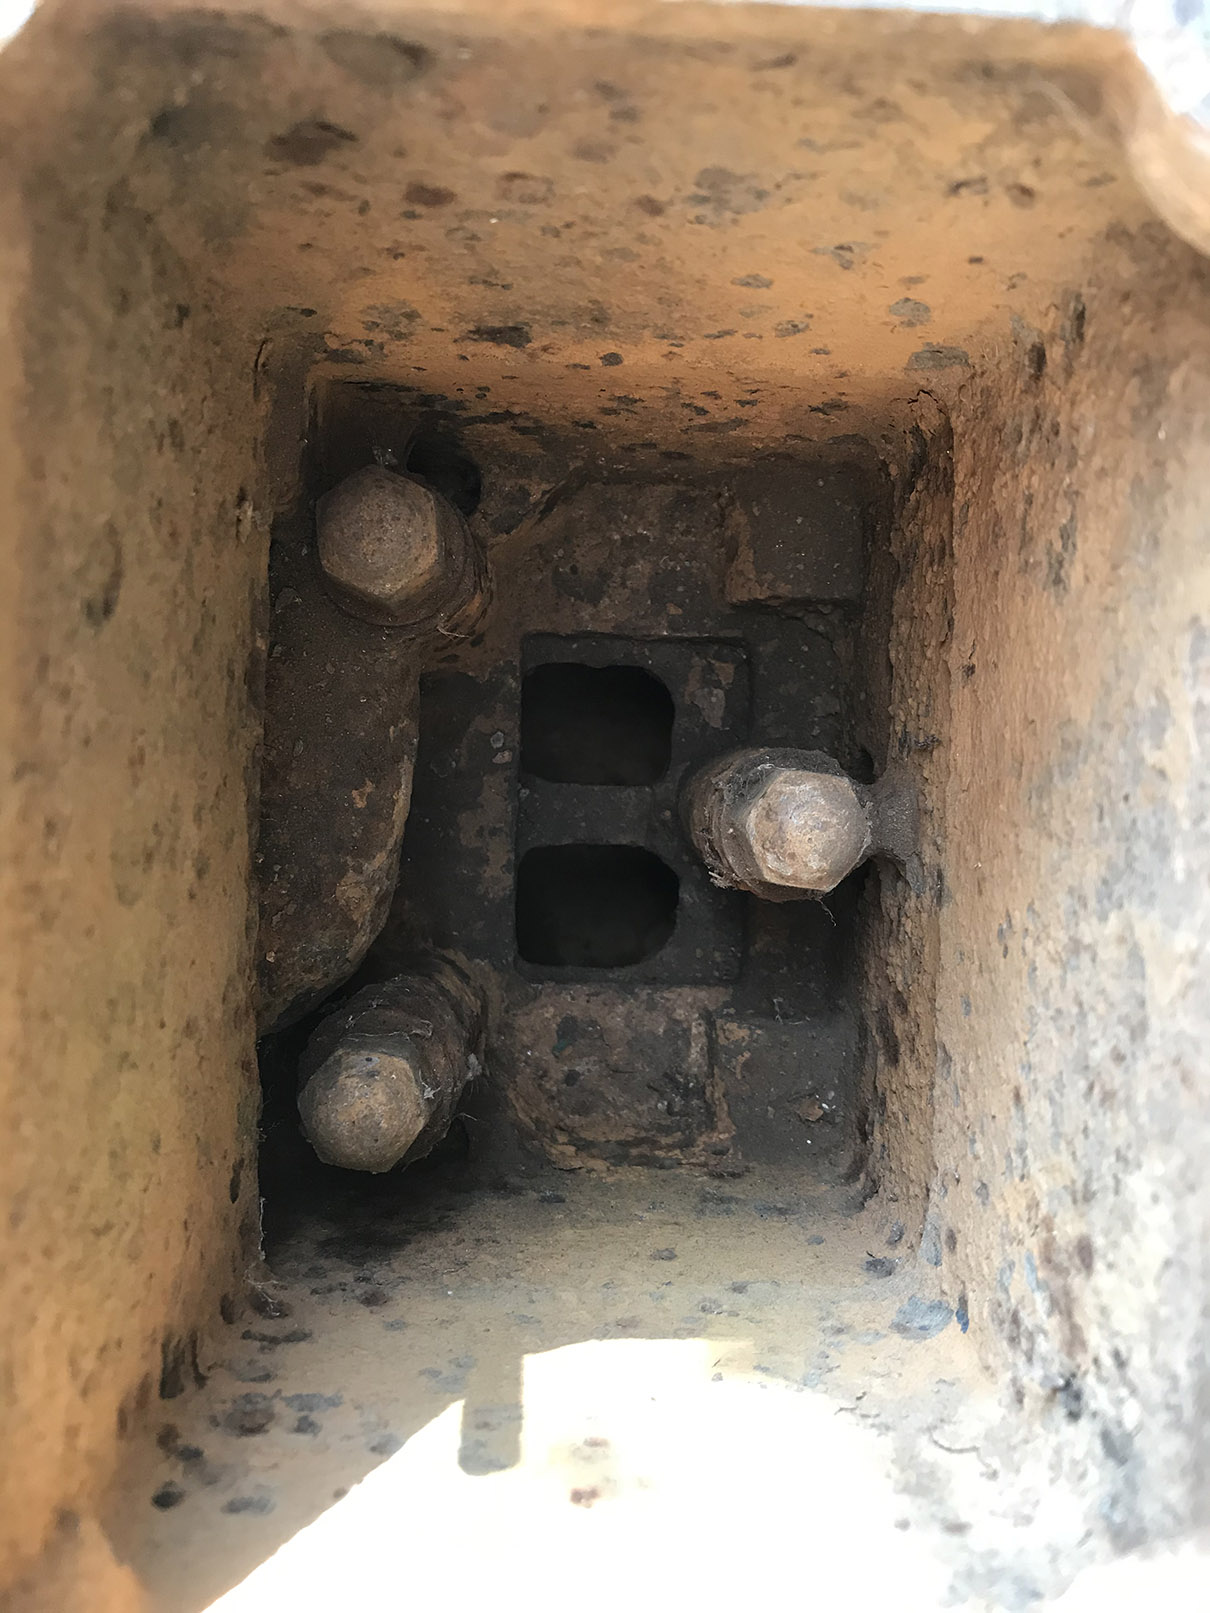
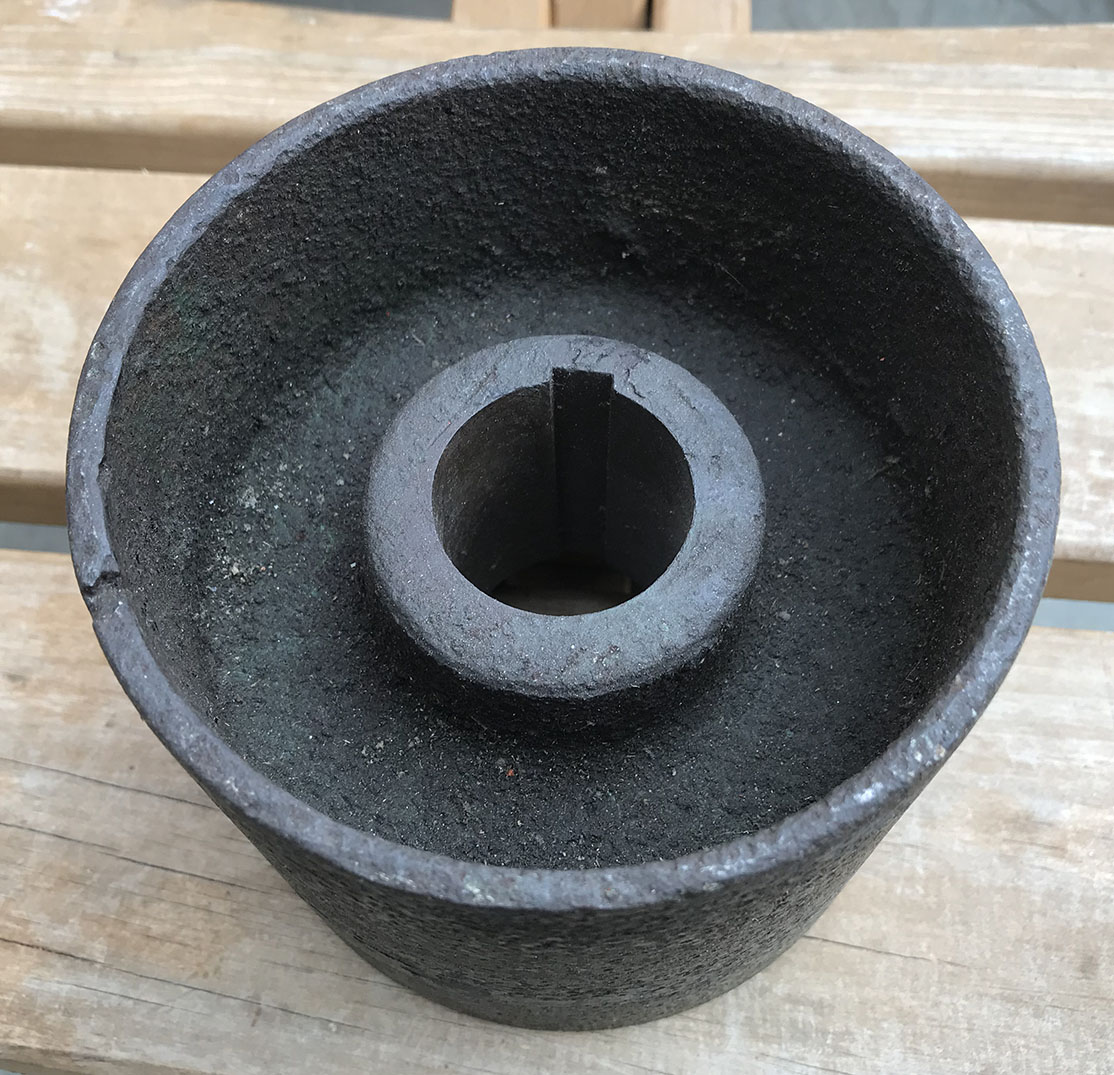
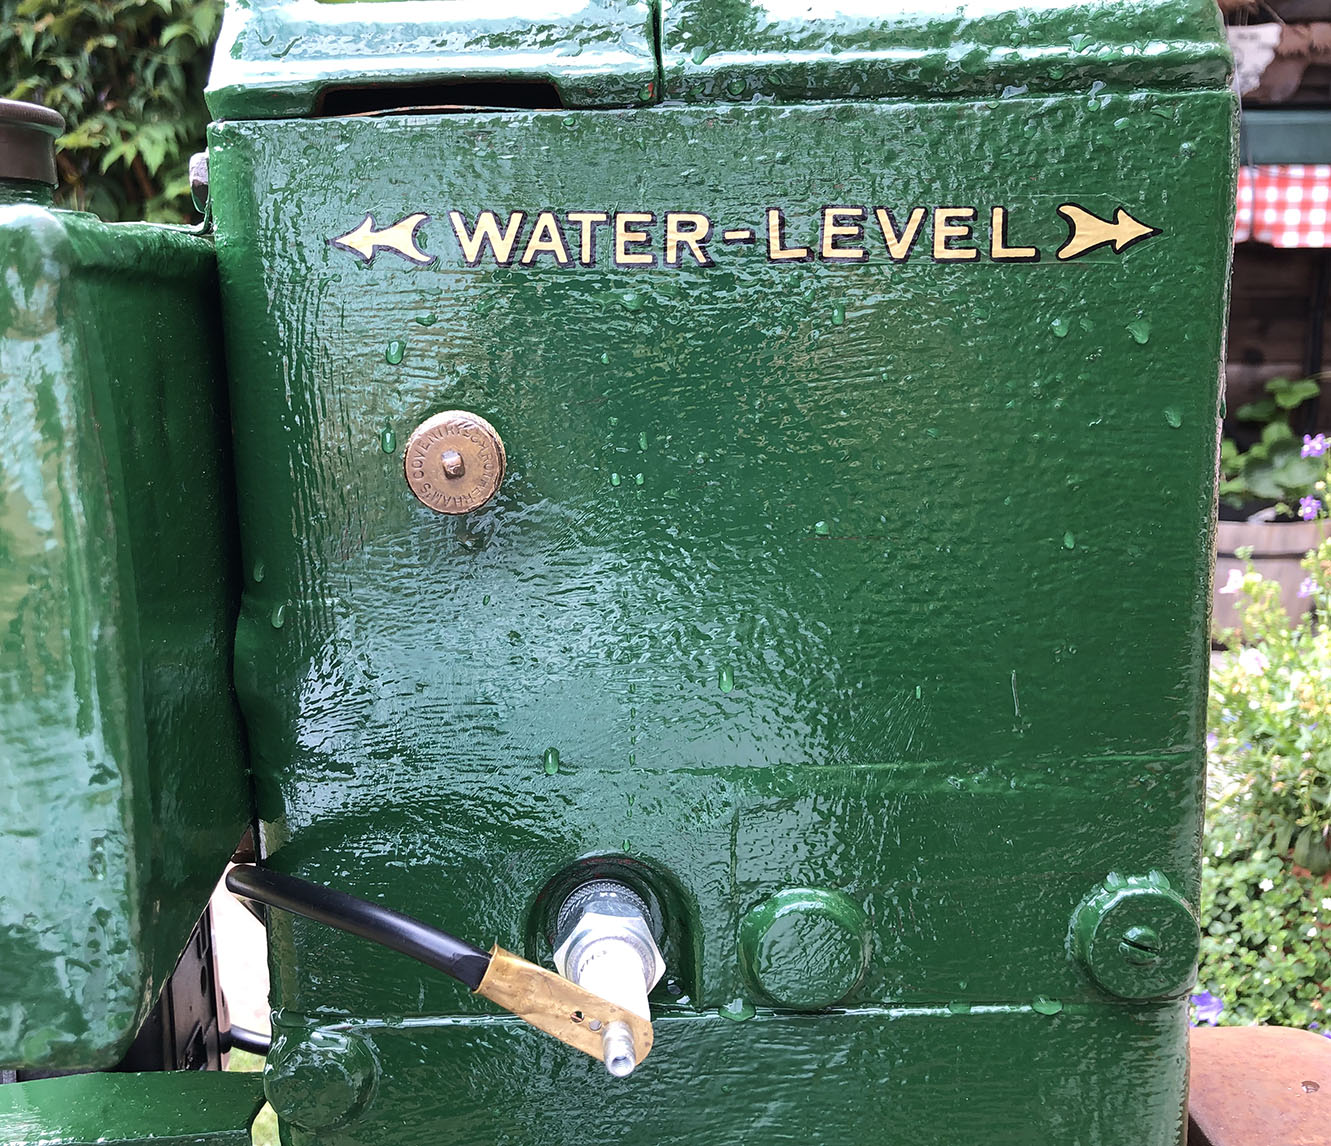
Water Jacket and Rockers.
Apart from copious amounts of rust in the water jacket, there are cobwebs in the rocker box! Once I’ve drained the sump, I’ll flush out the cobwebs and sludge with paraffin.
-

- Lister D rockers
-
- Lister D top
-
- Lister D water jacket
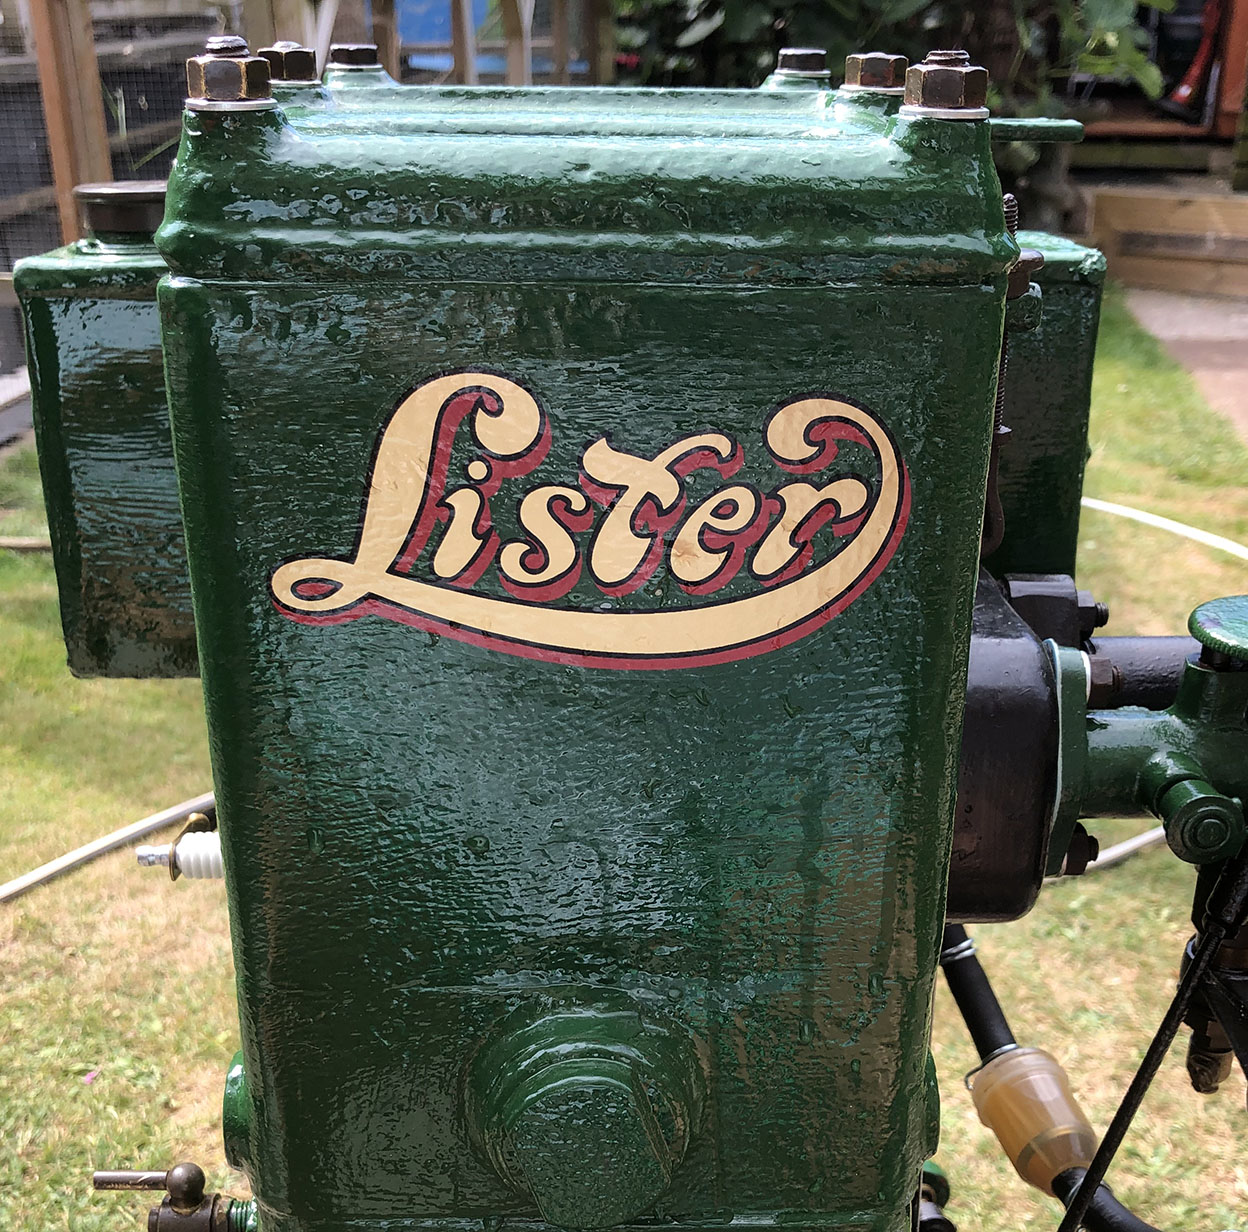
2/3/21: Paint job.
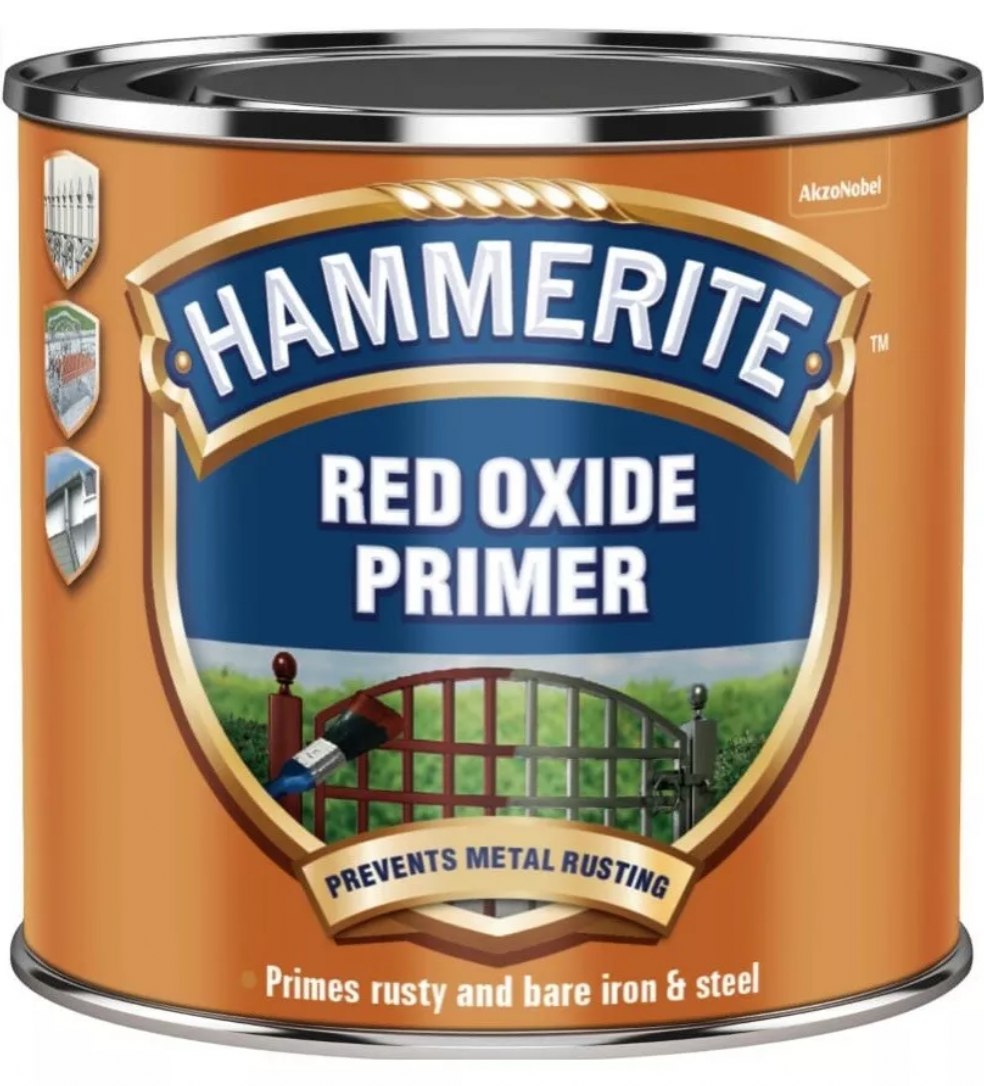
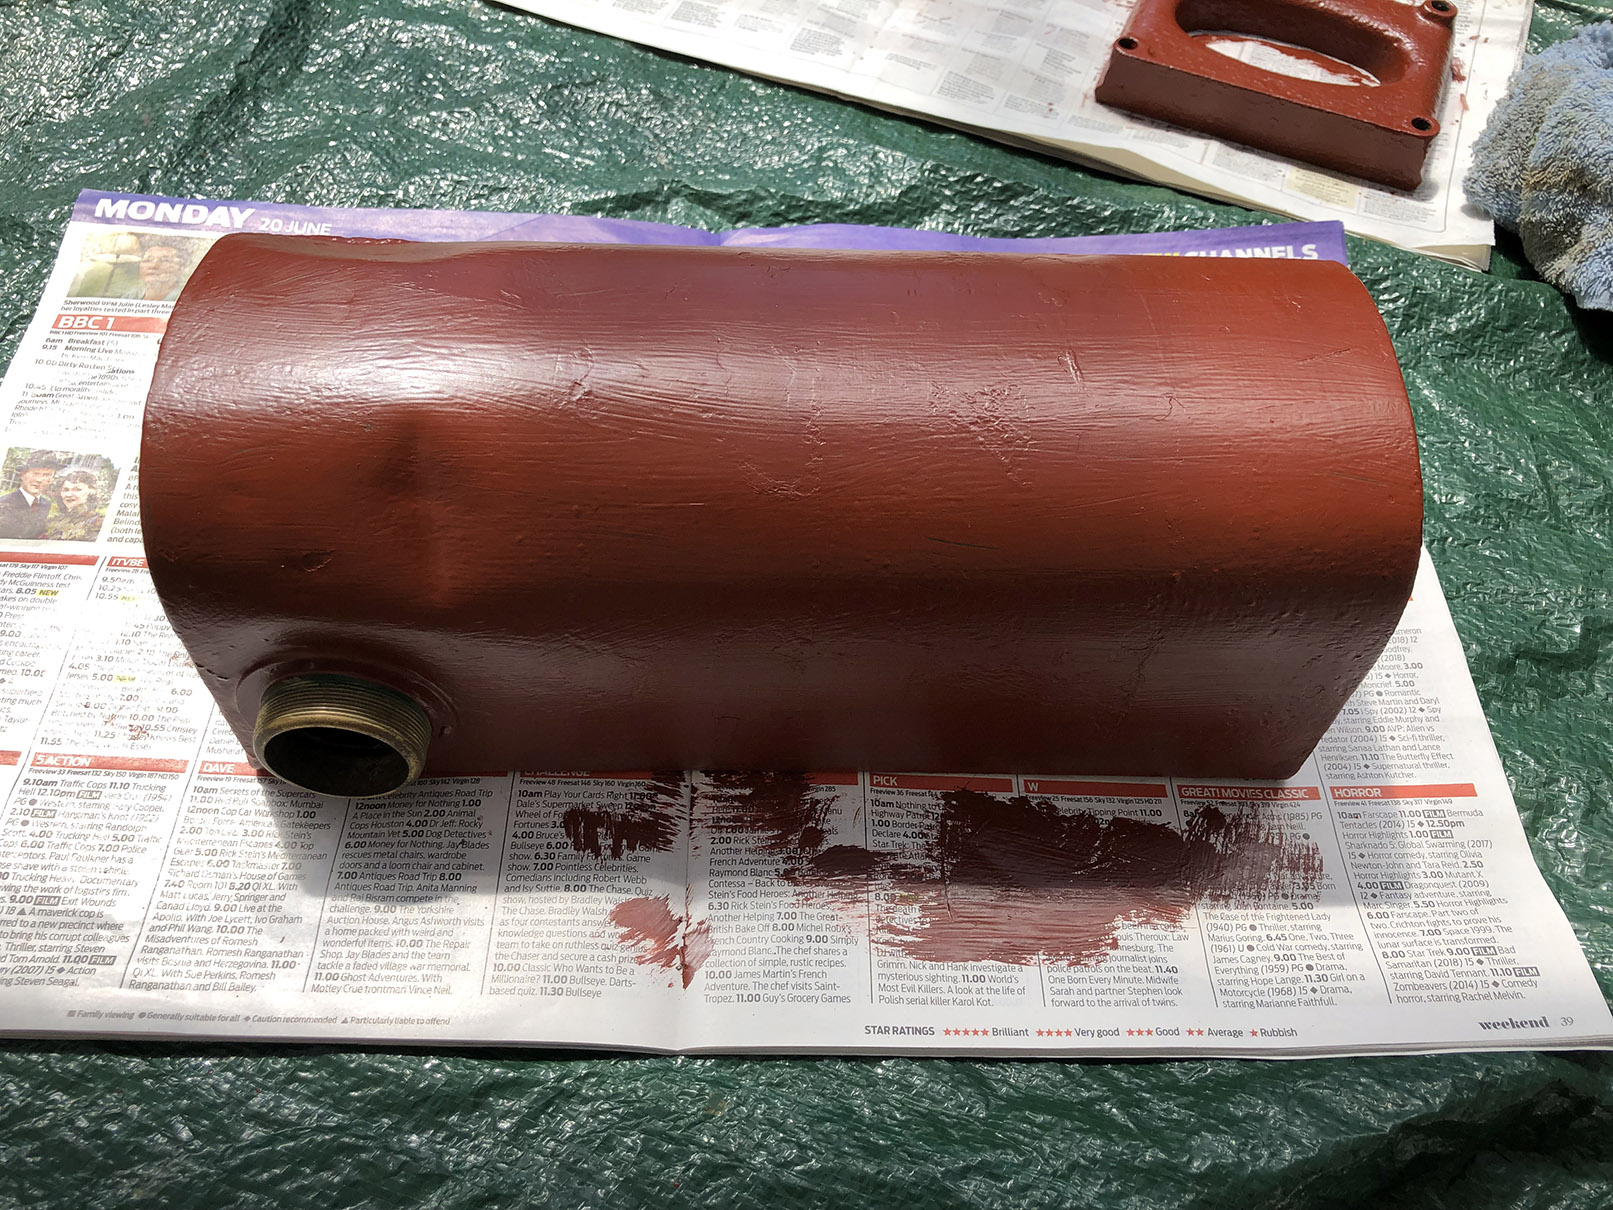
I’m about to start some serious painting. A little more rubbing down and the fuel tank will be ready to take the red oxide primer. I’m hoping that, before long, I can refit the carb, exhaust pipe, fuel tank, magneto… I’m getting there!
-
- Red Oxide
-
- Lister D fuel tank
-
- Middle Brunswick Green
6/5/21: Small pulley.
I’ve just taken delivery of a pulley, see photo below. Thanks, Graeme. The engine will now have the large (flywheel) pulley and the smaller one to drive a generator.
28/6/22: Back to work on the engine.
At long last, I’m back on the engine. Below are photos of the fuel tank and brackets plus water jacket cover and rocker box cover. All painted with Hammerite Red Oxide Primer. The right hand photo shows the covers in place. The next step will be to paint everything in the correct Mid Brunswick Green enamel.
Oil change and start of re-assembly: 30/6/22
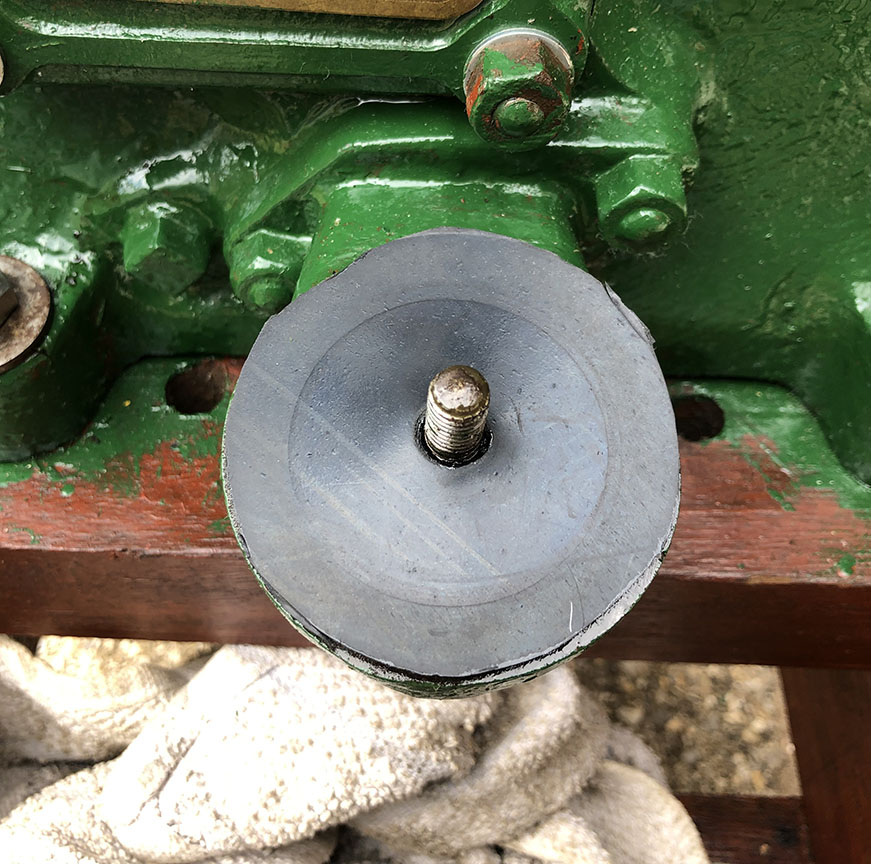
Draining the old oil and then flushing out with paraffin is a messy job! I then drained the paraffin and refilled with old engine oil from a car oil change. Once I’d drain that, I refilled with Golden Film SAE30 oil. I’ll probably go for another oil changed after a few hours running time. I bought a piece of oil resistant nitrile rubber sheet to cut out a seal for the oil filler cap. On second thoughts, I decided not to make a seal as there wasn’t one there originally. On third thoughts, I did make a seal. I was reprimanded for an oil stain on the patio!
Oil filler cap seal:
I bought a piece of oil resistant nitrile rubber sheet to cut out a seal for the oil filler cap. On second thoughts, I decided not to make a seal as there wasn’t one there originally. On third thoughts, I did make a seal. I was reprimanded for an oil stain on the patio!
A discovery: 2/7/22
I knew that this engine was designed to run on petrol or paraffin. But there’s no starter fuel tank or two way fuel tap. The photo below shows a bracket with a hole in it. I’ve often wondered what its purpose was. I now believe it’s for mounting the small starter petrol tank. There must also have been a two way fuel tap, petrol or paraffin. I reckon someone did away with the small tank and two way tap and ran the engine on petrol only. My only concern is that, in photos I’ve seen of other engines, the bracket on mine is in the wrong place.
Drying in the sun: 3/7/22
The enamel paint dries far faster in the sun. I find it remains sticky for quite a few days if left in the cool shade.
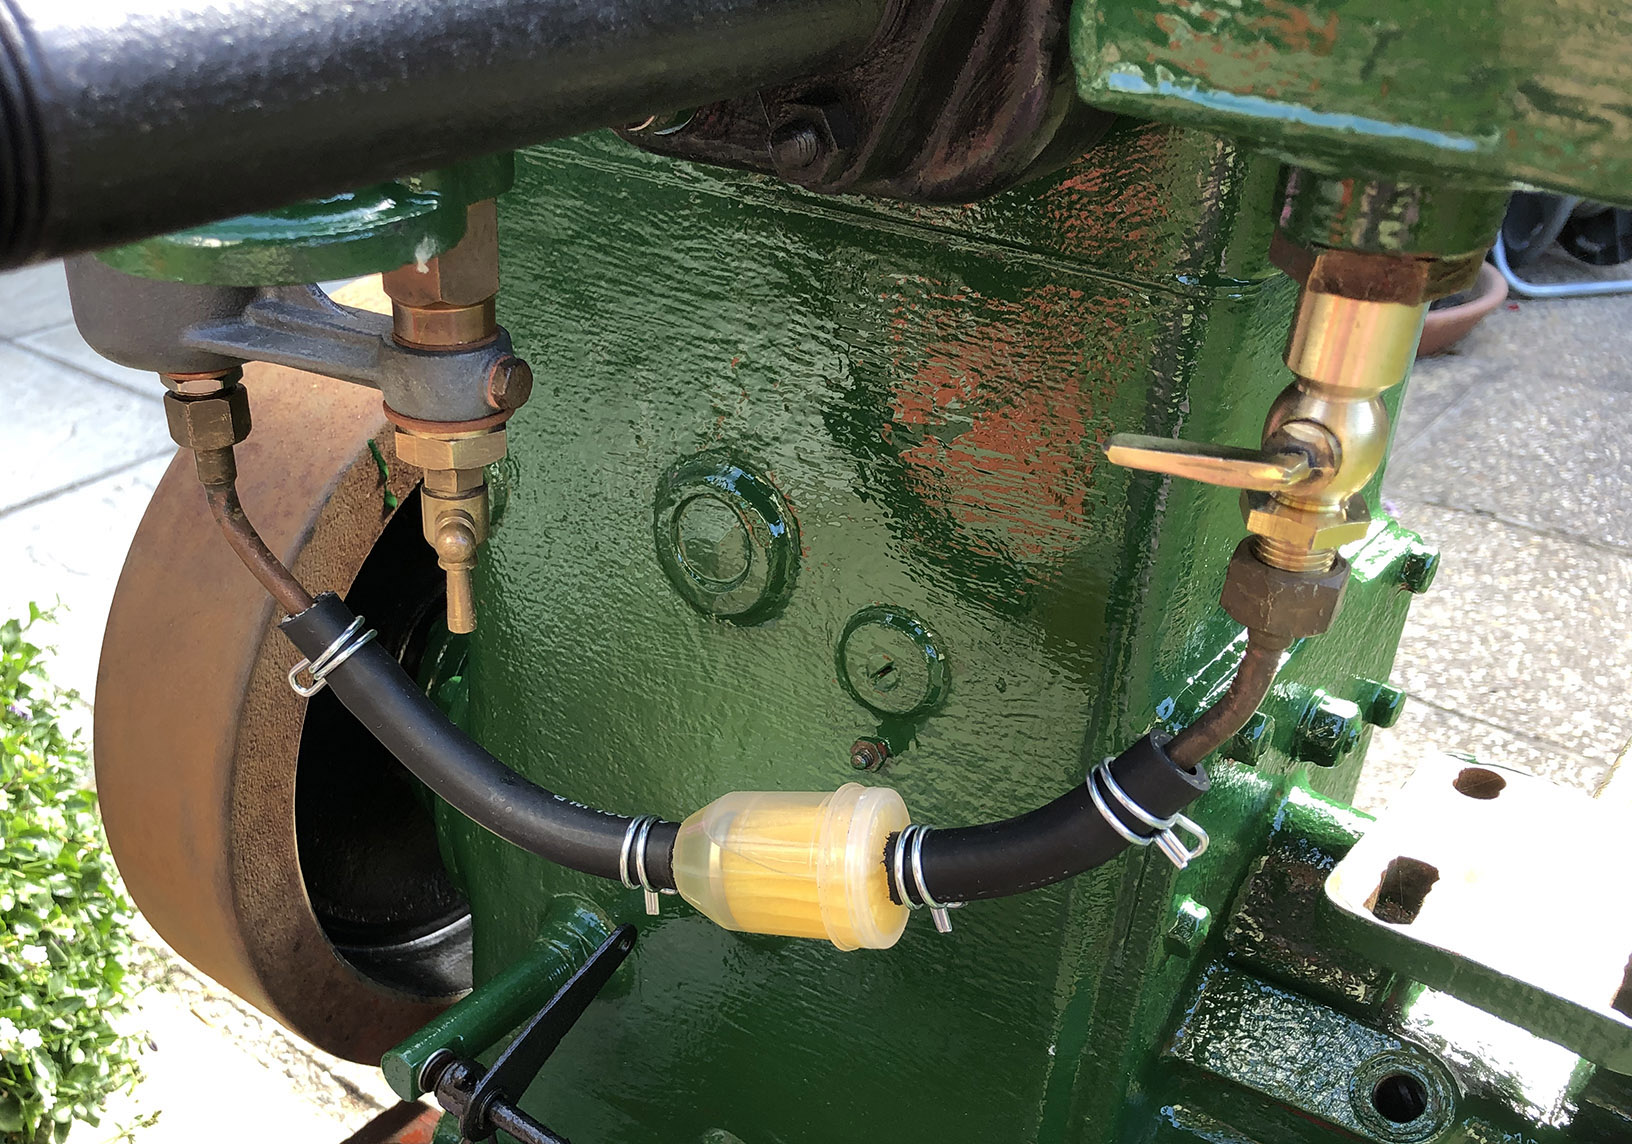
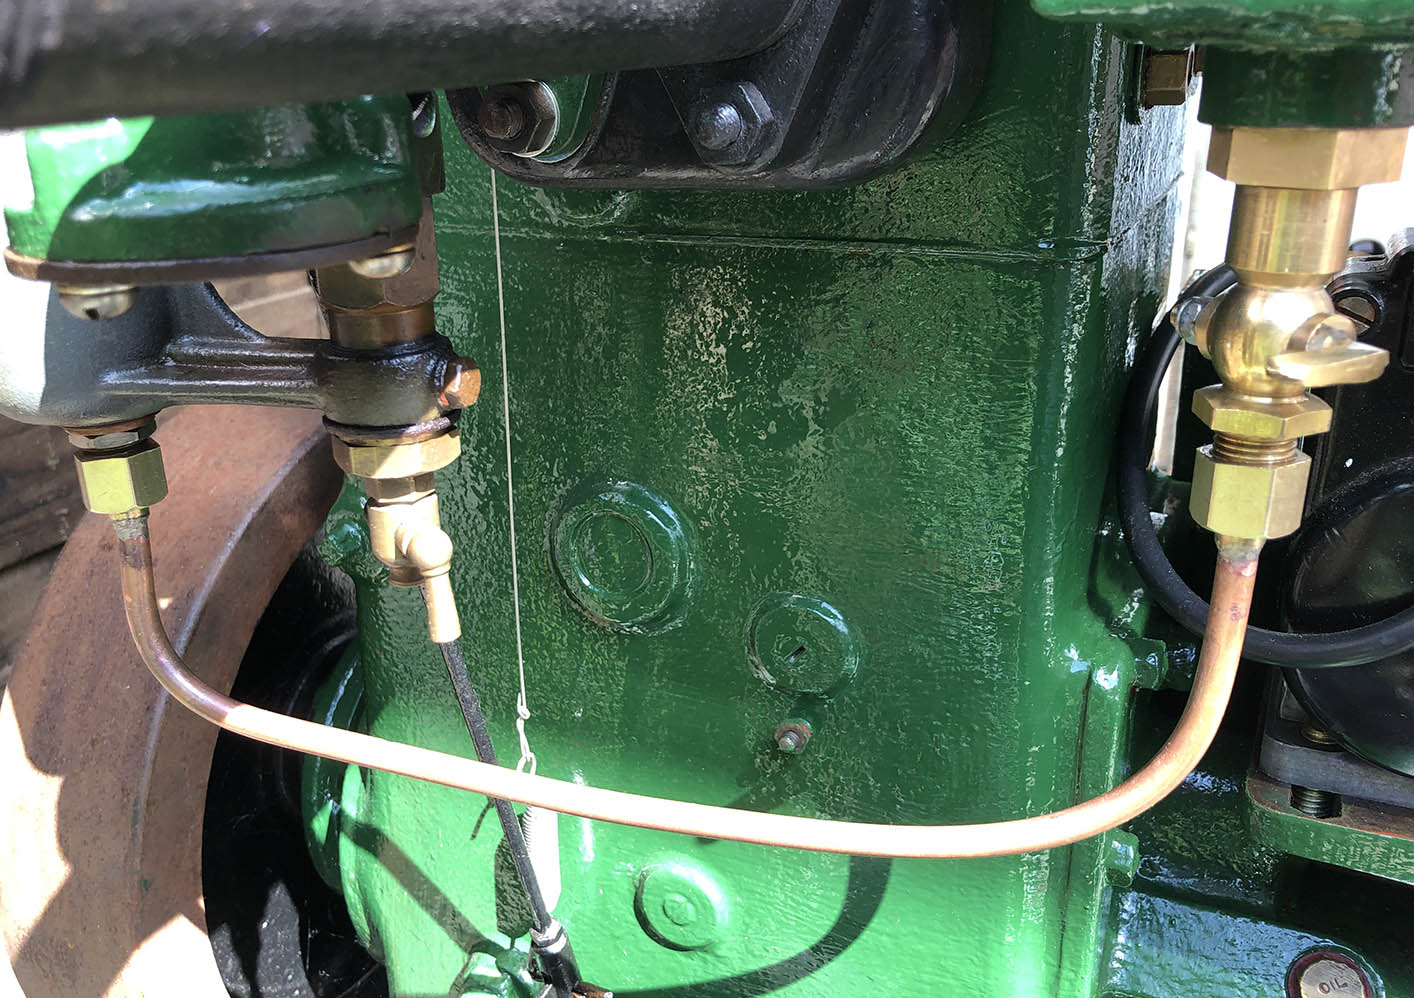
Fuel pipe fitted: 6/7/22
The original copper fuel pipe was missing. In its place was a rubber pipe and a filter so I’ve stuck with that idea for the time being. I can always change it later but, for now, any loose bits of rust from the petrol tank will be filtered out. I have removed the rust from inside the tank as best I can but it’s best to be safe. The needle valve isn’t shutting off when the float chamber is full. Shouldn’t be much of a problem… hopefully!
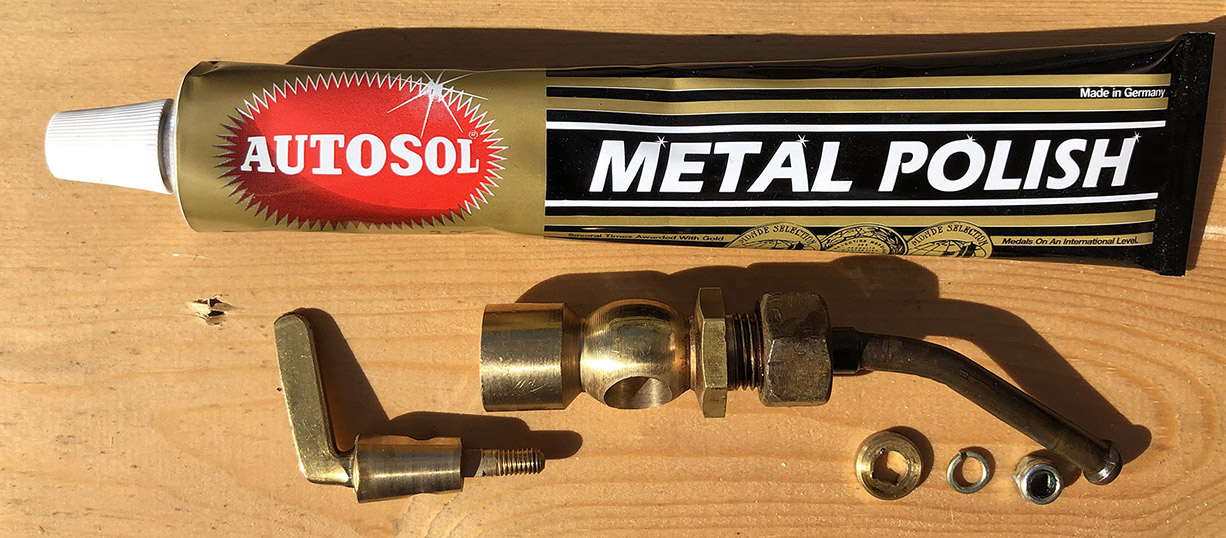
The new petrol tap leaks! However, using Autosol metal polish as a fine grinding paste, I managed to stop the leak.
Magneto chain: 7/7/22
I’ve just fitted the magneto chain. It looks as though I won’t need shims, which is good. Getting the third bolt in place was a nightmare!
Nearing completion: 9/7/22
I’m almost there. Once I’ve set the timing, I’ll give the engine a spin and see what happens! The TDC and timing marks on the flywheel have gone. Rusted away! So I’ll have to work it out for myself. I’ve just discovered something very helpful. In my case, I have a 12 inch flywheel with a circumference of 37.5 inches and I want to mark 15 degrees before TDC. To determine the measurement in inches for a 12 inch flywheel, measure the circumference and divide that figure by 360. You then multiply the result by the number of degrees you want from TDC. My working out is: 37.5 divided by 360 multiplied by 15 equals 1.5625 inches.
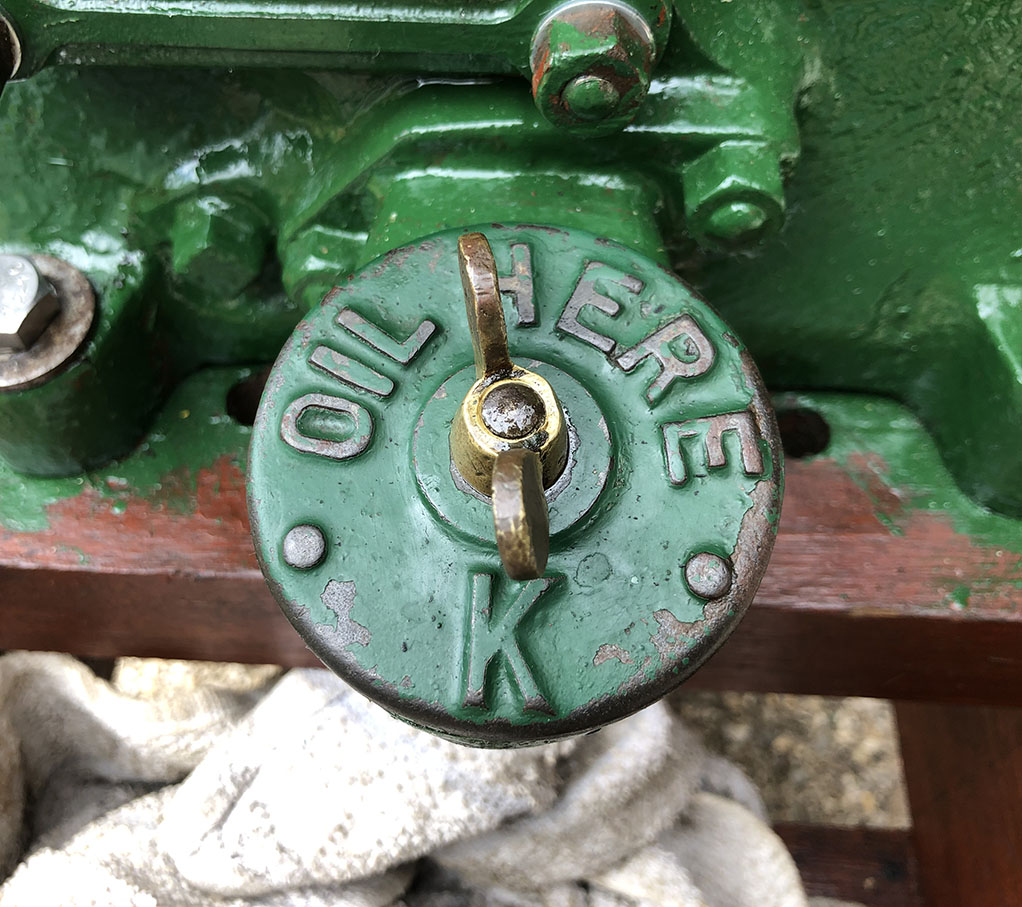
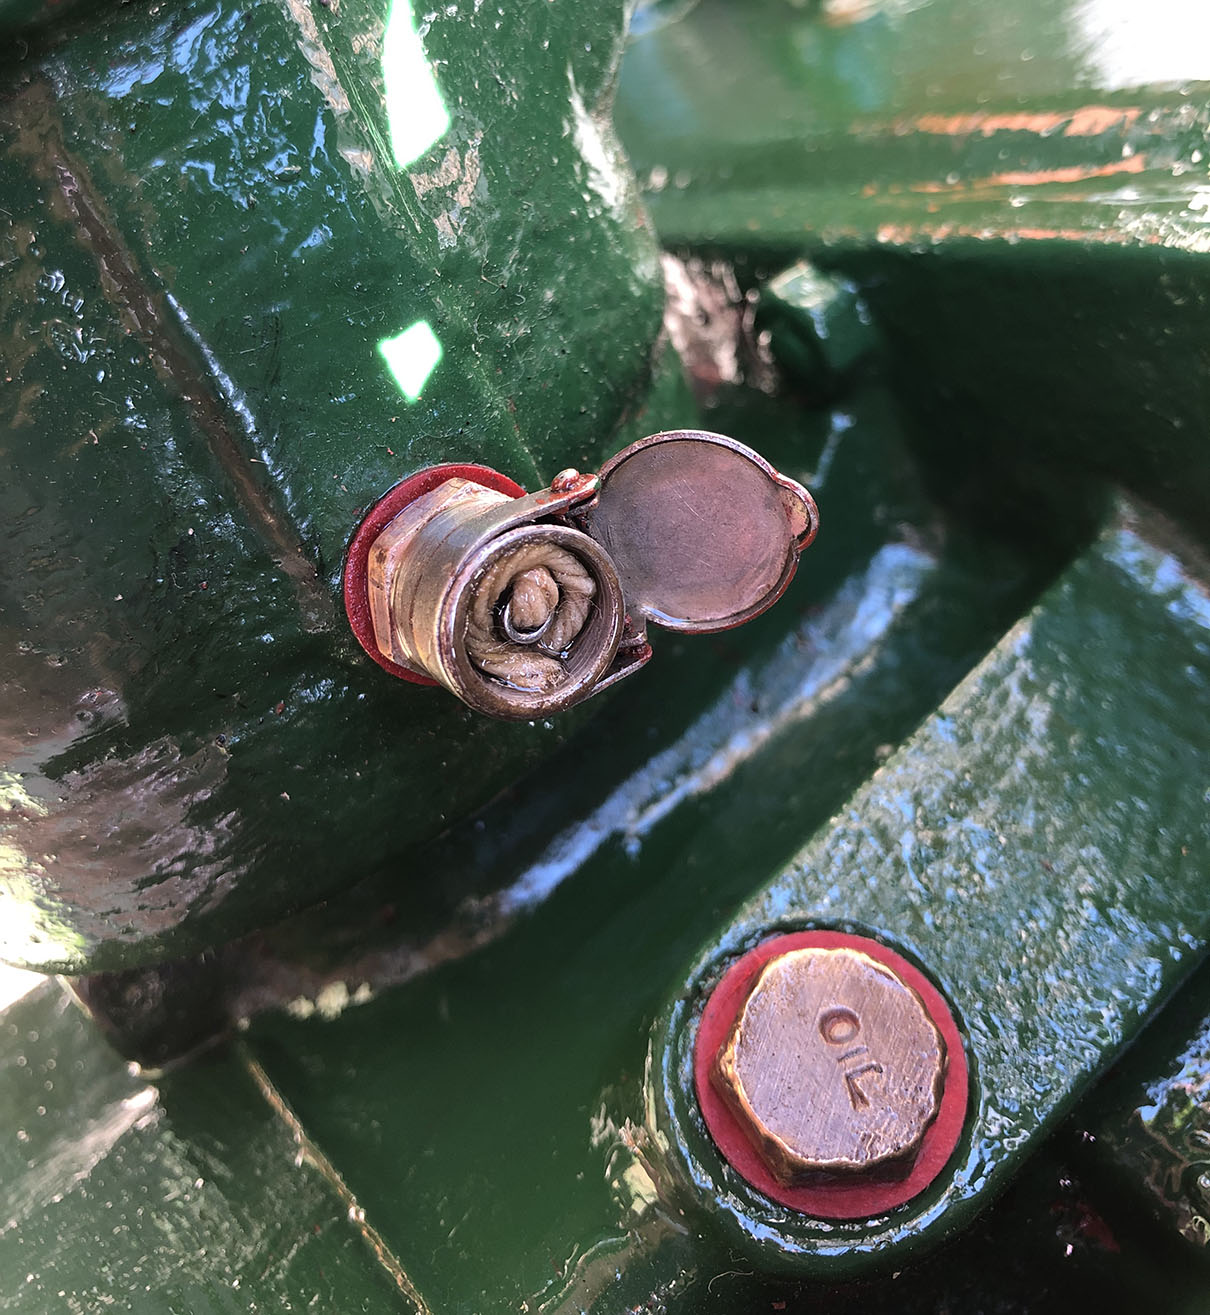
Oil Cup Wick:
I’ve used a short piece of string for the governor oil wick. See photos below…
Rubbish fuel filter: 21/7/22
I’ve discovered that the new filter I bought, shown below on the left, leaks around the plastic joint. I’ve replaced it with a better one. The cheapest option isn’t always good! Another problem… the new petrol tap I bought leaks. And it wasn’t the cheapest option!
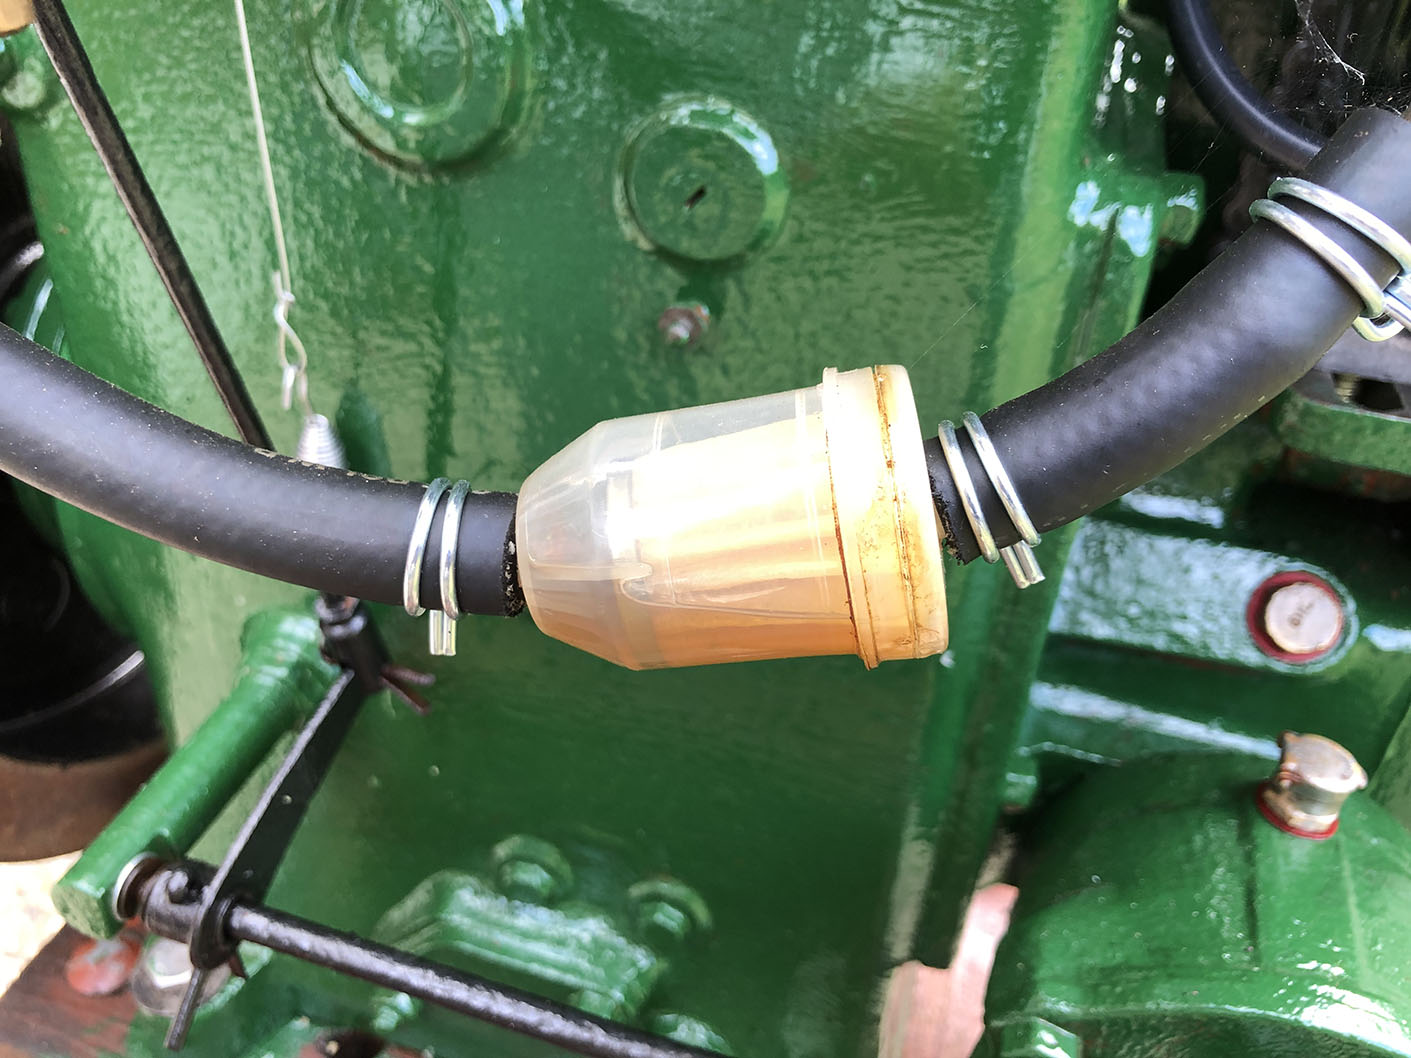

New fuel filter: 28/4/23
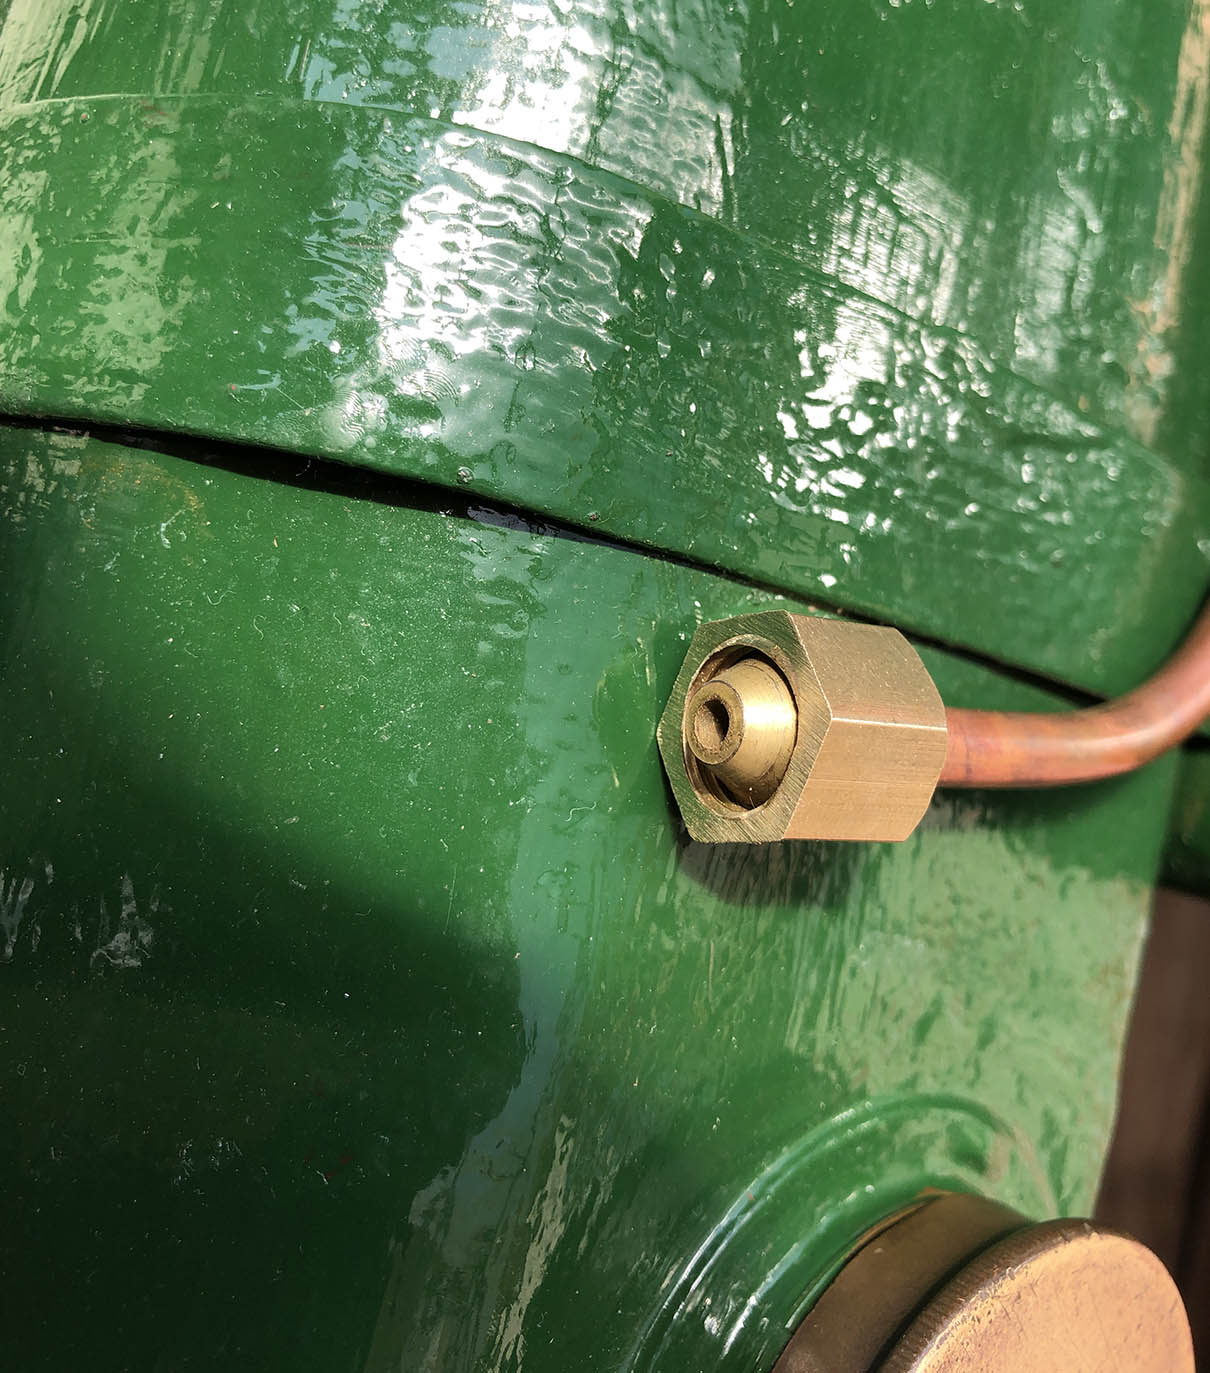
I’ve not been happy with the inline fuel filter shown above. Not because it doesn’t work but, because it doesn’t look original. However, I do think that a filter is necessary as there are still small pieces of rust coming loose in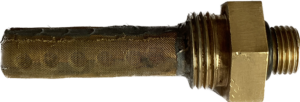 the tank. My new filter arrived today! It screws into the petrol tank outlet, nicely out of site. It’s remarkably well made and, by the look of the mesh, it will keep even the smallest pieces of grit and muck out of the engine. I’m hoping to replace the rubber fuel line with copper pipe, which will look a lot better.
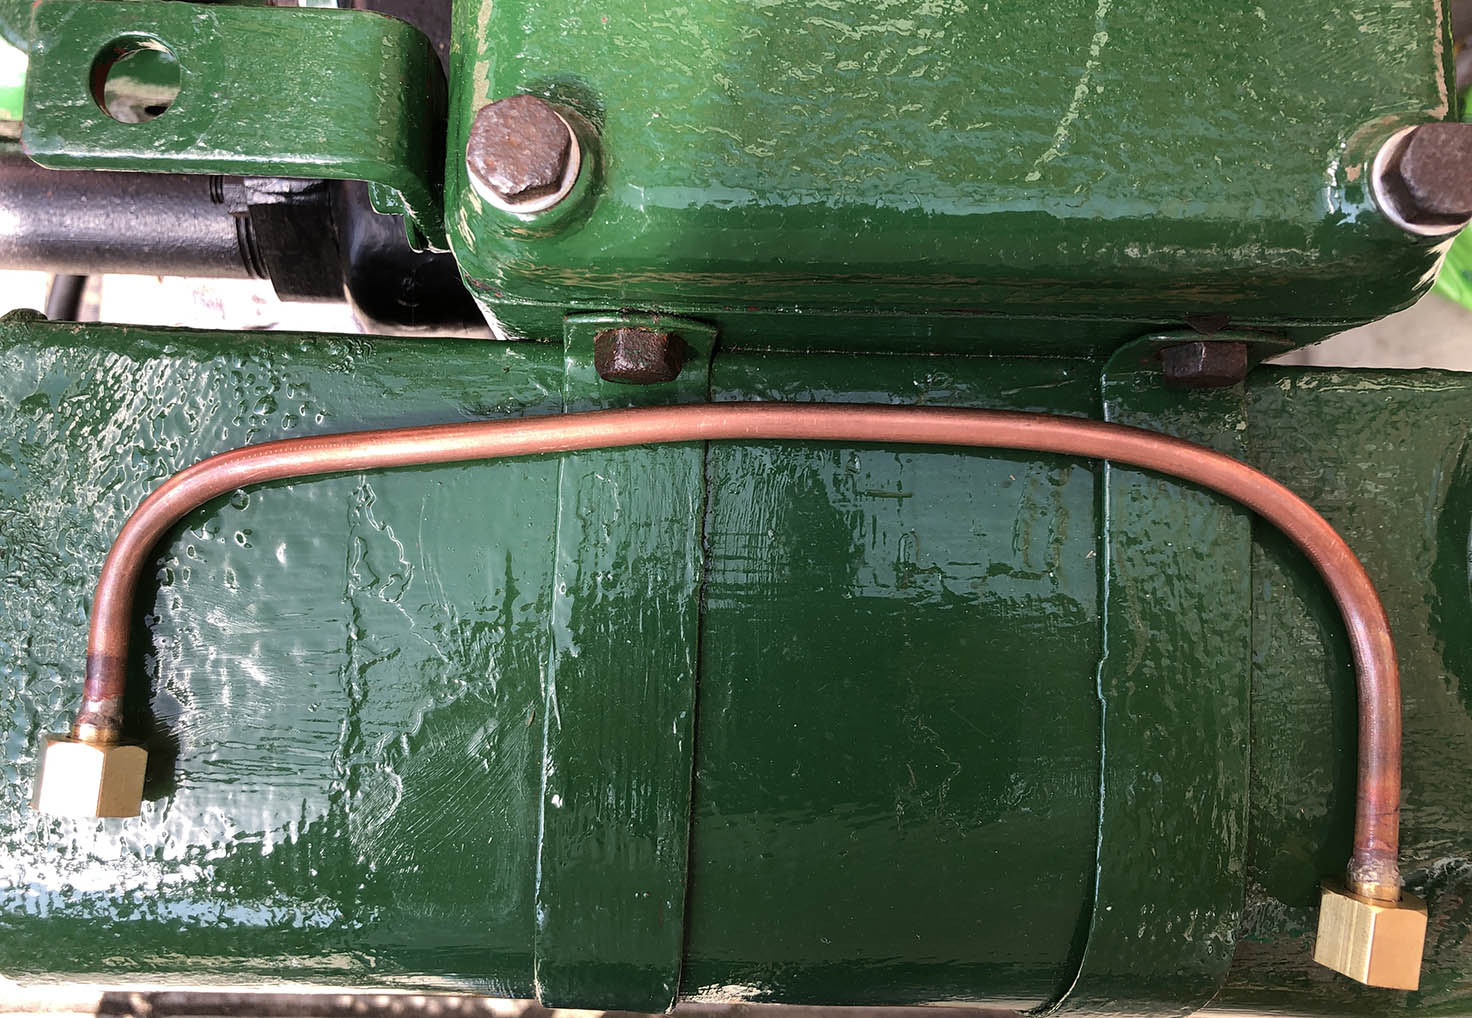
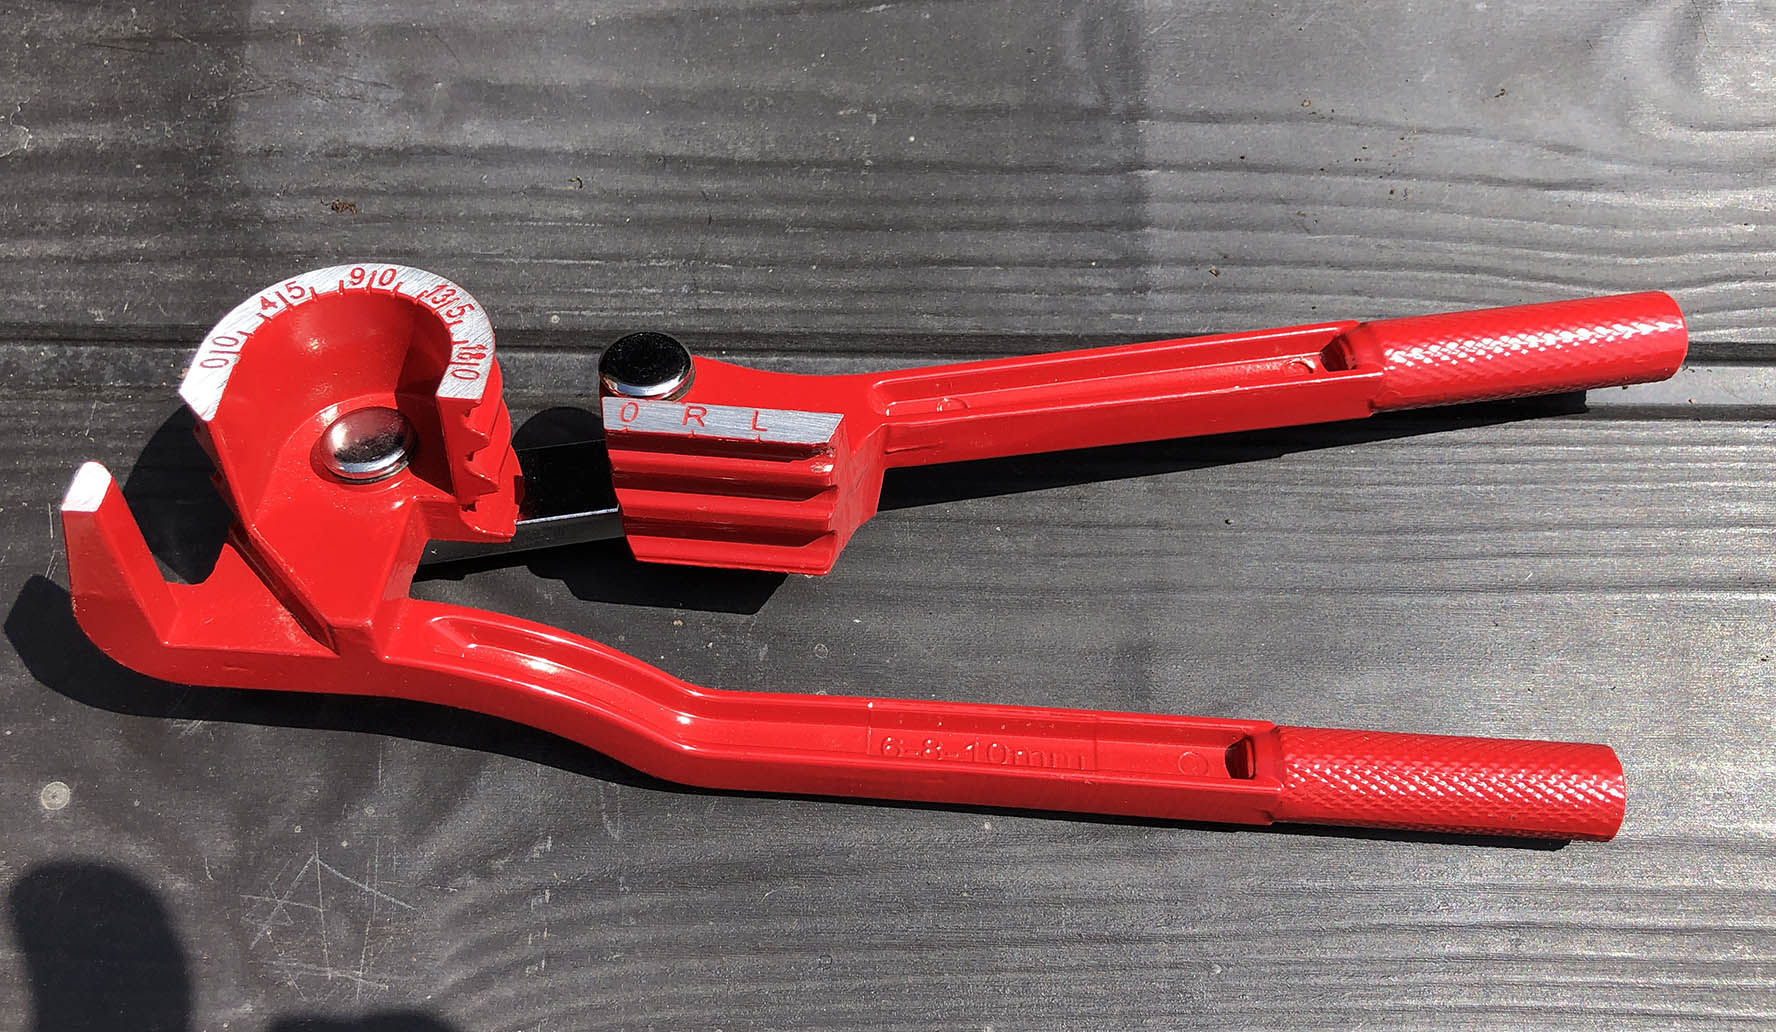
Copper fuel pipe fitted: 16/5/23
I’ve now fitted a copper fuel pipe. The old rubber pipe wasn’t original and it looked awful. I had to grind down the nuts on each end of the new pipe as the thread was too long, the pipe was loose even with the nuts fully tightened. The pipe was advertised as malleable and easily shaped by hand but I used a pipe bender to do the job.
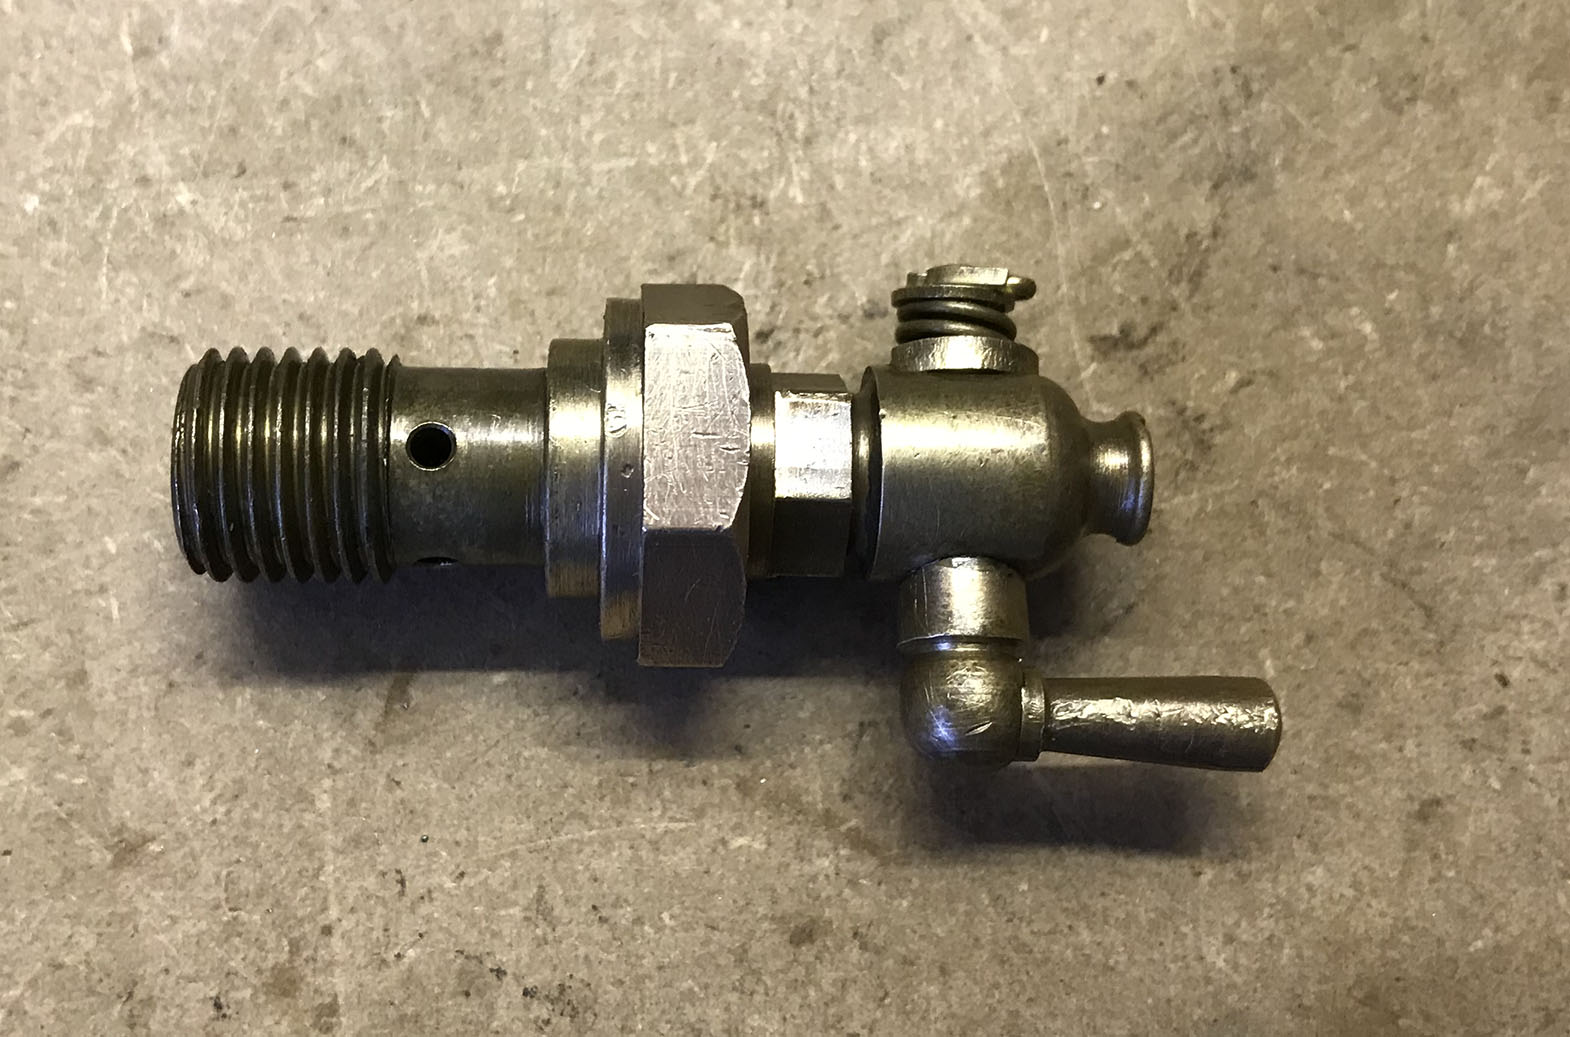
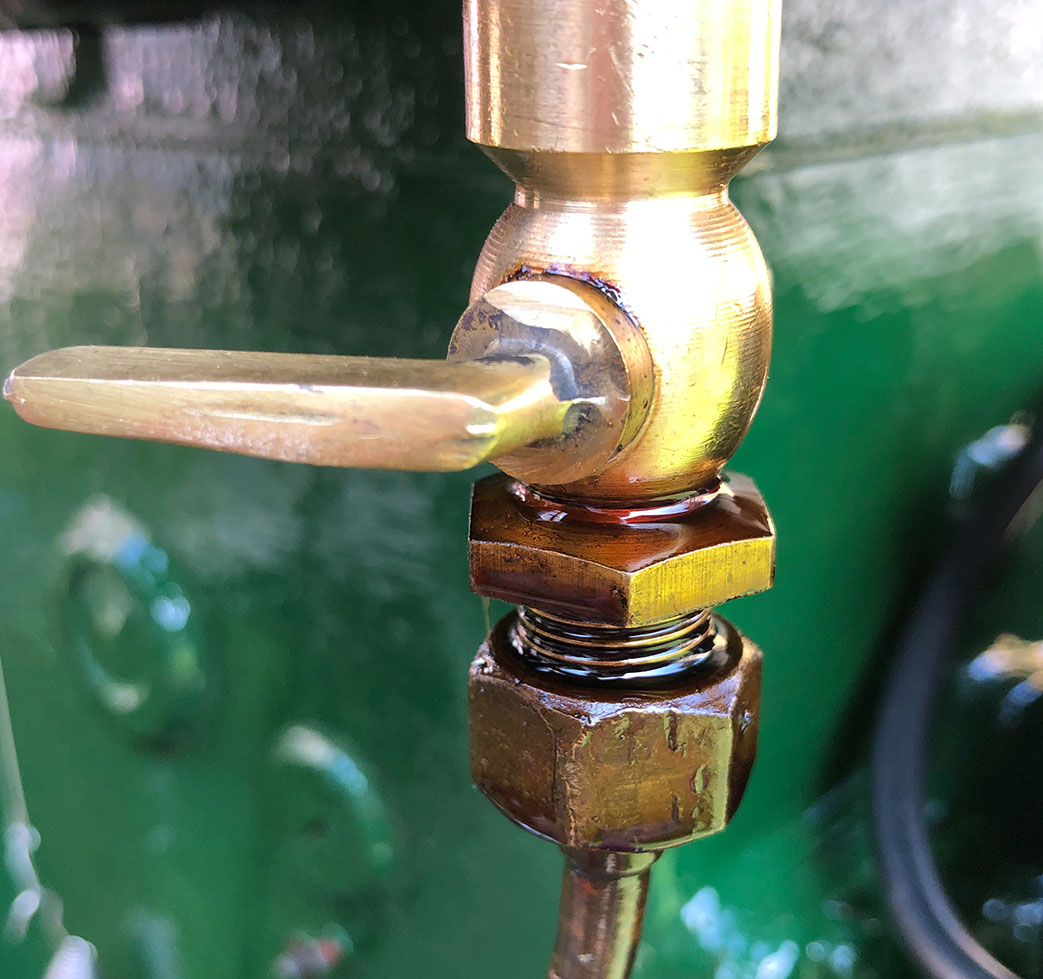
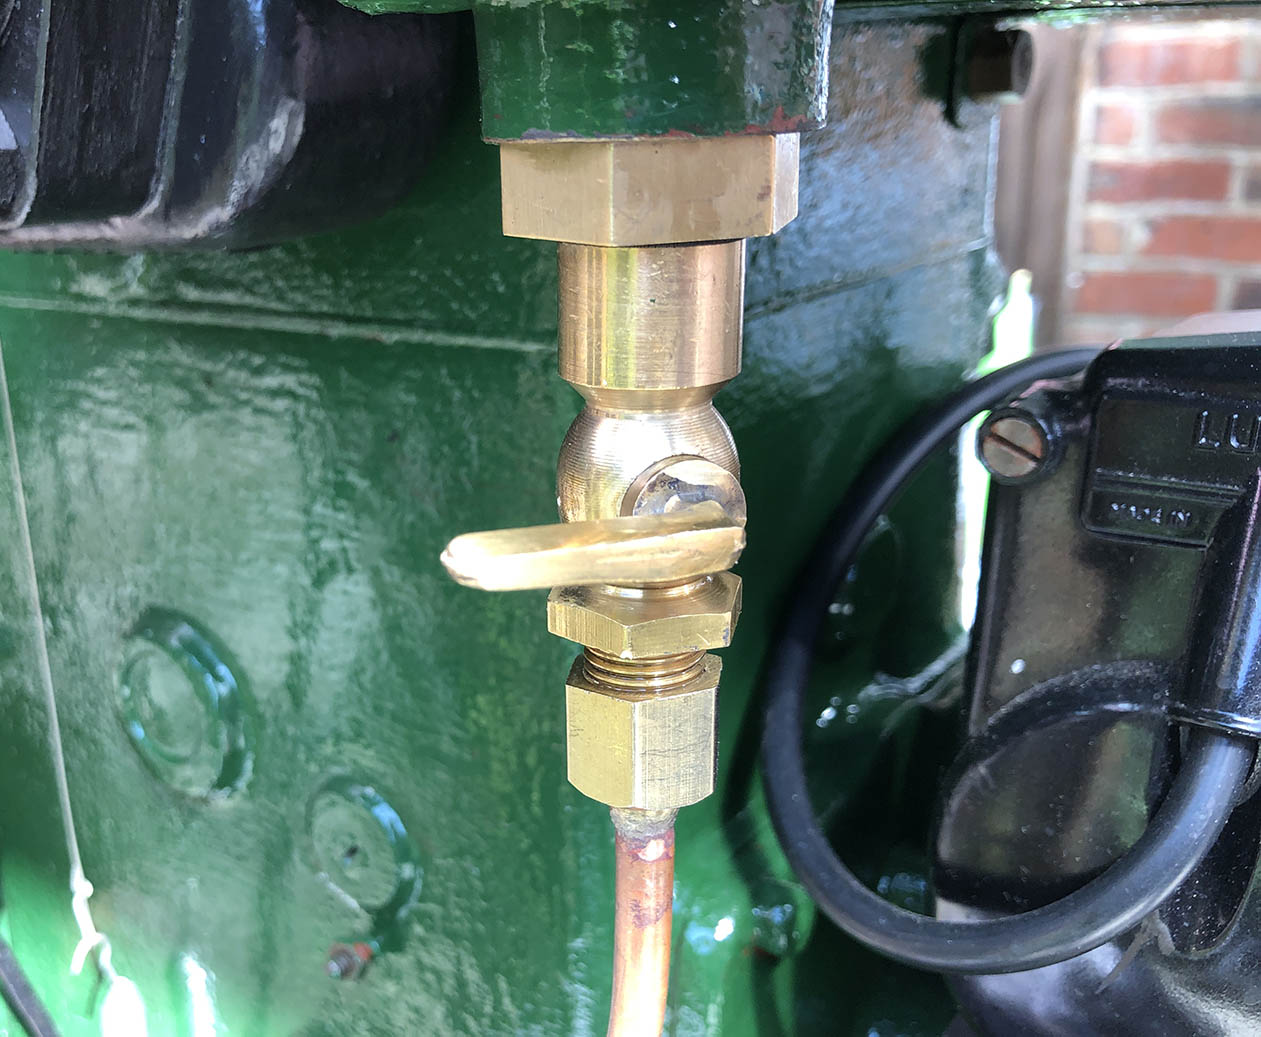
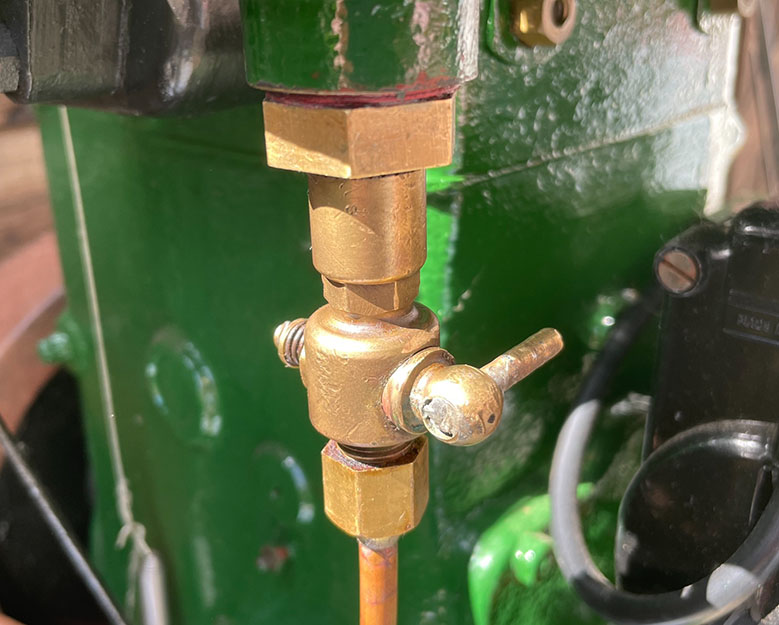
23/8/23: Leaking fuel tap solved.
Below left is the new fuel tap, which still leaks! The centre photo shows a fuel tap I’ve just bought. It’s around 80 years old, a good old original Lister tap, and it doesn’t leak. Why is nothing made proerply these days? The tap on the left is new and, although I’ve used fine grinding paste followed by an even finer metal polish to bed the tap in, it still leaks! The pipe bender is shown on the right. See the video below…
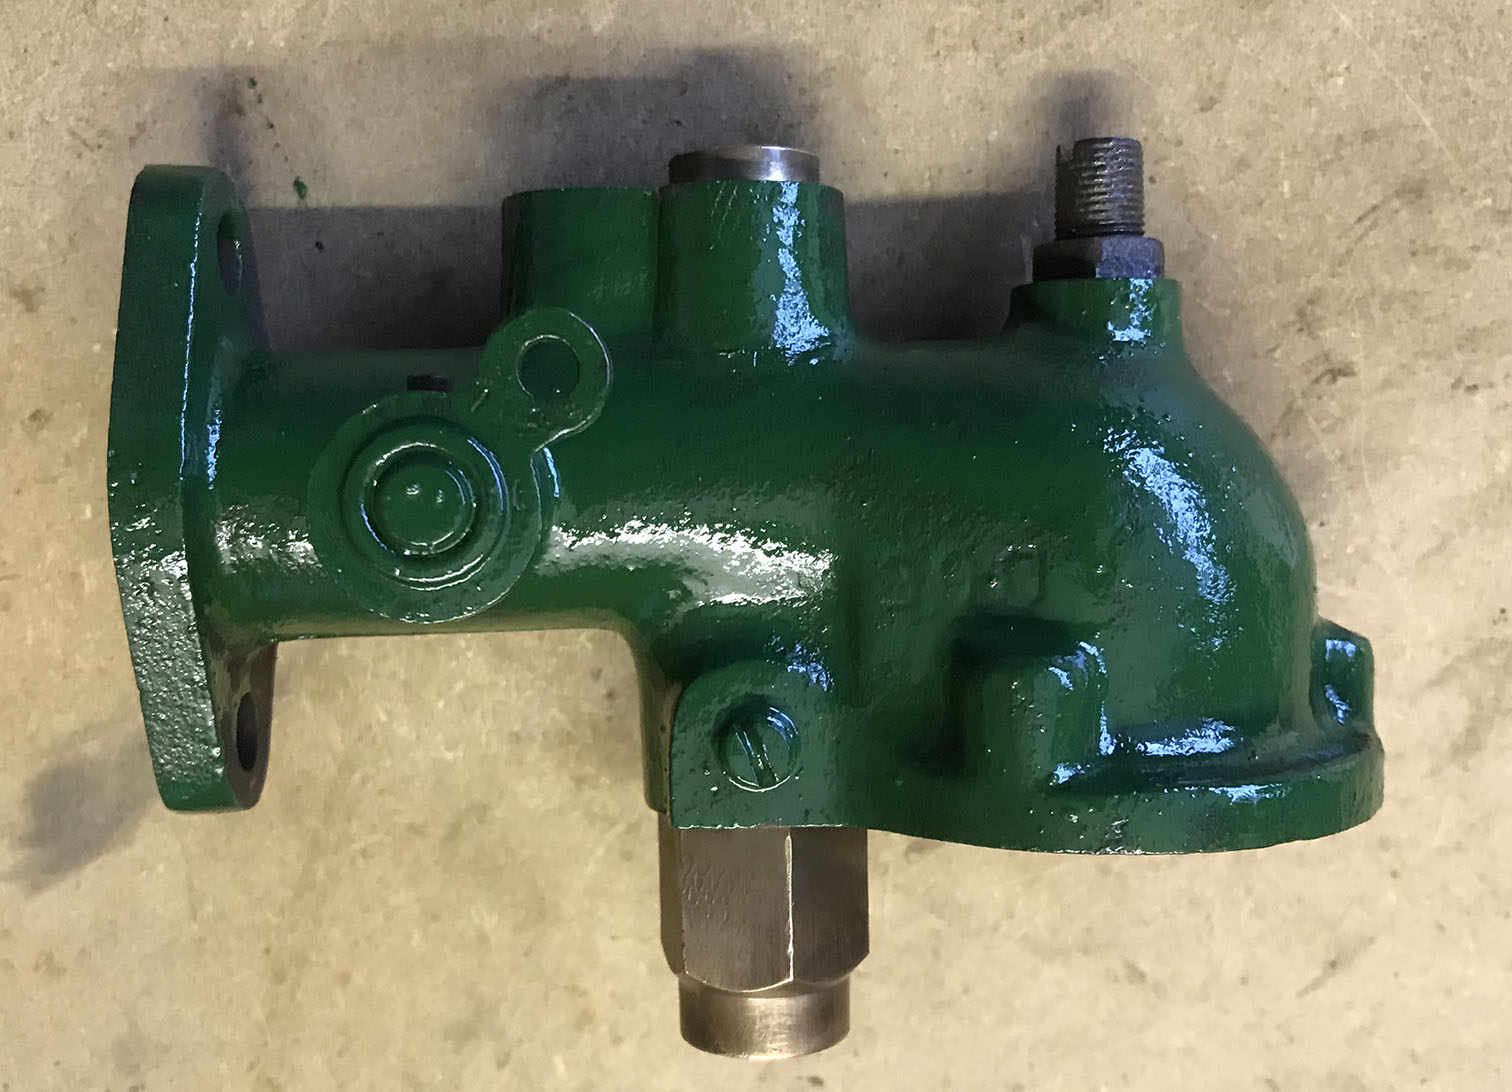
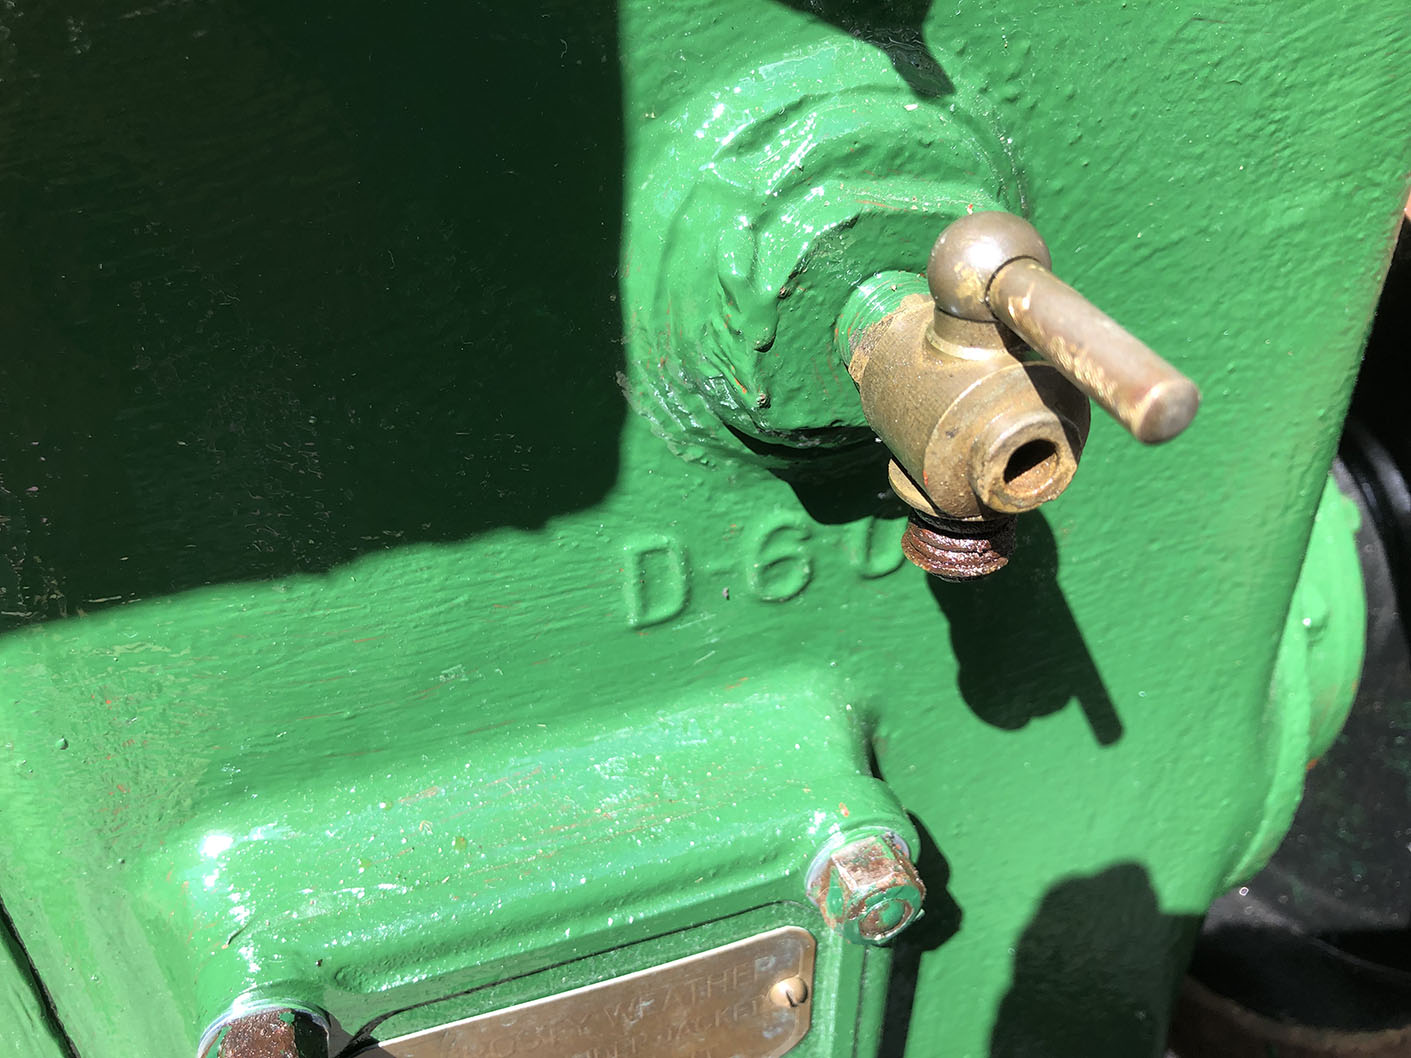
Water drain tap: 24/7/22
I’d like to replace the drain tap for the type suitable for use with a drain pipe. At the moment, water pours all over the oil filler cap, which isn’t good. However, I can’t release the old tap. I don’t want to force the thing and shear it off!
Here are a few photos for your perusal.
Epic fail!
Wrong transfer in wrong place! Remove, repaint, order correct transfer.
The correct transfers: 26/7/22
The correct transfers in the correct places. Still wet and in need of a little flattening out.
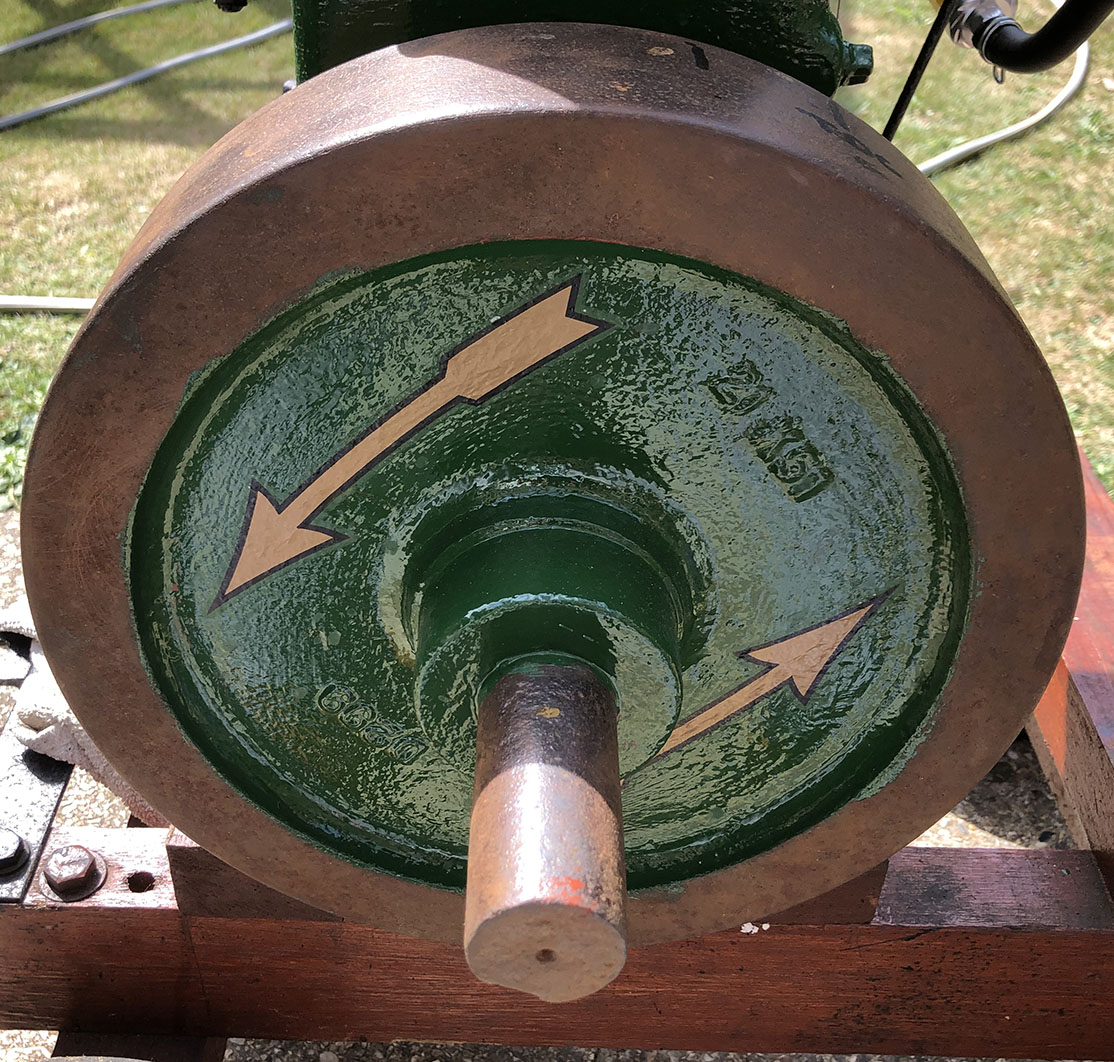
Flywheel transfers:
Reverse rotation transfer arrows.
18/7/22: First fire up in decades!
Pre-firing checks: Tappets adjusted to just over 10 thou. Spark plug gap 20 thou. Points gap 12 thou. Oil level checked. Petrol tap on. Float chamber full. Starting handle engaged.
A pleasing discovery: 19/7/22
The governor works! You might not think this a surprising discovery but I had an inkling that the governor was seized.
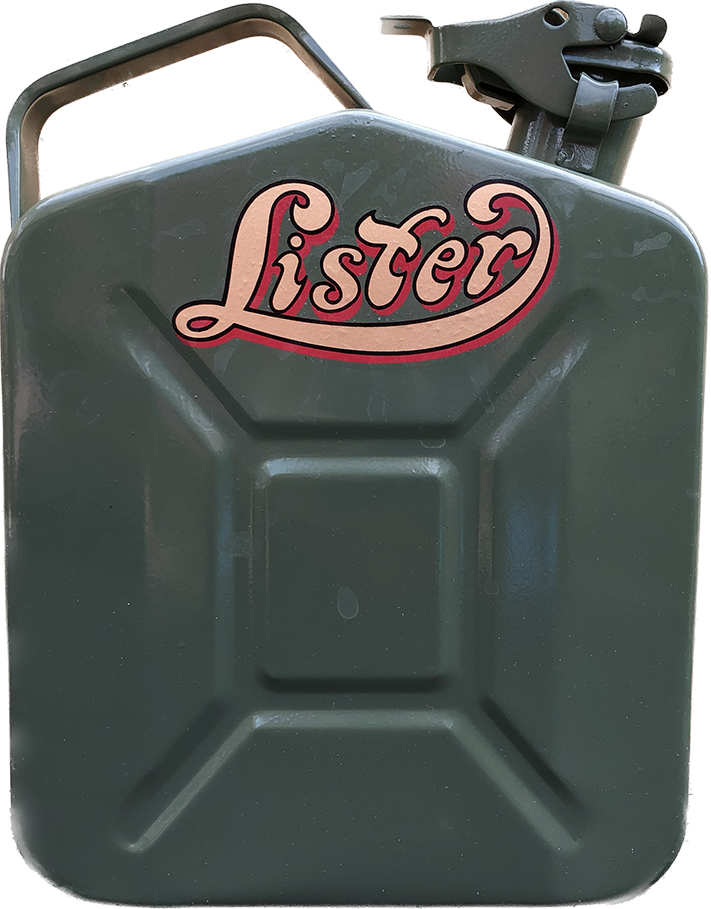
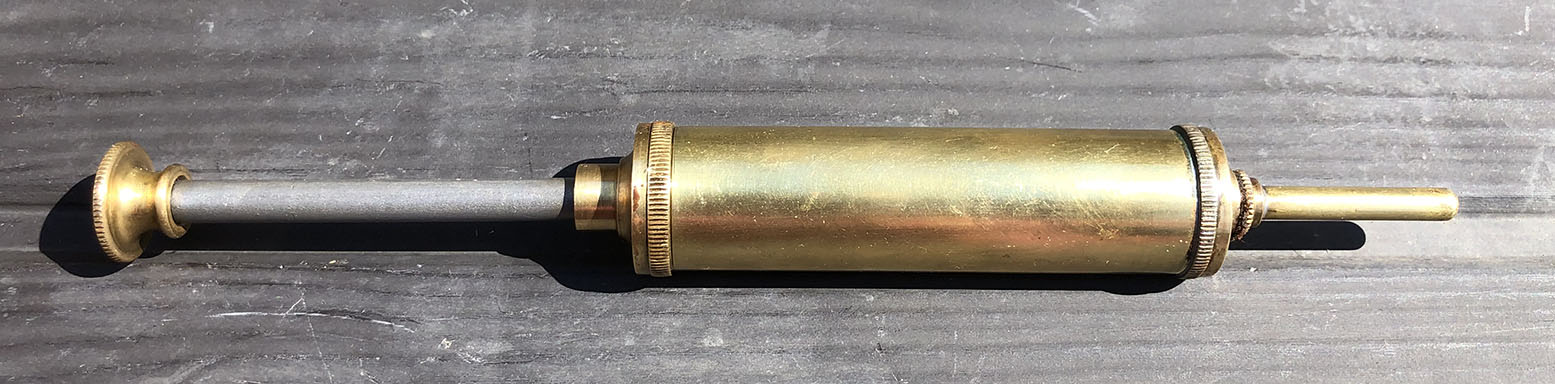
27/8/22: New petrol can and vintage grease gun:
I’ve just bought a decent 5L petrol can and stuck a transfer on it. Not original, I know, but it looks the part.
I’ve also managed to get hold of a decent brass grease gun for greasing the rocker shaft. Better than sticking my finger in the grease can!
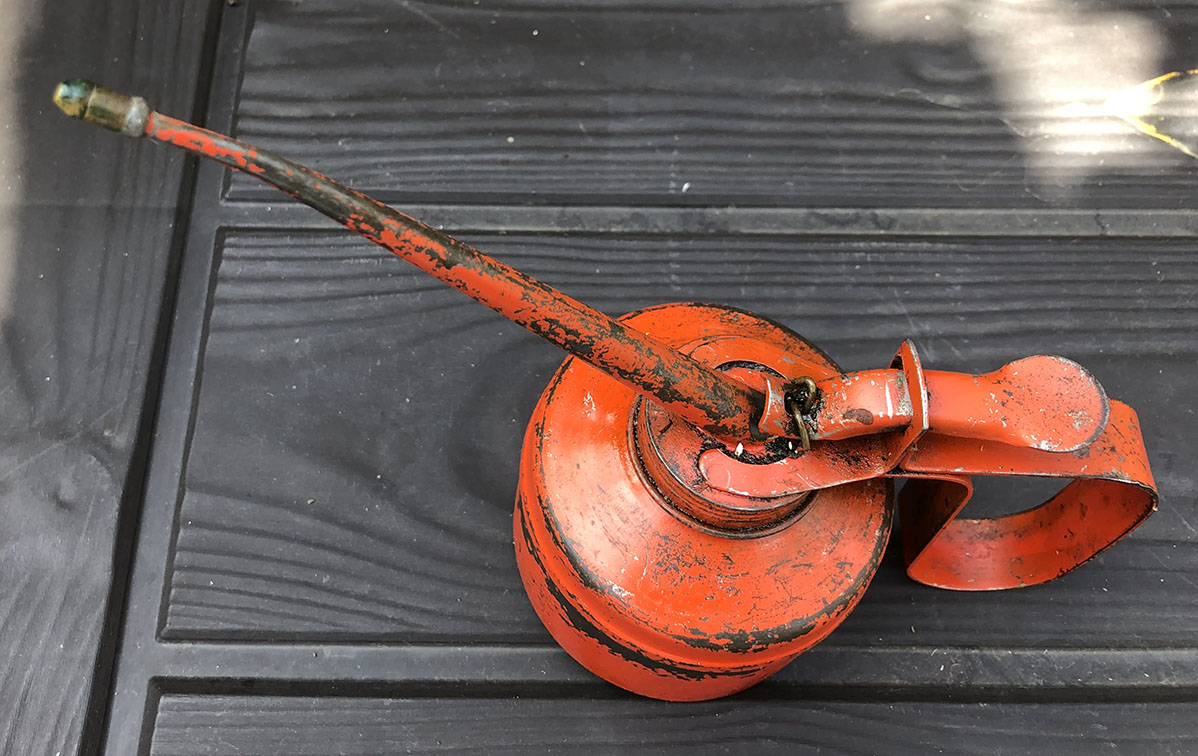
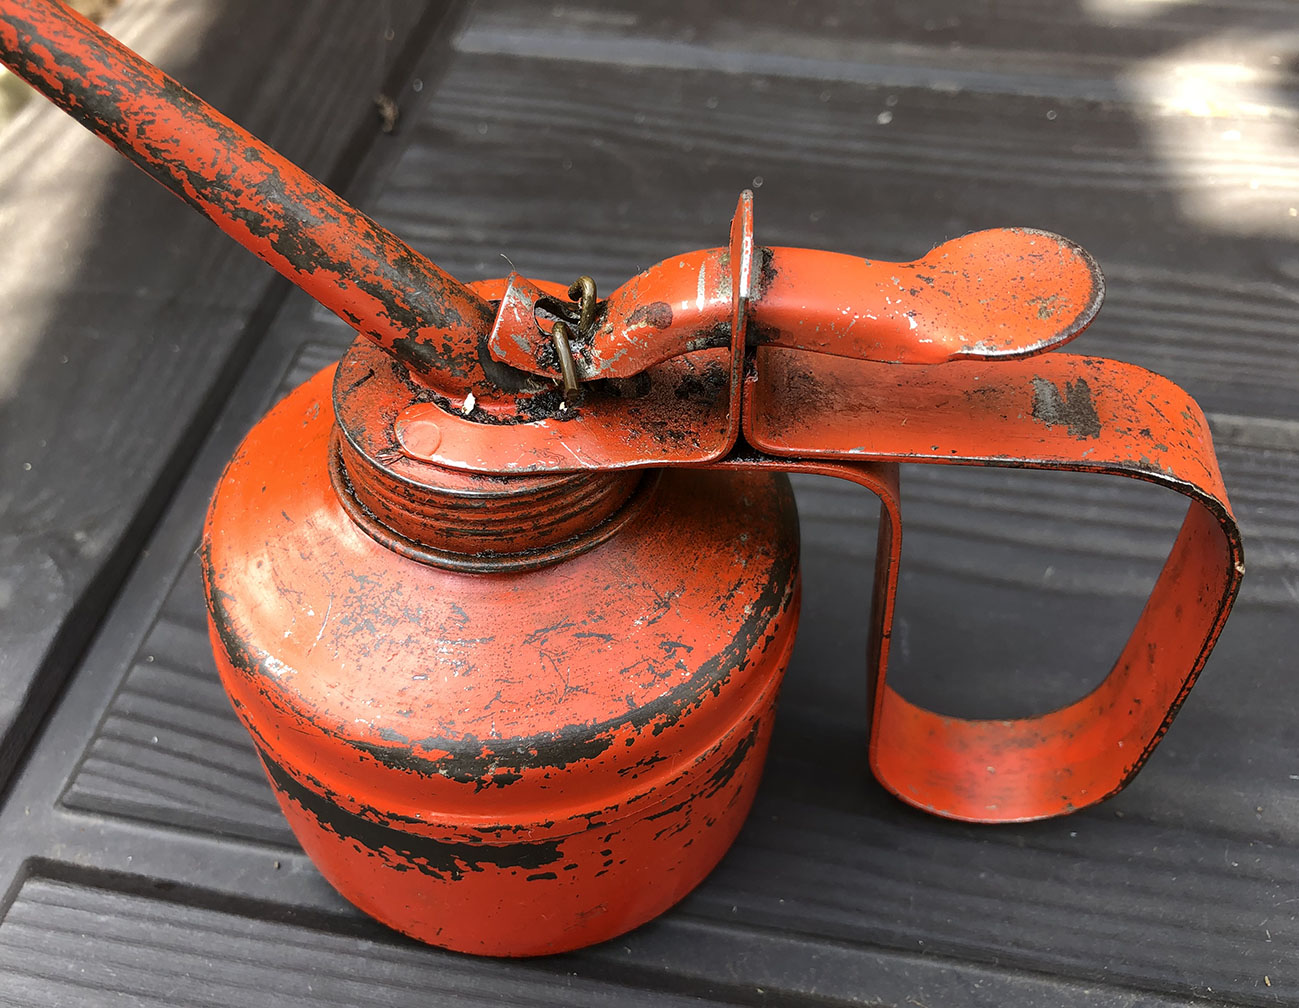
19/7/22: A proper old oil can.
I’ve just purchased an old oil can. I bought a new one a few months ago but it was dreadful. Pimp, pump, pump… nothing happened and then a small drop of coil dripped from the spout. The old one is brilliant. They don’t make things like they used to!
8/10/22: Trouble with the engine.
I’ve been having trouble with the engine. Difficult to start, not running properly, keeps stopping… I checked the plug, no problem there. Fuel tap on… Ah, I found the problem! It had run out of petrol! Yes, I do feel stupid.
Before and After photos.
Just out of interest. More to come soon…